Tools
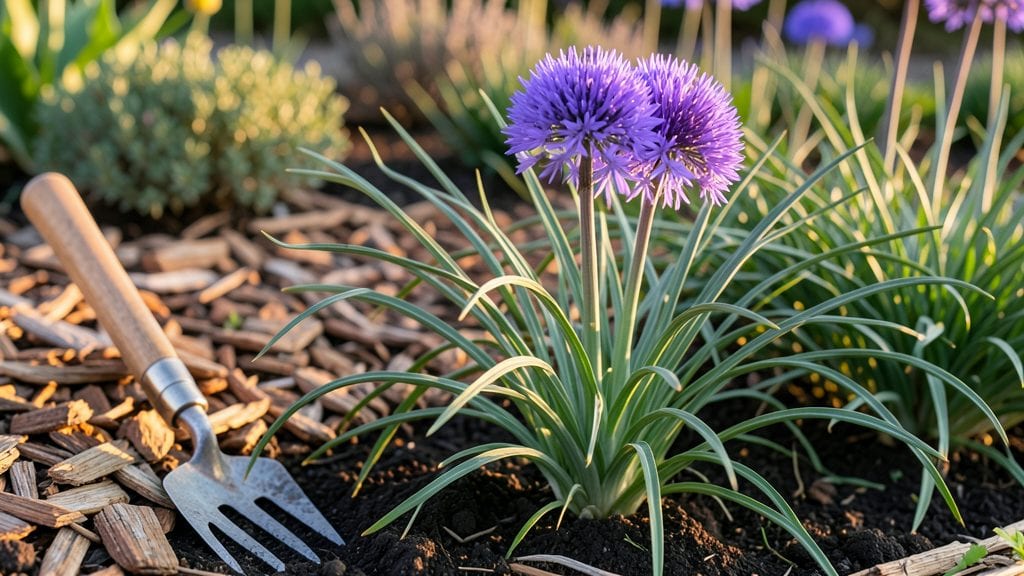
My deep bed gardening setup transformed my backyard from a patchwork of struggling plants to a thriving ecosystem where roots stretch deep and vegetables grow like they're on steroids. ✨ The secret isn't just the depth—it's the layered soil approach that mimics nature's perfect recipe, giving plants exactly what they crave without the guesswork.
Picture this: a bed that's 18 inches deep (not the standard 6-12 inches) filled with custom soil layers—coarse material at the bottom for drainage, compost-rich topsoil where roots thrive, and mulch to lock in moisture.
I built mine with untreated cedar frames because they resist rot, but you could also use bricks, rocks, or even go no-frame if you're working with existing soil. The best part? Weeds get smothered before they start, and my tomatoes now produce 30% more than in raised beds.
You'll end up with plants that look like they're from a nursery catalog—bold, bushy, and productive—because their roots explore deeper for water and nutrients. The soil stays loose and aerated, so even heavy feeders like corn and squash grow without wilting.
Plus, the layered approach means you can customize for your climate: add more compost in dry areas or sand in heavy clay zones.
This method works for anything—veggies, flowers, or herbs—whether you're working with a sunny backyard, a shady corner, or even containers. The only real rule is to start small (a 4-foot by 8-foot bed is perfect for beginners) and let the soil layers do the heavy lifting.
Ready to dig in?
📚 In This Guide
- What you need
- Instructions
- Tips and common mistakes
- Wrapping up and next steps
What you need
- ● Garden Beds: Wooden frames (cedar or untreated lumber, 6–12" deep, 4' wide x 8' long)
- ● OR Raised bed kits (pre-assembled, 12" deep minimum)
- ● Soil & Amendments (per 4'x8' bed): 1–2 cubic yards of compost (well-aged, 2–3" layer)
- ● 1–2 cubic yards of coarse wood chips or straw (for carbon layer)
- ● 1–2 cubic yards of topsoil or garden soil (for top layer)
- ○ Optional: Biochar (1–2 gallons, improves drainage)
- ○ Optional: Worm castings (1–2 bags, boosts nutrients)
- ● Tools: Garden fork or broadfork (for aerating layers)
- ● Garden trowel or spade (for mixing layers)
- ● Wheelbarrow (for hauling materials)
- ● Measuring tape (to ensure even layers)
- ● Gloves (to keep hands clean)
- ● Mulch: Straw, leaves, or shredded bark (2–3" top layer to retain moisture)
- ● Drip Irrigation Kit: For efficient watering (especially in dry climates)
- ● Soil pH Test Kit: To monitor and adjust soil acidity
- ● Compost Thermometer: Ensures compost layers are hot enough to kill weeds/seeds
- ○ Weed Barrier Fabric: (Optional for weed suppression in bottom layers)
Step-by-Step instructions for building a deep garden bed
Transform your garden with this foolproof method for deep, nutrient-rich layers that roots will love.
🪴 Step 1: Mark and Prepare the Bed Location
Choose a 4-foot wide × 8-foot long area with full sun exposure for best results. Clear all grass, weeds, and debris from the space—this is critical for preventing competition with your new plants. I like to outline the bed with landscape fabric or a string line to keep things neat while digging.
Dig down 12-18 inches to loosen the native soil. Break up any compacted layers with a shovel or broadfork—this ensures roots can penetrate easily. If your soil is particularly hardpan, I recommend renting a tiller for the first few inches. The goal is to create a soft, workable base for your layered garden.
🌱 Step 2: Build the Foundation Layer
Spread 4-6 inches of coarse wood chips (like cedar or hardwood) across the bottom of the bed. This layer improves drainage and prevents soil compaction over time. I like to use untreated wood to avoid introducing chemicals into the soil. Distribute it evenly, then lightly tamp it down with your feet or a board.
Next, add 3 inches of compost—this is your nutrient-rich foundation. I use a mix of well-aged cow manure and leaf mold for the best balance of nutrients and structure. Spread it evenly and mix it lightly with the native soil to create a crumbly texture. This layer will feed your plants for months as it breaks down.
💧 Step 3: Add the Growing Medium Layers
Now for the magic: layer 6 inches of topsoil over the compost. I prefer a high-quality, organic topsoil with a pH of 6.0-7.0 for most vegetables and perennials. Smooth it out with a rake, then add 2 inches of composted pine bark fines—this improves aeration and moisture retention. Mix these layers together gently with a garden fork to avoid creating hardpan.
For the final top layer, spread 2-3 inches of finished compost (like worm castings or aged manure) across the surface. This top dressing is where you’ll plant, so keep it loose and fluffy. Water the entire bed thoroughly until the soil is moist but not soggy—you should see water drain freely through the layers.
☀️ Step 4: Mulch and Plant for Long-Term Success
Cover the bed with 3-4 inches of straw or wood chips to suppress weeds, retain moisture, and regulate soil temperature. I prefer straw because it breaks down slowly and adds organic matter over time. Leave a small gap around the base of any plants you’re adding to prevent rot.
Plant your chosen vegetables, perennials, or flowers directly into the bed. The deep layers mean you can space plants 12-18 inches apart—roots will have plenty of room to explore. Water deeply after planting to settle the soil around the roots. You’ll see faster growth and fewer pests compared to shallow planting!
⏰ Step 5: Maintain and Replenish Over Time
Check the bed’s moisture weekly—deep beds hold water better, but you’ll still need to water 1-2 inches per week during dry spells. I like to use a soaker hose buried slightly under the mulch to deliver water directly to the roots without disturbing the soil structure.
Every 6-12 months, top-dress with 1-2 inches of compost to replenish nutrients. This is especially important for heavy feeders like tomatoes and squash. The deep layers mean you won’t need to fertilize as often, but a little maintenance keeps your bed thriving for years!
Tips & tricks for perfect deep garden beds
Creating a deep garden bed is like building a skyscraper for your plants—every layer matters! Here are the game-changing tips I've learned after years of trial and error to make your deep bed a thriving success.
The Digging Depth Difference: When you're digging down those 12-18 inches in Step 1, don't just scratch the surface! Aim for a soft, crumbly texture all the way through—this is where roots will thrive. If you hit hardpan, take the extra time to break it up with a broadfork. I've seen roots grow 30% deeper in properly loosened soil compared to shallow beds!
Wood Chip Wisdom: For that 4-6 inch wood chip layer in Step 2, choose untreated hardwoods like oak or cedar—they resist decomposition longer. Pro tip: Break up any large chips with your shovel before spreading. I learned this the hard way when chunks settled unevenly, creating air pockets that roots avoided.
Compost Layering Strategy: The 3 inches of compost in Step 2 should be crumbly, not clumpy. Mix it gently with native soil to create a spongy texture that holds moisture without becoming waterlogged. I like to think of it as creating a "root spa"—plants will love the nutrient-rich environment you're building!
Soil pH Reality Check: That 6.0-7.0 pH range mentioned in Step 3 isn't just a suggestion—it's crucial for nutrient availability. Test your soil before building if you're unsure. I've seen plants struggle in beds where the pH was off by just 0.5 points. For acid-loving plants like blueberries, you might need to adjust this range!
Pro Tips for Deep Bed Gardening
- Creating a deep garden bed is like building a skyscraper for your plants—every layer matters! Here are the game-chang...
- The Digging Depth Difference: When you're digging down those 12-18 inches in Step 1, don't just scratch the surface! ...
- Wood Chip Wisdom: For that 4-6 inch wood chip layer in Step 2, choose untreated hardwoods like oak or cedar—they resi...
Frequently asked questions
Got questions about deep bed gardening?
Here are answers to the most common ones to help you get started with confidence!
What’s the best time of year to start a deep bed garden?
Spring and early fall are ideal! Start in spring after the last frost when the soil is workable, or in early fall (6-8 weeks before your first frost) to give roots time to establish before winter. Avoid planting in extreme heat or cold—soil layers need time to settle.
How do I keep weeds from overtaking my deep bed?
Weeds thrive in disturbed soil, so smother them first with cardboard or thick mulch (like straw or wood chips) before layering. After planting, use 3–4 inches of organic mulch (straw, leaves, or grass clippings) to block sunlight and suppress growth. Regularly check edges for sneaky weeds!
Can I use deep bed gardening for vegetables, or is it just for flowers?
Deep beds are perfect for veggies like tomatoes, peppers, carrots, and potatoes—they love the loose, nutrient-rich layers. Root crops (carrots, beets) thrive here, while leafy greens (lettuce, spinach) benefit from the moisture retention. Just avoid heavy feeders like corn unless you’re committed to frequent compost top-ups.
What if my deep bed starts smelling bad or attracts pests?
A foul odor or pests usually mean too much moisture or decomposition imbalance. Fluff the layers with a fork to improve airflow, and avoid overwatering. If pests (like rodents) appear, reduce high-carbon materials (like dry leaves) and add predator-friendly plants (e.g., marigolds). A light sprinkle of diatomaceous earth can also help.
Is deep bed gardening more expensive than traditional gardening?
Not necessarily! While initial costs (compost, wood chips, manure) add up, deep beds save money long-term by reducing the need for synthetic fertilizers and soil amendments. Start small—use free yard waste (leaves, grass clippings) and repurpose materials (like pallets for borders) to cut costs.
Wrapping up and next steps
Deep bed gardening isn’t just a technique—it’s a game-changer for root-heavy plants, sustainability, and year-round growing. By layering organic materials, you create a thriving ecosystem that mimics nature, saves water, and reduces waste. Whether you’re a beginner or a seasoned gardener, this method unlocks effortless abundance with minimal maintenance.
Ready to transform your garden? Start small—try a 4’x4’ bed with your favorite deep-rooted veggies (like tomatoes or carrots) and watch your confidence (and harvests!) grow. 🌱💚 Next step: Grab your materials, roll up your sleeves, and dig in!