Tools
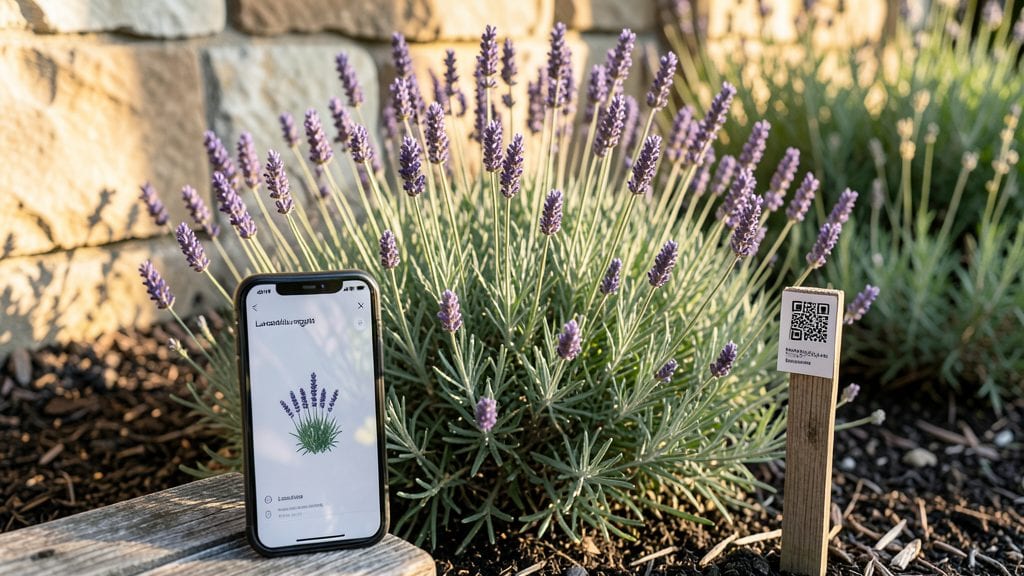
My garden layout app transformed my chaotic backyard into a functional, dreamy space—no degree in horticulture required. 🌿 I spent years sketching designs that never quite worked, until I discovered how AI could analyze sunlight, plant spacing, and my actual yard dimensions to suggest layouts that actually grow.
The best part? It handles the math so you don’t have to.
You’ll start by inputting your space dimensions and sunlight patterns, then let the app generate multiple design options tailored to your plants. No more guessing whether that tomato plant needs 2 feet or 2 yards—it tells you exactly.
The drag-and-drop interface makes it easy to tweak paths, borders, and plant clusters until everything feels just right.
What you end up with is a garden that’s not just pretty but practical—paths wide enough to walk without crushing herbs, shade plants where they’ll thrive, and every inch used efficiently.
I went from frustrated gardener to confident designer in under an hour, and my neighbors kept asking how I “got so good” so fast.
Whether you’re working with a 4-foot balcony or a half-acre lot, the app scales to your needs. Beginners love it for the step-by-step guidance, while experienced gardeners use it to optimize tricky spots. Here’s how to make the most of it without the overwhelm.
📚 In This Guide
- What you need
- Instructions
- Tips and common mistakes
- Wrapping up and next steps
What you need
- ● Smartphone or tablet: Compatible with iOS (iPhone/iPad) or Android (latest OS recommended for smooth performance).
- ● Garden layout app: Required: Free or premium version (e.g., Garden Planner, iScape, or SmartDraw).
- ○ Optional: Subscription for advanced features (e.g., 3D rendering, plant databases).
- ● Stable internet connection: For syncing designs, accessing plant libraries, or downloading updates.
- ● Measuring tape: 25-foot tape (for accuracy in small/large spaces).
- ● Graph paper or sketchbook: 8.5” x 11” or larger (for scaling designs).
- ● Colored pencils/markers: 6+ colors (to distinguish plants, paths, and zones).
- ● Ruler: 12” metal or clear ruler (for precise lines).
- ○ Optional: Stakes & string (for marking boundaries outdoors).
- ● Camera (to photograph existing garden for reference).
- ● Basic knowledge of your space’s sunlight exposure (full sun, partial shade, etc.).
- ● List of existing plants (if any) or desired plants (species, mature size).
- ● Budget range for materials (e.g., mulch, hardscaping, plants).
- ○ Optional: Soil test kit (to check pH/nutrients before planting).
Step-by-Step guide to using a garden layout app for your space
Designing a dream garden just got easier with AI—here's how to turn your vision into a plan.
🪴 Step 1: Measure Your Space and Input Key Dimensions
Start by measuring your garden area with a tape measure or laser tool. Record the length and width in feet, including any obstacles like trees, fences, or walkways. I always sketch a rough outline first—this helps visualize where the app's suggestions will fit best. If your space is irregular, break it into simple shapes like rectangles or circles to simplify the input process.
Enter these measurements into the app's "Space Dimensions" section. Most apps let you upload photos for reference, so take clear shots from different angles. This step is critical because the AI uses your actual space to generate realistic layouts. If your measurements are off, the final design won't match your garden's reality.
☀️ Step 2: Define Sunlight and Soil Conditions
Next, note which areas get full sun (6+ hours), partial sun (3-6 hours), or shade (less than 3 hours) throughout the day. Walk through your space at different times to observe how sunlight shifts. The app will use this info to recommend plants that thrive in your specific light conditions.
Also, test your soil's drainage and pH if possible. Many apps let you input soil type (clay, sandy, loamy) or connect to soil-testing tools. I've found that even rough estimates help the AI suggest plants that will grow well without extra amendments. If you're unsure, default to "average garden soil" and adjust later based on plant performance.
🌱 Step 3: Select Your Design Style and Plant Preferences
Choose between the app's preset styles (e.g., cottage garden, modern, pollinator-friendly) or create a custom theme. I usually start with a style that matches my vision, then tweak it. Next, input your must-have plants—like herbs, vegetables, or flowers—and any plants you'd like to avoid. The AI will arrange these while filling gaps with complementary species.
Most apps let you set priorities like "edible plants first" or "low-maintenance focus." If you're designing for small spaces, enable the "compact layout" option. This step is where your personality comes through—don't be afraid to experiment with different themes until the layout feels right.
⏰ Step 4: Generate and Refine the AI Layout
Let the app generate a preliminary design based on your inputs. You'll see a 3D or top-down view showing plant placements, paths, and hardscapes. I always start by checking the sun exposure of each plant—if something looks misplaced, the app usually has a "swap plants" tool to fix it easily.
Use the app's editing tools to adjust spacing, add borders, or incorporate features like raised beds or trellises. Most apps show mature plant sizes, so you can see how things will look in a few years. Save multiple versions to compare later. This is also when I add personal touches like seating areas or decorative stones.
🌿 Step 5: Export Your Plan and Prepare for Implementation
Once satisfied, export your design as a PDF or image with measurements. I print mine and take it outside to verify everything still makes sense in real life. The app usually includes a shopping list for plants and materials—check this against your local nursery's availability before purchasing.
For physical implementation, mark plant locations with stakes or spray paint. Most apps let you overlay your design on a photo of your space for precise placement. I've found that bringing a printed copy and a tablet with the app during planting saves time and prevents mistakes. Take progress photos to compare with your digital plan!
Tips & tricks for perfect garden layouts with AI
Transforming your garden vision into reality with AI tools is easier when you know these insider tricks.
Precision in Step 1 Pays Off: When measuring your space in Step 1, I recommend using a laser tool for accuracy—especially if you have irregular shapes. Double-check measurements by walking them off with your feet and comparing. Apps like these thrive on precise data, so spending extra time here prevents headaches later. Trust me, that 5-minute verification now saves hours of frustration when your design doesn't fit!
Sunlight Mapping Secret: In Step 2, observe sunlight patterns at different times of day—morning, noon, and evening. I've found that many apps underestimate shade areas, so mark your space with temporary stakes to visualize light changes. This helps you accurately input the "shade" zones that often get overlooked. Pro tip: Use a whiteboard or large paper to sketch your space's sunlight zones before entering them into the app.
Style Exploration Strategy: Don't settle on the first design style in Step 3! Most apps let you quickly generate multiple versions using different themes. I typically create 3-4 variations before deciding. This lets you see how your must-have plants fit into different aesthetics. Save each version—you might discover a hybrid style that works even better than the original options.
Implementation Reality Check: Before finalizing your design in Step 5, I always print it and walk through my space with it in hand. This physical verification catches issues the digital view might miss—like how a path might interfere with your morning coffee route. Take photos of your space from different angles and overlay the digital design to check proportions. This step is where many people discover their digital plan needs adjustment!
Pro Tips for Garden Layout App
- Transforming your garden vision into reality with AI tools is easier when you know these insider tricks.
- Precision in Step 1 Pays Off: When measuring your space in Step 1, I recommend using a laser tool for accuracy—especi...
- Sunlight Mapping Secret: In Step 2, observe sunlight patterns at different times of day—morning, noon, and evening. I...
Frequently asked questions
Got questions about using a garden layout app to transform your space? You’re not alone! Here are some of the most common concerns—and quick answers to help you get started with confidence.
Can I use a garden layout app for free, or do I need to pay?
Most apps offer a free version with basic features, like simple plant placement or limited design templates. Premium versions (often $5–$20/month) unlock advanced tools like AI-generated layouts, seasonal planning, or custom material libraries. Always check the app’s pricing page to see what fits your budget!
How long does it take to create a full garden layout?
That depends on your project’s complexity! A quick sketch for a small herb garden might take 10–15 minutes, while a detailed landscape design for a backyard could span 1–2 hours (or more if you’re tweaking every detail). Pro tip: Start with a rough draft—you can refine it later!
Do I need a smartphone, or can I use a garden layout app on a computer?
Most apps are cross-platform, meaning you can design on your phone, tablet, or desktop. Some even offer offline mode for sketching on-the-go. Check the app’s system requirements to ensure compatibility with your devices.
What if my yard isn’t perfectly flat? Can the app still help?
Top garden layout apps include terrain tools to account for slopes, hills, or uneven ground. You can input elevation changes or upload a photo of your space for a more accurate 3D representation. Just measure key points (like highs and lows) before you start.
Can I save and revisit my garden designs later?
Yes! Most apps let you save multiple versions of your layout, so you can compare ideas or revisit them after a season. Some even sync across devices via cloud storage. Always back up your designs (or export them as PDFs) to avoid losing progress.
What if the app crashes or freezes while I’m designing?
First, try refreshing the app or closing and reopening it. If the issue persists, check for app updates or clear the cache (on mobile). For persistent problems, contact the app’s support team—they often provide troubleshooting steps or workarounds.
Wrapping up and next steps
Transforming your outdoor space into a dream garden is easier than ever with a garden layout app! These AI-powered tools take the guesswork out of design, helping you maximize every inch—whether you have a cozy balcony or a sprawling backyard. 🌿✨
Ready to turn your vision into reality? Start by exploring top-rated apps, sketching your ideas, and letting technology guide you toward a space that’s both functional and breathtaking. Your perfect garden is just a few taps away—go ahead and plant those digital seeds today!