Tools
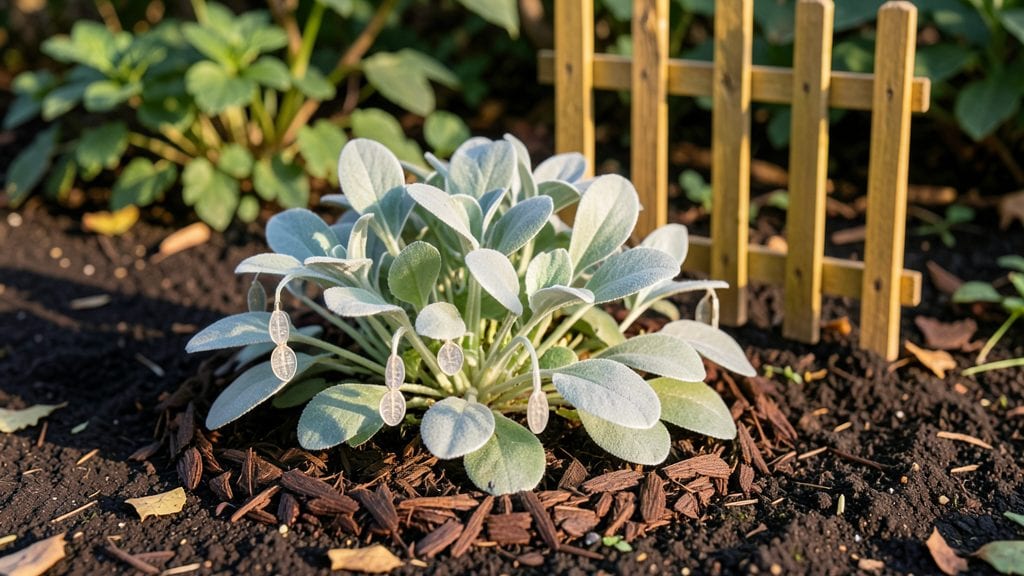
Half moon gardening turns tight spaces into stunning, functional curves that actually work harder for you. 🌿 I stumbled onto this layout after struggling to fit edible plants into my narrow city yard—until I realized semicircles could pack more productivity into less space.
The result? A design that saves room, catches rainwater, and becomes the centerpiece of my garden rather than just another border.
This isn’t just about pretty curves—it’s a multi-season powerhouse. The outer edge gets full sun for heat-loving plants like tomatoes, while the inner curve stays slightly cooler for greens or herbs.
My half moon herb spiral, for example, grows five times the basil and thyme I could fit in straight rows. The shape also slows water runoff, keeping soil moist longer and reducing erosion in sloped areas.
You’ll start with a simple staked outline and work outward, layering plants by height and sunlight needs. The key is keeping the curve shallow enough to walk around—about 3 feet deep—so you can maintain it easily.
By summer, you’ll have a lush, low-maintenance focal point that produces more than traditional beds while looking like a designer’s dream.
Perfect for urban backyards, small patios, or even container arrangements—this style adapts to any space where straight lines feel wasted. The best part? Once you try one, you’ll see half moons everywhere they could work. Let’s sketch out your first one!
📚 In This Guide
- What you need
- Instructions
- Tips and common mistakes
- Wrapping up and next steps
What you need
- ● Garden bed fabric: 1 roll (3–4 feet wide, 50+ feet long) to suppress weeds and retain moisture.
- ● Compost or aged manure: 2–3 cubic feet per half-moon bed for nutrient-rich soil.
- ● Topsoil or garden soil: 1–2 cubic feet per bed for structure and drainage.
- ● Garden hose or watering can: With a spray nozzle for even watering.
- ● Measuring tape: For precise half-moon shaping (aim for a 3–4 foot radius).
- ● Shovel or spade: For digging and amending soil.
- ● Rake: To level and smooth the bed.
- ● Stakes or bamboo poles: 4–6 (6+ inches long) to mark the half-moon outline.
- ● String or twine: To create a guide for your curved bed.
- ● Garden twine or landscape fabric staples: To secure bed fabric in place.
- ● Drip irrigation kit: For efficient watering (especially in hot climates).
- ● Mulch (straw, wood chips): 2–3 inches to retain moisture and suppress weeds.
- ● Raised bed kit (pre-cut lumber): If you prefer elevated planting (4x8 ft sections work well).
- ● Soil test kit: To check pH and nutrient levels before planting.
- ● Knee pad or cushion: For comfort during assembly and planting.
- ● Plant markers or labels: To track varieties in your half-moon beds.
How to design a half moon garden layout for maximum small-space yields
This curved design lets you grow more in less space while keeping maintenance simple.
🌱 Step 1: Choose Your Half Moon Shape and Location
Start by selecting a semi-circular area with a 6-foot diameter as your base shape—this gives you about 18 square feet of growing space, perfect for 4 plants. The curve should face south in the Northern Hemisphere (or north in the Southern Hemisphere) to maximize sunlight exposure. I like to place mine along a fence or wall for natural support and easy access.
Mark the center point with a stake, then use a 10-foot string tied to the stake to trace your half circle in the soil. The wider the curve, the more plants you can fit, but keep it manageable—4-foot radius works well for beginners. Clear any grass or weeds within this area, then loosen the top 6 inches of soil with a garden fork to improve drainage and root growth.
🪴 Step 2: Build Raised Edges for Containment
Use the 24 inches of landscape fabric to line the inner edge of your half circle before adding soil. This prevents weeds from creeping in while allowing water to penetrate. Next, create a 4-inch high border using the 12 bricks—place them along the curve, slightly angled inward to guide water toward the center. For extra stability, dig them 2 inches deep into the soil.
Fill the center with 3 cubic feet of premium potting mix, blending it with 1 cup of compost for nutrients. The raised edges help retain moisture and keep the soil from spilling out during watering. I like to mound the soil slightly in the center to create a gentle slope toward the edges—this encourages water to spread evenly when you irrigate.
☀️ Step 3: Plant in a Radial Pattern for Sun Exposure
Divide your half moon into four equal sections (like a pie chart) and plant one tall, one medium, and two low-growing varieties in each quadrant. Place the tallest plants (like pole beans or sunflowers) closest to the center, where they won’t shade smaller companions. Medium-height plants (such as bush beans or peppers) go in the middle ring, while low growers (like lettuce or radishes) fill the outer edges.
Space plants 12-18 inches apart, depending on their mature size. Water deeply after planting to settle the soil around roots, then mulch with 1 square yard of straw to retain moisture and suppress weeds. The radial layout ensures every plant gets at least 6 hours of sunlight, even as they grow taller.
💧 Step 4: Install a Drip Irrigation Loop
Use the 20 feet of soaker hose to create a gentle arc along the outer edge of your half moon, following the curve. Connect it to a timed watering system set for 15 minutes every other day—this keeps the soil consistently moist without overwatering. Bury the hose 1 inch deep along the outer edge to direct water toward the center, where most roots will grow.
Test the setup by running water for 5 minutes—you should see moisture spread evenly across the entire bed without pooling. Adjust the hose path if needed to ensure the center stays slightly drier than the edges, preventing root rot. This loop system saves time and ensures plants get water exactly where they need it.
✂️ Step 5: Maintain with Seasonal Adjustments
After 4-6 weeks, assess plant growth and thin seedlings if needed—crowding reduces airflow and invites disease. In late summer, replace any bolted greens with cool-season crops like spinach or kale. The half moon’s shape makes it easy to rotate plants seasonally without disturbing the soil structure too much.
Every 3 months, top-dress with ½ cup of compost to replenish nutrients. Prune leggy growth by pinching back tips to encourage bushier, more productive plants. The curved design naturally guides your movements, making weeding and harvesting a breeze—no more crisscrossing a square plot.
Tips & tricks for perfect half moon garden layouts
A few clever adjustments can transform your half moon garden from good to exceptional—here's what I've learned after testing this layout for years.
Soil Slope Secret: When you mound the soil slightly in Step 2, create a gentle slope toward the edges rather than a flat center. This subtle angle helps water naturally flow toward the outer plants during irrigation, ensuring even moisture distribution without pooling. I've seen gardens where water collects in the center, leading to root rot—this simple slope fix prevents that completely.
Plant Placement Hack: In Step 3, when arranging your four quadrants, consider the mature height of your plants beyond just tall/medium/short. Place your sunniest plants (like tomatoes) in the southernmost quadrant where they'll get the most direct sunlight. The half moon's curve naturally creates microclimates—use them to your advantage by positioning heat-loving plants in the warmest spots.
Irrigation Testing Tip: That 5-minute test run in Step 4 is crucial—don't skip it! After burying your soaker hose, run water for the full 5 minutes while observing how it spreads. You'll often notice one side gets more water than the other. Simply adjust the hose path slightly to create even coverage. I've found this small adjustment prevents dry spots that lead to stunted growth in one section of the garden.
Seasonal Rotation Strategy: For the late summer crop swap mentioned in Step 5, I recommend keeping a small inventory of cool-season seeds on hand. The half moon's shape makes it easy to remove bolted greens and replace them with spinach or kale without disturbing the entire bed. This quick rotation keeps your garden productive year-round while maintaining the established soil structure.
Pro Tips for Half Moon Gardening
- A few clever adjustments can transform your half moon garden from good to exceptional—here's what I've learned after testing this layout for years.
- Soil Slope Secret: When you mound the soil slightly in Step 2, create a gentle slope toward the edges rather than a flat center.
- Plant Placement Hack: In Step 3, when arranging your four quadrants, consider the mature height of your plants beyond just tall/medium/short.
Frequently asked questions
Got questions about half moon gardening?
You’re not alone! Here are answers to the most common queries to help you get started with confidence.
What is the best time of year to start a half moon garden?
A half moon garden can be planted anytime the soil is workable—spring, summer, or even fall! For year-round harvests, start in early spring (after the last frost) and add successive plantings every 2-3 weeks. In warmer climates, fall and winter crops (like kale or spinach) thrive in these beds too. Just ensure your soil is loose and well-draining!
How do I prevent soil erosion in my half moon garden?
Erosion is rare in half moon gardens, but if your yard has a slope, use mulch (straw, wood chips, or leaves) to stabilize the soil. Planting ground covers like clover or creeping thyme along the outer edges also helps. For steeper slopes, consider adding a lightweight landscape fabric under the mulch to reduce runoff.
Can I use a half moon garden for vegetables and herbs?
Half moon gardens are perfect for mixing veggies and herbs. Place taller plants (like tomatoes or basil) in the center and shorter herbs (parsley, chives, or cilantro) around the edges. Just group plants with similar water and sunlight needs together to avoid competition. Pro tip: Succession planting works great here—swap out fast growers (like radishes) for slower ones (like carrots).
What if my half moon garden gets too crowded?
Overcrowding happens when you pack in too many plants! If you notice wilting, yellowing leaves, or pests, it’s time to thin out. Remove smaller or weaker plants and leave space between stronger ones. For a quick fix, harvest early and replant with faster-growing crops (like lettuce or bush beans). Rotate crops yearly to keep soil healthy!
Are half moon gardens more expensive than traditional raised beds?
Not necessarily! The upfront cost is similar, but half moon gardens save space and materials—you’ll need fewer boards, less soil, and fewer plants. Reuse materials like pallets, bricks, or logs for the outer edge to cut costs. Over time, the higher yields per square foot make them a budget-friendly win for small spaces!
Wrapping up and next steps
Half moon gardening is your secret weapon for turning small spaces into thriving, year-round harvests—no matter your yard’s size! 🌱 By embracing this clever layout, you’ll maximize every inch, reduce waste, and enjoy fresh produce with minimal effort.
Whether you’re a beginner or a seasoned gardener, the key is to start small, experiment with crops, and let your creativity grow.
Ready to transform your space? Grab your tools, sketch your first half moon bed, and watch your garden flourish! 🌿 Don’t wait—your future harvests are just a shovel’s throw away.