Tools
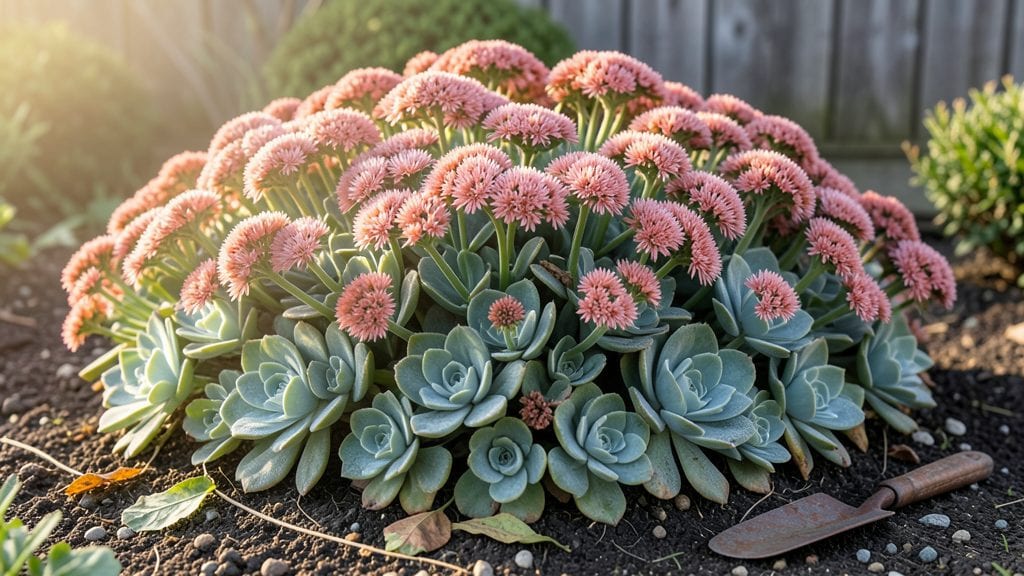
A rooftop garden turns unused space into a thriving harvest hub. 🌿 I’ve designed three layouts that fit small areas while packing in productivity—one uses stacked containers, another weaves plants vertically, and the third combines raised beds with trellises.
The key is matching plants to your roof’s quirks: wind-resistant varieties for exposed spots, shallow-rooted herbs for lightweight soil, and shade-tolerant greens near edges.
You’ll need lightweight containers (plastic or fabric), a sturdy base to spread weight, and a drainage system that handles rain without leaks. My favorite setup uses 5-gallon pots for tomatoes and peppers, with a drip irrigation line snaking between them.
The best part? You can start small—even a single 4x8-foot bed yields enough herbs and greens for a family of four by midsummer.
Imagine plucking fresh basil for sandwiches or harvesting cherry tomatoes that ripen under the afternoon sun. These layouts keep plants healthy despite wind and weight limits, and the vertical designs make weeding and watering a breeze.
Plus, your garden becomes a green oasis that cools the air and cuts utility bills.
Whether you’re working with a flat roof or sloped edges, these designs adapt easily. The trick is testing soil moisture weekly and choosing plants that thrive in your specific sun exposure. Ready to turn your rooftop into a productive paradise?
📚 In This Guide
- What you need
- Instructions
- Tips and common mistakes
- Wrapping up and next steps
What you need
- ● Growing Containers: Fabric grow bags (5–10 gallons, 3–5 units)
- ● Vertical planters (wall-mounted or freestanding, 2–4 units)
- ● Hanging pockets or pockets (10–20 units, depending on scale)
- ● Structural Support: Metal or wooden trellises (adjustable height, 1–2 units)
- ● Galvanized wire mesh (for DIY trellises, 1 roll)
- ● Heavy-duty hooks or brackets (for hanging planters, 6–10 units)
- ● Growing Medium: Lightweight potting soil (1–2 cubic yards, organic blend)
- ● Perlite or vermiculite (for aeration, 1–2 bags)
- ● Irrigation: Drip irrigation kit (with timers, 1–2 zones)
- ● Waterproof tubing (½” diameter, 20–50 ft)
- ○ Self-watering reservoirs (optional but helpful, 2–4 units)
- ● Safety & Stability: Waterproof roof liner (if needed, 1 roll)
- ● Non-slip mats (for walking on rooftop, 1–2 units)
- ● Enhancements: LED grow lights (full-spectrum, 1–2 units for low-light areas)
- ● Solar-powered chargers (for tools/lights, 1 unit)
- ● Comfort & Aesthetics: Foldable chairs or benches (1–2 units)
- ● Decorative planters (for non-edible greenery, 2–4 units)
- ● Tech Upgrades: Smart soil moisture sensors (2–4 units)
- ● Wireless weather station (1 unit)
Step-by-Step instructions for designing your rooftop garden
Let's turn that empty rooftop into a thriving, space-efficient harvest zone.
🪴 Step 1: Assess Your Rooftop Structure and Weight Limits
First, check your rooftop's weight capacity—most residential roofs handle 20-30 pounds per square foot for gardens. I always measure the space and sketch a simple layout, marking where to place containers. Avoid placing heavy planters near rooftop edges or seams, where structural stress is highest.
Next, identify the sun exposure. North-facing areas get 4-6 hours of sun, while south-facing spots receive 6-8+ hours. Note any obstructions like vents or HVAC units that cast shadows. This determines which plants thrive where—leafy greens tolerate partial shade, while tomatoes and peppers demand full sun.
🌱 Step 2: Select Containers and Vertical Structures
For rooftops, lightweight materials like fabric grow bags or plastic containers (not ceramic) work best. I use 5-gallon buckets with drainage holes for deep-rooted plants like herbs, and wall-mounted planters for shallow-rooted greens. Stackable containers save space and create vertical layers.
For true vertical gardening, install trellises or wire mesh against walls or fences. I like the A-frame trellis for climbing plants like pole beans or cucumbers—it’s sturdy, takes up minimal footprint, and maximizes upward growth. Secure everything with non-corrosive straps to prevent wind damage.
☀️ Step 3: Layer Plants by Height and Sun Needs
Start with the tallest plants at the back or center of your layout. Tomatoes, sunflowers, or tall basil go in the middle, while shallower herbs like thyme or oregano edge the containers. This prevents smaller plants from being shaded out as taller ones grow.
Group plants with similar water needs together. For example, peppers and basil thrive with 1 inch of water per week, while succulents or rosemary prefer drought-like conditions. Use self-watering containers if your rooftop lacks easy irrigation access—these keep roots consistently moist without overwatering.
💧 Step 4: Install Drainage and Wind Protection
Every container must have drainage holes to prevent root rot from trapped water. I drill extra holes in the bottom if needed, then place gravel or broken pottery shards inside to improve airflow. For windy rooftops, add low walls or windbreaks (even a simple bamboo screen) to shield delicate plants.
Test your setup after a rainstorm. If water pools on the rooftop surface, add slope adjustments (like tilting containers) or drip trays underneath to catch runoff. This protects your roof’s waterproofing and keeps plants from sitting in soggy conditions.
⏰ Step 5: Maintain and Expand Over Time
Check soil moisture daily in summer—rooftop soil dries out faster. I use a moisture meter to avoid guesswork, especially in fabric grow bags, which dry quicker than traditional pots. Fertilize every 4-6 weeks with a balanced, water-soluble mix to replenish nutrients lost in wind or rain.
Rotate crops seasonally. Swap out winter greens (kale, spinach) for summer heat lovers (peppers, okra) to maximize yield. Add seasonal vertical accents like edible flowers or strawberries in hanging planters to keep the space dynamic and productive.
Tips & tricks for perfect rooftop garden layouts
Here's what nobody tells you about maximizing your rooftop harvest without sacrificing structure or beauty.
Weight Distribution Wisdom: In Step 1, when assessing weight capacity, I always place the heaviest containers—like those 5-gallon buckets for herbs—near the center of the rooftop, not the edges. This creates a stable base where structural stress is lowest. For extra safety, distribute weight evenly across multiple containers rather than clustering them all in one spot. Remember, those 20-30 pounds per square foot add up fast!
Sun Exposure Strategy: The 4-6 hours of sun for north-facing areas and 6-8+ hours for south-facing spots are your golden rule for plant selection. I mark my layout with colored tape—blue for full sun spots (tomatoes, peppers) and green for partial shade (leafy greens). This visual cue prevents me from accidentally placing sun-loving plants in shady corners where they'll struggle to thrive.
Container Hack: For Step 2, when selecting containers, I always look for ones with built-in saucers or consider adding drip trays underneath. This catches runoff from rain or watering, preventing water damage to your roof. I've used upside-down plastic bins with drainage holes drilled in the bottom as makeshift trays—cheap, effective, and reusable for years.
Vertical Growth Game-Changer: When installing trellises in Step 2, I recommend using the "three-point rule" for stability: attach the trellis at the top, middle, and bottom to your fence or wall. This prevents wobbling in windy conditions. For extra security, I weave non-corrosive straps through the trellis frame and around sturdy anchor points on the building structure.
Pro Tips for The Rooftop Garden
- Here's what nobody tells you about maximizing your rooftop harvest without sacrificing structure or beauty.
- Weight Distribution Wisdom: In Step 1, when assessing weight capacity, I always place the heaviest containers—like those 5-gallon buckets for herbs—near the center of the rooftop, not the edges.
- Sun Exposure Strategy: The 4-6 hours of sun for north-facing areas and 6-8+ hours for south-facing spots are your golden rule for plant selection.
Frequently asked questions
Got questions about transforming your rooftop into a thriving garden?
You’re not alone! Here are answers to the most common queries to help you get started—and keep growing—with confidence.
What are the best plants for a rooftop garden with limited space?
Opt for compact, shallow-rooted varieties like leafy greens (kale, spinach), herbs (basil, thyme), dwarf tomatoes, and strawberries. These thrive in containers and don’t need deep soil. Vertical gardening with trellises is perfect for vining plants like cucumbers or beans too!
How long does it take to see results in a rooftop garden?
Fast growers like radishes or green onions sprout in 2–3 weeks, while herbs and lettuce take 4–6 weeks. Tomatoes and peppers need 2–3 months to bear fruit. Patience pays off—rooftop gardens often mature faster due to unfiltered sunlight and controlled environments!
How do I water a rooftop garden efficiently without wasting water?
Use drip irrigation or self-watering containers to minimize runoff. Water early in the morning to reduce evaporation, and mulch soil to retain moisture. Avoid overhead sprinklers—they can wash away nutrients and encourage mold. Pro tip: Collect rainwater in barrels for a sustainable solution!
Are rooftop gardens legal in my area? Do I need permits?
Laws vary—check local building codes and HOA rules. Most cities allow rooftop gardens, but structural weight limits (usually 20–50 lbs/sq ft) and drainage requirements apply. Permits may be needed for commercial setups or major installations. When in doubt, consult your city’s planning department!
How do I keep pests away from my rooftop garden?
Prevent pests with physical barriers (fine mesh for containers), companion planting (e.g., marigolds repel aphids), and regular inspections. Avoid chemical pesticides—they can harm pollinators. For stubborn bugs, try neem oil or insecticidal soap. Bonus: Birds and ladybugs are natural allies!
Wrapping up and next steps
Transforming your rooftop into a thriving garden isn’t just about saving space—it’s about unlocking creativity, sustainability, and fresh produce right at your fingertips! 🌱 Whether you’re a seasoned gardener or a beginner, vertical layouts make it easier than ever to grow big harvests in small areas. With the right tools, materials, and a dash of planning, you’re well on your way to turning your rooftop into a lush, productive oasis.
Ready to dive in? Start small—pick one vertical planter or tiered system, gather your supplies, and let your green thumb shine! Your future harvest (and happy neighbors!) will thank you. 🌿