Flowers
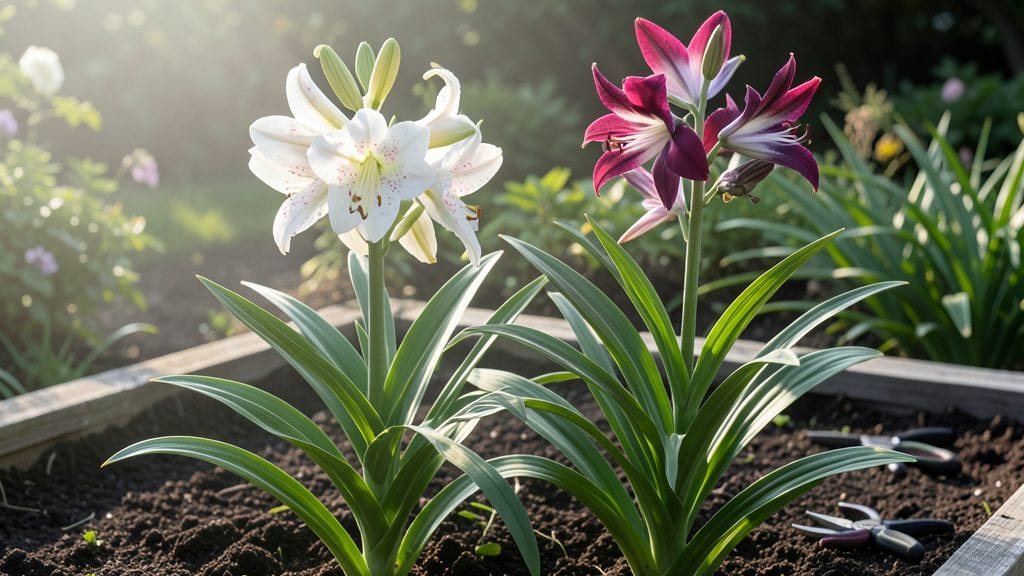
Transforming your lily garden flowers into a year-round spectacle—from spring’s delicate blooms to autumn’s dramatic show—begins with the perfect blend of varieties and smart placement. ✨ My first lily garden was all Asiatics—bright, bold, and over in July—but adding Martagons and Orientals stretched the season to October.
The secret isn’t just choosing flowers; it’s layering their heights, colors, and bloom times so the garden never looks bare.
You’ll need 5-10 plants of each type to create visual impact, plus a few evergreen shrubs or ornamental grasses for structure. Asiatics bring early summer color, Orientals shine in late summer, and Martagons add height and fragrance in fall.
Pair them with daylilies or hostas for contrast—their lush foliage keeps the garden lush even between blooms.
With minimal pruning, you’ll get stunning results for years: velvety petals in jewel tones, dramatic vertical lines, and fragrance that lingers in the evening air. The key is deadheading spent blooms and dividing clumps every 3-4 years—no fancy tools, just a fork and a sunny spot.
Even small spaces can shine with a single statement variety in a large pot.
Climate matters: in warmer zones, lilies thrive with afternoon shade; in cooler areas, full sun brings out their best. Here’s how to choose varieties that fit your space and keep the blooms coming all season.
📚 In This Guide
- What you need
- Instructions
- Tips and common mistakes
- Wrapping up and next steps
What you need
- ● Lily bulbs or plants: Choose from Asiatic, Oriental, Trumpet, or Daylily varieties (10–20 bulbs per 100 sq. ft. for full coverage). Opt for disease-resistant varieties if your climate is humid.
- ● Potting soil or garden soil: Well-draining, loamy mix (avoid heavy clay). For containers, use a blend with perlite or sand (50% soil, 50% amendment).
- ● Compost or organic fertilizer: Balanced (10-10-10) or low-phosphorus (5-10-10) for bulbs (1 cup per 5 sq. ft.). Avoid high-nitrogen fertilizers.
- ● Mulch: Organic options like straw, wood chips, or shredded leaves (2–3 inches thick) to retain moisture and suppress weeds.
- ● Garden trowel or bulb planter: For digging holes 3x deeper than the bulb’s height.
- ● Garden fork or spade: To loosen soil before planting (especially in clay-heavy areas).
- ● Watering can or hose with a gentle spray nozzle: Lilies need 1–1.5 inches of water weekly (drip irrigation is ideal for containers).
- ● Pruners or shears: Sterilized (rubbing alcohol wipe) for minimal pruning (deadheading spent blooms).
- ○ Gloves (optional but recommended): Protects hands from thorns (especially Oriental lilies) and soil-borne pathogens.
- ● Slow-release fertilizer pellets: Mix into soil at planting for 3–4 months of nutrients.
- ● Copper fungicide spray: Prevents botrytis blight in humid climates (apply every 4–6 weeks).
- ● Container garden: Large pots (12+ inches deep) with drainage holes for patio-friendly lilies.
- ● Stakes or cages: Supports tall varieties like Trumpet lilies (6+ feet) in windy areas.
- ● Soil pH test kit: Lilies thrive in slightly acidic to neutral soil (6.1–7.0).
Step-by-step guide to designing a low-maintenance lily garden
Here’s how to create a stunning lily display that thrives with seasonal care and minimal pruning.
🌱 Step 1: Select and Prepare the Planting Site
Lilies thrive in well-draining soil with full sun—choose a spot receiving at least 6 hours of direct sunlight daily. I dig the area to a depth of 12 inches to loosen compacted soil and mix in 2-3 inches of compost for nutrients. Avoid low-lying areas where water pools, as lilies despise soggy roots.
Test the soil pH—lilies prefer slightly acidic to neutral (6.1–7.0). If your soil is heavy clay, amend it with sand or perlite to improve drainage. I like to mark the planting area with stakes to visualize spacing before digging, ensuring each bulb has 12–24 inches of space to mature without competition.
🪴 Step 2: Plant Lily Bulbs at the Right Depth and Spacing
Plant bulbs twice as deep as their height—for example, a 6-inch bulb should go 12 inches underground. I use a trowel to create a hole, place the bulb pointy end up, and cover it with soil, pressing lightly to eliminate air pockets. Overplanting leads to weak stems and fewer blooms, so stick to the 12–24 inch spacing rule.
For a layered look, plant taller varieties (like Asiatic lilies) in the back and shorter types (such as Candida lilies) in front. Mulch with 2–3 inches of organic mulch (like shredded bark) to retain moisture and suppress weeds. This step is critical—skipping mulch means more weeding and less consistent blooming.
☀️ Step 3: Water and Fertilize for Strong Growth
Water deeply once a week after planting, ensuring the soil is moist 6 inches down. Lilies are drought-tolerant once established, but young plants need consistent moisture. I use a soaker hose to avoid wetting the foliage, which prevents fungal diseases like botrytis. Stop watering once buds form to encourage robust blooms.
Fertilize once in early spring with a balanced, slow-release fertilizer (10-10-10) and again after blooming with a low-nitrogen, high-phosphorus formula (5-10-10) to support bulb development. Over-fertilizing leads to lush leaves but fewer flowers—stick to the two-application rule for best results.
✂️ Step 4: Prune and Maintain for Year-Round Beauty
Deadhead spent blooms by cutting stems 2 inches above the nearest leaf node to redirect energy to bulb storage. I avoid pruning leaves until they yellow naturally—this ensures the bulb stores enough nutrients for next year’s growth. If you must prune early, leave one-third of the foliage to maintain photosynthesis.
In late fall, cut back dead foliage to 2–3 inches above ground level once it turns brown. This keeps the garden tidy without harming the bulb. I add a light layer of mulch in winter to protect bulbs from freezing temperatures, especially in colder climates where lilies may struggle.
⏰ Step 5: Divide and Refresh the Garden Every 3–4 Years
Lilies multiply over time, so dig up and divide clumps in early spring or fall when foliage is dormant. I carefully lift bulbs, separate offsets with a clean knife, and replant the healthiest ones. Discard any soft, mushy bulbs—they’re likely diseased. This step rejuvenates the garden and prevents overcrowding.
Replant divided bulbs at the same depth and spacing as before. Water thoroughly after transplanting to help them establish. With this routine, your lily garden will bloom reliably for years with minimal effort—just enjoy the show!
Tips & tricks for perfect lily garden flowers
Creating a thriving lily garden takes more than just planting bulbs—it's about understanding the subtle details that make all the difference. Here are the insights I've gathered from years of growing these elegant bloomers.
The Soil Depth Secret: When planting, remember that lilies need that 12-inch depth for a reason—their roots require ample space to establish before winter. I've learned the hard way that shallow planting leads to weak stems and fewer blooms. For larger bulbs (6+ inches), dig a hole that's twice the bulb's height—this creates the perfect environment for root development. The key is to press soil firmly around the bulb to eliminate air pockets, which can cause rot.
Layering Like a Pro: The 12–24 inch spacing between bulbs isn't just arbitrary—it creates that coveted layered look while preventing competition. I always plant taller varieties (like Asiatic lilies) at the back and shorter types (such as Candida lilies) in front. This not only looks stunning but also ensures each plant gets adequate sunlight. Pro tip: Use garden stakes to mark your spacing before digging—it saves time and prevents overcrowding later.
Watering Wisdom: That once-a-week deep watering is crucial, but timing matters just as much. Water in the morning so foliage has time to dry before evening—this prevents fungal diseases like botrytis that can ruin your blooms. I use a soaker hose to deliver water directly to the roots without wetting leaves. And here's a trick I picked up: stop watering completely once buds form. This might seem counterintuitive, but it actually encourages stronger stems and more robust blooms by preventing overhydration.
Fertilizer Strategy: The two-application rule for fertilizer is non-negotiable if you want those showstopping blooms. That 10-10-10 in early spring jumpstarts growth, while the 5-10-10 after blooming focuses on bulb development for next year. I've found that using a slow-release formula prevents nutrient burn while providing consistent feeding. And remember—more isn't better. Over-fertilizing leads to lush foliage but fewer flowers, which defeats the purpose of planting lilies in the first place.
Pro Tips for Lily Garden Flowers
- Creating a thriving lily garden takes more than just planting bulbs—it's about understanding the subtle details that make all the difference.
- The Soil Depth Secret: When planting, remember that lilies need that 12-inch depth for a reason—their roots require ample space to establish before winter.
- Layering Like a Pro: The 12–24 inch spacing between bulbs isn't just arbitrary—it creates that coveted layered look while preventing competition.
Frequently asked questions
How often should I water lilies in my garden?
Lilies are drought-tolerant once established, but consistent moisture is key during their first year. Aim for 1–1.5 inches of water per week, either from rainfall or deep watering. In hot climates, mulch around the base to retain moisture. Pro tip: Avoid soggy soil—ensure good drainage to prevent root rot.
When is the best time to plant lilies for spring blooms?
For vibrant spring blooms, plant lily bulbs in early fall (4–6 weeks before the first frost). This gives roots time to establish before winter. If you miss the fall window, spring planting is still possible, but blooms may be delayed. Choose a sunny spot (6+ hours of light) for optimal growth.
Can I grow lilies in containers, or do they need a garden bed?
Lilies thrive in containers if the pot is at least 12 inches deep with drainage holes. Use well-draining soil and repot every 2–3 years to refresh nutrients. Asiatic and Oriental lilies are top picks for pots—they’re compact and colorful. Just ensure the container gets enough sunlight.
How do I protect my lilies from pests like aphids or slugs?
Lilies are generally pest-resistant, but aphids and slugs can still be a nuisance. Spray affected leaves with soapy water for aphids, or set up beer traps (shallow dishes of beer) for slugs. For prevention, remove debris and plant marigolds nearby—they repel pests naturally.
Do lilies come back every year, or do I need to replant?
Most lilies are perennial and will return year after year with proper care! However, daylilies (Hemerocallis) and true lilies (Lilium) have different lifespans. True lilies may decline after 3–5 years—dig up and divide clumps in early spring to rejuvenate them. Pro tip: Fertilize lightly in spring to encourage robust regrowth.
Wrapping up and next steps
Creating a lily garden filled with year-round elegance is simpler than you think—especially with minimal pruning! 🌸 From selecting the right varieties to mastering low-maintenance care, these timeless blooms bring beauty without the hassle. Whether you’re a seasoned gardener or just starting, your garden is ready to flourish with confidence.
Ready to transform your outdoor space? Start by choosing a few hardy lilies, prep your soil, and let nature do the rest. Plant your first bulb today—your future garden awaits!