
Tools
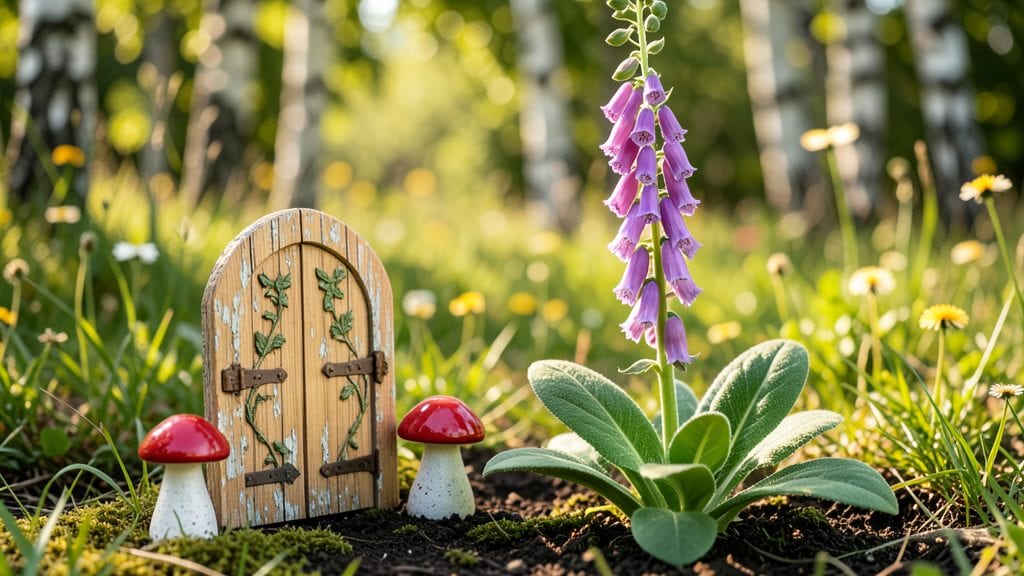
Creating an animal fairy garden turns a corner of your yard into a hidden world where tiny creatures and magical details coexist. 🌿 I stumbled upon this idea after watching bees buzz around my lavender patch, and I knew I wanted to blend whimsy with real wildlife support.
The best part? Every element serves double duty—decorative mushrooms double as toad houses, and pebble paths guide beneficial insects to your plants.
You’ll need just a few key supplies: small logs for bridges, flat stones for paths, native wildflowers for pollinators, and a few handmade touches like tiny bird feeders or bee hotels.
The magic happens in the details—think miniature furniture, wind chimes made from seed pods, or a tiny brook with a solar-powered pump. Even a small space can become a thriving ecosystem with the right plants and structures.
By the end, you’ll have a garden that’s not just pretty but alive—hummingbirds sipping from fairy teacups, ladybugs hiding under mushroom caps, and bees nesting in hollowed-out stems.
The best part? It requires almost no extra maintenance once set up. Your yard becomes a storybook come to life, where every visit reveals new little surprises.
This works year-round in most climates, though tropical regions might need shade-loving plants and drought-resistant decor. The key is balancing aesthetics with function—so every creature feels welcome, and every visitor feels enchanted. Let’s bring this tiny world to life!
📚 In This Guide
- What you need
- Instructions
- Tips and common mistakes
- Wrapping up and next steps
What you need
- ● Base Container: A shallow tray, wooden box, or ceramic dish (12" x 12" or larger for a spacious garden).
- ● Soil or Growing Medium: Cactus/succulent mix (1-2 bags) or lightweight potting soil (avoid heavy clay).
- ● Miniature Plants: Succulents (e.g., hens & chicks, echeveria) – 5-10 small plants.
- ● Moss (sheet moss or reindeer moss) – 1-2 sheets.
- ○ Miniature ferns or air plants – 3-5 (optional but magical!).
- ● Animal Figurines: Tiny ceramic or resin animals (e.g., deer, foxes, hedgehogs) – 3-5 pieces.
- ● Decorative Elements: Pebbles or sand (1 small bag) for pathways.
- ● Twigs or bark slices (3-5 pieces) for texture.
- ● Miniature mushrooms or toadstools (2-4).
- ● Tools: Small hand trowel or spoon for planting.
- ● Spray bottle (for misting plants).
- ● Scissors (for trimming moss or plants).
- ● Fairy lights or LED string lights (battery-operated, 1-2 strands).
- ● Glitter or biodegradable confetti (for a magical touch).
- ● Miniature water features (tiny fountain or pebble "pond").
- ● Hand-painted rocks or custom signs (e.g., "Welcome to the Enchanted Woods").
- ● Essential oils (e.g., lavender or eucalyptus) for a subtle scent.
Step-by-Step instructions for crafting your animal fairy garden
Let's build a magical miniature world where every tiny detail feels alive and inviting.
🪴 Step 1: Choose and Prepare Your Base Container
Pick a shallow container with a minimum 12-inch diameter—terracotta bowls, wooden trays, or even repurposed baking dishes work beautifully. I like to line the bottom with landscape fabric to prevent soil from falling through drainage holes while still allowing excess water to escape. This keeps roots healthy and your fairy home dry.
Fill the container with 3-4 inches of potting mix, gently pressing it down to create a firm base. Leave about 1 inch of space at the top for decorating layers. The soil should feel like a damp sponge—neither bone-dry nor soggy. This layer will anchor your tiny world and keep it stable for all the whimsical additions.
🌿 Step 2: Create the Landscape Foundation
Start by shaping the soil into gentle hills, valleys, or rolling terrain using your hands or a small trowel. I like to add 1-2 inches of pebbles or sand in low areas to create natural-looking streams or riverbeds. These elements will add texture and depth to your garden while keeping moisture in check.
For extra realism, sprinkle a thin layer of moss or fine bark mulch over the soil. This mimics natural forest floors and gives your fairy garden an instant aged, magical look. Press lightly to secure it—you don't want it shifting when you add tiny details later. This is where the magic begins to take shape!
☀️ Step 3: Add Structural Elements and Hidden Details
Place your miniature furniture, bridges, or tiny houses strategically across the landscape. I like to use 3-4 key pieces to create a focal point, like a mushroom house or a tiny bench. Arrange them so there's clear pathways between elements—fairies need room to explore! Add 3-5 small rocks around the base of structures to anchor them and create natural borders.
Now for the hidden magic: bury 3-4 small figurines just below the soil surface or tuck them into crevices. These could be tiny animals, fairy doors, or even hidden treasure chests. The idea is to create surprises that make the garden feel alive when viewed from different angles. This is where your garden transforms from cute to truly enchanting!
✂️ Step 4: Incorporate Greenery and Finishing Touches
Carefully place 5-7 small plants like succulents, moss, or tiny ferns around the garden. I like to use air plants because they don't need soil and add instant greenery. Arrange them in clusters near structures to create cozy nooks. Add 1-2 tiny lanterns or fairy lights (battery-operated, of course) to bring warmth and light to your scene.
For final details, sprinkle glitter or fine sand in subtle areas to mimic moonlight or riverbeds. Add 1-2 tiny wind chimes or delicate vines draped across bridges. Step back and look at your creation from a distance—this helps you see if any elements feel out of balance. The goal is harmony, not clutter. Every piece should feel intentional!
💧 Step 5: Maintain Your Fairy World
Water gently using a spray bottle—just enough to keep the soil lightly moist, about once every 2-3 days. Too much water will wash away your tiny details, and too little will dry out any live plants. I like to mist in the morning so everything has time to dry slightly before nightfall, which prevents mold.
Every 4-6 weeks, check for any shifts in your landscape or decorations. Tiny elements can move with handling, so gently readjust anything that feels out of place. If you notice any plants drying out, give them a little more water or trim them back to encourage bushier growth. The key is to keep your fairy garden looking fresh and inviting—like a secret world waiting to be discovered!
Tips & tricks for perfect animal fairy garden
Creating a magical miniature world takes a few clever tricks to make it feel truly enchanting. Here's what I've learned from building these whimsical spaces myself.
The Container Matters: Your base container sets the stage for the entire garden. I always look for containers with slightly uneven edges—they add natural character and prevent the garden from looking too perfect or symmetrical. If using a repurposed baking dish, rough up the edges with sandpaper to mimic natural terrain. This subtle detail makes the whole scene feel more organic and less manufactured.
Hidden Details Create Magic: In Step 3, when burying those 3-4 small figurines, think beyond just animals. I like to tuck in tiny glass beads as "fairy fireflies" or miniature mushrooms under leaves. These hidden elements make the garden feel alive when viewed from different angles. The key is to place them where they might be discovered by curious fairies—or observant humans!
Lighting Makes All the Difference: Those 1-2 tiny lanterns or fairy lights in Step 4 are game-changers. I recommend using warm white LED lights for a magical glow. Place them near the focal point structures (like that mushroom house) to create a cozy atmosphere. For extra effect, angle them slightly so the light casts subtle shadows that add depth to your scene.
Plant Placement Strategy: When arranging your 5-7 small plants in Step 4, follow the "rule of three" for natural groupings. Place three plants together near structures and two or three in separate clusters. This creates visual balance while making the garden feel organic. Air plants are perfect here—they don't need soil and can be placed almost anywhere, even on tiny "rocks" or "tree stumps."
Pro Tips for Animal Fairy Garden
- Creating a magical miniature world takes a few clever tricks to make it feel truly enchanting.
- The Container Matters: Your base container sets the stage for the entire garden.
- Hidden Details Create Magic: In Step 3, when burying those 3-4 small figurines, think beyond just animals.
Frequently asked questions
Got questions about creating your own animal fairy garden? You’re not alone! Here are some of the most common queries—and their answers—to help you bring your tiny, magical world to life.
What’s the best time of year to start an animal fairy garden?
Spring and early summer are ideal! The weather is mild, plants grow quickly, and you can enjoy building outdoors. However, if you’re crafting indoors, any season works—just ensure your materials are weather-resistant if placed outside later.
Can I use real insects or animals in my fairy garden?
Nope! Fairy gardens are all about imagination—use toy animals, plastic bugs, or even handmade creatures. Real insects might harm your plants or escape! Opt for lightweight, weatherproof figures to keep your garden safe and magical.
How much does it cost to create one?
Costs vary widely! A basic garden can start under $10 with thrifted containers and DIY decor. Fancier setups (custom figurines, rare plants) may run $50+. Check dollar stores, flea markets, or repurpose household items to save.
How do I protect my fairy garden from rain or pests?
Place it under a roof, awning, or in a covered pot. For pests, use natural deterrents like citrus peels or mint. Elevate it on a tray to prevent waterlogging. If outdoors, bring delicate decor inside during storms!
What if my garden looks too messy or uneven?
Embrace imperfection—fairy gardens are meant to feel alive! Trim overgrown plants, rearrange decor, or add moss for a natural touch. Pro tip: Use a small hand trowel to gently reshape soil without disturbing roots.
Wrapping up and next steps
Creating an animal fairy garden is more than just a craft—it’s a magical way to spark creativity, connect with nature, and bring joy to your space! Whether you’re crafting a tiny woodland scene or a whimsical desert oasis, every detail adds charm and personality.
The best part? There’s no "right" way—just let your imagination run wild! 🌿✨
Now that you’re inspired, why not take the next step? Gather your materials, pick your favorite animal theme, and start building. Share your progress with friends or even turn it into a fun family project.
Your fairy garden could be the next tiny masterpiece—so what are you waiting for? Get crafting!