Tools
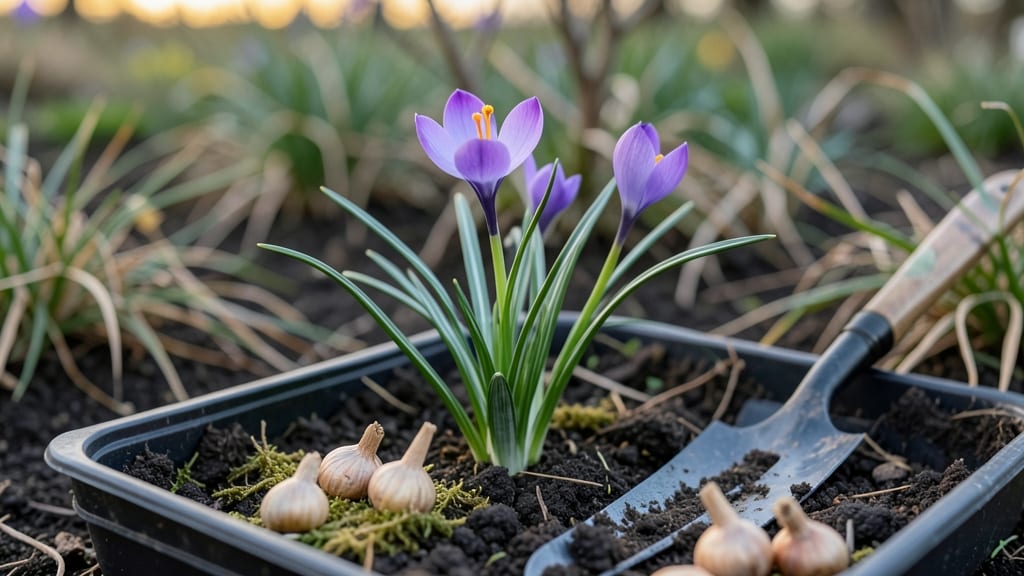
March gardening is your chance to outsmart frost and get a jump on the growing season. 🌱 I’ve learned the hard way that rushing too early leads to wilted seedlings, but planting the right crops at the right time means fresh harvests by summer.
The key is knowing which cold-hardy vegetables and flowers can handle late frosts—and which need to wait.
Start with soil prep: loosen the ground, add compost, and protect it with mulch to warm faster. For outdoor planting, focus on peas, spinach, and hardy lettuces once nighttime temps stay above 25°F.
Indoors, begin tomatoes and peppers under grow lights—just don’t let them get leggy. The goal is to have sturdy transplants ready by late April.
You’ll see those first green shoots pushing through soil within 2-3 weeks, and by June, you’ll be harvesting crisp peas and tender greens. The trick is watching the forecast and having row covers ready for surprise frosts.
March is all about balance—push too hard, and you’ll lose plants; wait too long, and you’ll miss the early harvest window.
This works best in Zones 5-8, but adjust for your local last-frost date. Northern gardeners can start even earlier with cold frames, while Southerners might wait until after Easter.
Either way, March is your golden month to set the stage for a bountiful summer. Let’s get those seeds in the ground!
📚 In This Guide
- What you need
- Instructions
- Tips and common mistakes
- Wrapping up and next steps
What you need
- ● Garden soil or potting mix: 5–10 bags (depending on garden size), rich in organic matter (look for compost or peat-based blends).
- ● Cold frames or row covers: 1–2 (to extend the growing season and protect tender seedlings).
- ● Seeds: Peas (sugar snap, snow, or shelling) – 1 oz per 10 feet of row.
- ● Spinach or kale – ½ oz per 25 feet of row.
- ● Lettuce (leaf or head varieties) – ½ oz per 10 feet of row.
- ● Radishes – ¼ oz per 10 feet of row (fast-growing!).
- ● Onions or garlic (sets) – 1–2 lbs, depending on desired yield.
- ● Garden tools: Hand trowel (for transplanting seedlings).
- ● Pruners (for trimming dead growth).
- ● Garden fork (to loosen soil).
- ● Hoe (for weeding and soil prep).
- ● Watering supplies: Watering can or hose with a gentle spray nozzle.
- ○ Drip irrigation kit (optional but helpful for consistent moisture).
- ● Fertilizer: Slow-release organic fertilizer (e.g., 10-10-10 or compost tea) to boost soil nutrients.
- ● Mulch: Straw or shredded leaves (2–3 inches) to retain moisture and suppress weeds.
- ● Plant markers: Wooden stakes or labels to track seed varieties.
- ● Gloves: A pair of durable gardening gloves to protect your hands.
- ● Seedling heat mat: For indoor starts (if you’re pushing the limits with tender crops like broccoli).
- ● Soil thermometer: To monitor ground temperature (ideal for cold-hardy crops: 40–50°F).
Step-by-step instructions for March planting success
March brings crisp air and hopeful sunlight—here’s how to make the most of it.
🌱 Step 1: Test and Prep Your Soil
Before planting anything, test your soil’s temperature and moisture. Cold-hardy crops like peas, spinach, and lettuce need soil that’s at least 40°F—warmer than the air. Stick your finger 2 inches deep; if it feels cold and damp, wait a few days. I like to cover the bed with black plastic for 1-2 weeks before planting to warm the soil faster.
Loosen the top 6 inches of soil with a garden fork, breaking up any compacted layers. Mix in 2 inches of compost to feed your plants right away. Avoid working the soil when it’s wet—it’ll clump and repel roots. Instead, wait until it’s crumbly and slightly damp, like a wrung-out sponge.
☀️ Step 2: Plant Cool-Season Crops
Start with the most cold-tolerant crops first. Sow peas and spinach directly into the garden as soon as the soil is workable. Press seeds 1 inch deep, spacing them 2 inches apart in rows 12 inches apart. For lettuce, scatter seeds thinly—crowding leads to weak, leggy plants. Cover with ¼ inch of soil and water gently to settle them in.
If you’re still seeing frost warnings, protect tender seedlings with floating row covers or a cloche. These create a microclimate that keeps plants warm enough to survive light frosts. I’ve seen peas thrive under covers even when nighttime temps dip to 25°F.
💧 Step 3: Water and Mulch Strategically
Water deeply right after planting—1 inch of water should soak into the soil. Use a rain gauge or tuna can to measure; eyeballing it often leads to over- or under-watering. Water in the morning so plants dry off before evening, reducing disease risk. Avoid wetting the leaves of seedlings; water at the base instead.
Once your plants are up, apply 2 inches of straw mulch around them. Mulch keeps soil moist, suppresses weeds, and moderates temperature swings. Leave a 1-inch gap between the mulch and plant stems to prevent rot. I like to add mulch in the late afternoon so it has time to settle before evening dew sets in.
⏰ Step 4: Monitor and Adjust
Check your plants daily for signs of stress. Wilting in the morning? They need more water. Yellowing leaves? They might be getting too much. Peas and spinach are forgiving, but lettuce can bolt (go to seed) if it gets too warm too fast. If daytime temps climb above 70°F, provide afternoon shade with a lightweight shade cloth.
Fertilize lightly with a balanced organic fertilizer (like 5-5-5) if your soil is poor. Too much nitrogen now will encourage leafy growth at the expense of roots. I like to side-dress with a handful of compost around each plant instead—it feeds slowly and improves soil structure over time.
Tips & tricks for perfect March planting success
March gardening sets the stage for your entire growing season—here's how to avoid common pitfalls and maximize your early planting.
The Soil Temperature Test: Those 40°F soil temps aren't just numbers—they're your green light to plant. I learned this the hard way after planting peas too early in chilly soil, which delayed germination by weeks. Use a soil thermometer for accuracy, especially if your mornings still have frost. Remember, roots need warmth to establish quickly, and 40°F is the absolute minimum for cold-hardy crops to thrive. If you're unsure, wait until you can consistently feel warmth at 2 inches deep.
Black Plastic Hack: Covering your beds with black plastic for 1-2 weeks before planting is a game-changer for warming cold soil. I've seen soil temps rise by 10-15°F in just a few days this way. Pro tip: Remove the plastic right before planting to avoid overheating the soil surface. This creates the perfect balance—warm enough for roots but not scorching for seeds. The plastic also helps break up compacted soil naturally as it warms.
Seed Spacing Secrets: Those 2 inches apart measurements for peas and spinach might seem tight, but they're crucial. Crowding leads to competition for nutrients and increases disease risk. For lettuce, thin seedlings to 6-8 inches apart once they're 2 inches tall—this prevents legginess and encourages bushier growth. I use a pair of clean scissors to snip unwanted seedlings at soil level, which is gentler than pulling and less stressful for the remaining plants.
Frost Protection Strategy: When nighttime temps dip to 25°F, your floating row covers become essential. I've had peas survive -2°F temps under heavy covers, but the key is securing them tightly. Use bricks or landscape fabric weights to keep covers from blowing off. For extra protection, add a layer of straw mulch 3-4 inches thick around the base of plants—it acts like a thermal blanket. Remember to remove covers during the day to prevent overheating and allow for photosynthesis.
Pro Tips for Gardening In March
- March gardening sets the stage for your entire growing season—here's how to avoid common pitfalls and maximize your early planting.
- The Soil Temperature Test: Those 40°F soil temps aren't just numbers—they're your green light to plant.
- Black Plastic Hack: Covering your beds with black plastic for 1-2 weeks before planting is a game-changer for warming cold soil.
Frequently asked questions
Got questions about tackling your garden in March? You’re not alone—early spring gardening can feel tricky! Here are answers to the most common queries to help you get started with confidence.
What cold-hardy crops can I plant in March?
March is perfect for cool-season crops like peas, spinach, lettuce, kale, and radishes. Check your USDA zone for exact timing, but most hardy veggies tolerate light frosts. Start seeds indoors for slower growers like broccoli or transplant seedlings if soil is workable (around 40–50°F).
How do I know if my soil is ready for planting?
Test soil readiness with the finger test: Push your finger 2–3 inches deep. If it’s crumbly (not muddy or rock-hard), it’s ready! Avoid working wet soil—it compacts and harms roots. A soil thermometer (aim for 45°F+) or a simple dirt clump test (squeeze—if it holds shape, wait) also helps.
Can I use last year’s compost or fertilizer?
Yes, but with a twist! Fresh compost is great, but avoid raw manure (it can burn plants). For slow-release nutrients, mix in balanced fertilizer (10-10-10) or bone meal for phosphorus. Top-dress with compost after planting to feed roots. Pro tip: Test your soil’s pH—most veggies thrive at 6.0–7.0.
What pests should I watch for in early March?
March pests vary by region, but slugs, aphids, and cabbage worms are common early offenders. Prevent slugs with copper tape or diatomaceous earth. For aphids, blast them off with water or introduce ladybugs. Row covers protect seedlings from flying insects. Inspect plants weekly—early action saves your crop!
What if a late frost hits after I’ve planted?
Don’t panic! Use frost blankets or old bedsheets to shield tender plants. Hardier crops (like peas or spinach) often bounce back. For seedlings, cover them at dusk and remove during the day. If frost kills plants, replant as soon as soil warms—March’s unpredictable, but resilience is key!
Wrapping up and next steps
March is your chance to jumpstart the growing season with cold-hardy crops—so grab those gloves, dust off your tools, and let your garden thrive! 🌱 Whether you're sowing seeds indoors, hardening off transplants, or prepping soil, every small step now sets the stage for a bountiful harvest. Start small, stay consistent, and watch your green thumb grow!
Ready to dive deeper? Plan your next steps:
- Check your local frost dates for precise timing.
- Explore succession planting to maximize your garden’s yield.
- Join a local gardening group for tips and motivation!