
Tools
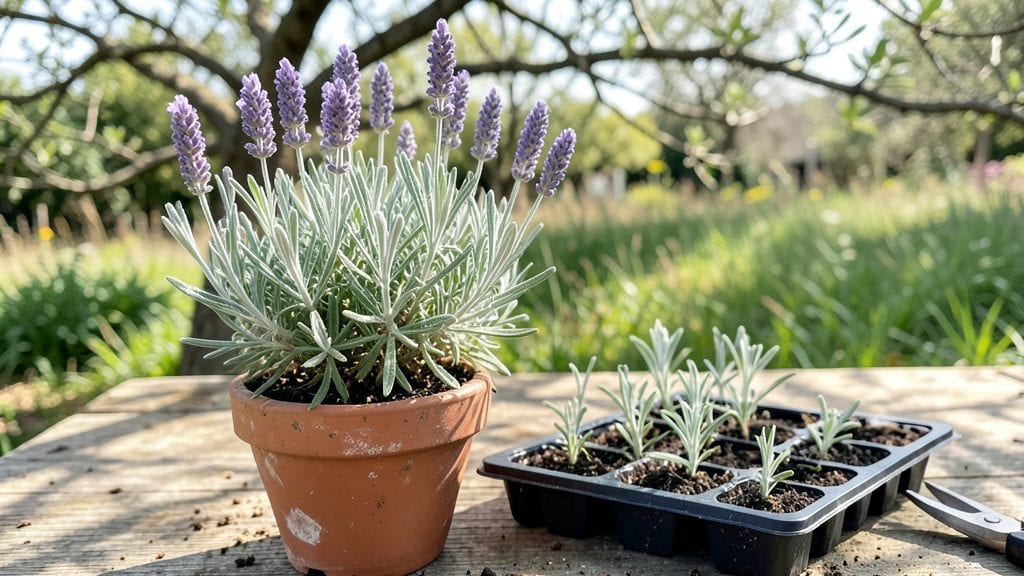
A children's gardening table turns muddy backyard play into a growing adventure. 🌱 I built mine from cedar and painted it bright blue—now my 6-year-old’s "garden club" meets there every afternoon to plant sunflowers and herbs.
The built-in planter boxes keep soil contained, and the height lets kids work without bending over.
The best designs include a removable tray for easy cleanup and storage bins underneath. You can DIY with basic tools or buy pre-made tables with drainage holes. Cedar resists rot, and non-toxic paint makes it safe for little hands. For small spaces, foldable tables work too—just add a weatherproof cover.
By summer’s end, you’ll have a thriving mini-garden that teaches responsibility and patience. Watch their faces light up when those first sunflower sprouts break through the soil. The table becomes their pride and joy, not just another toy.
Works for urban balconies, backyard corners, or even indoor windowsills with grow lights. Next, we’ll cover material choices and safety checks to make it last for years of happy growing.
📚 In This Guide
- What you need
- Instructions
- Tips and common mistakes
- Wrapping up and next steps
What you need
- ● Tabletop: Plywood or MDF (½-inch thick, 24" x 48" or larger)
- ○ Optional: Pre-cut tabletop with built-in planter grooves (check home improvement stores for DIY planter kits)
- ● Planter Box: Wooden planks (1x6 or 1x8, untreated cedar or redwood for durability)
- ● Non-toxic wood glue
- ● Legs & Frame: 4 wooden legs (2x2 or 2x4, 24"–30" tall for kid height)
- ● 2x4 lumber for cross supports (for stability)
- ● Fasteners: 1½" or 2" deck screws (galvanized or stainless steel)
- ○ Wooden corner brackets (optional, for extra reinforcement)
- ● Safety & Finishing: Non-toxic wood stain or paint (water-based, low-VOC)
- ● Sandpaper (80- and 120-grit)
- ● Wood filler (for smooth edges)
- ● Measuring tape and pencil
- ● Circular saw or handsaw
- ● Drill/driver with bits
- ● Clamps (for gluing)
- ● Orbital sander or sanding block
- ○ Optional: Kreg jig (for pocket-hole joinery)
- ● Child-safe paint markers for decorating
- ● Drainage holes kit (if adding a waterproof liner)
- ● Small shovel, rake, or gardening tools (miniature size)
- ● LED string lights (battery-operated, for ambiance)
Step-by-Step instructions for building a children's gardening table
Let's create a sturdy, fun grow space where little hands can plant, tend, and watch their garden thrive.
🪴 Step 1: Build the Table Base and Planter Box
Start by constructing a 24-inch tall table with a 2-foot by 4-foot top surface using 2x4 lumber and ½-inch plywood. Cut the plywood to size and sand all edges smooth to prevent splinters. Attach the legs securely with wood screws—kids will lean on this, so stability matters. For the built-in planter, line the bottom with landscape fabric to prevent soil from falling through cracks.
Next, build a 12-inch deep raised planter along one side of the table using 1x6 boards. Secure the sides with corner braces for extra strength. Leave a 2-inch gap between the planter and tabletop so kids can easily reach inside. Here's the thing—this gap also lets water drain away from the table surface, keeping it dry for picnics or crafts later.
🌱 Step 2: Add Drainage and Soil Prep
Drill ¼-inch drainage holes in the bottom of the planter box every 6 inches to prevent waterlogging. Line the bottom with 1 inch of small gravel to improve drainage further. This layer keeps roots from sitting in soggy soil while letting excess water escape. Now, fill the planter ¾ full with a mix of topsoil and compost—use 3 parts soil to 1 part compost for balanced nutrition.
I like to have kids help spread the soil mix evenly. Press it down lightly with their hands (supervised!) to remove air pockets. The goal is fluffy but firm enough to support young plants. If the soil feels powdery, add a little water and mix again until it holds together when squeezed but doesn't form clumps.
☀️ Step 3: Set Up Watering and Sun Access
Attach a small watering can with a rose attachment to the side of the table (use a wooden hook screwed into the leg). This keeps watering tools handy and prevents spills on the floor. Position the table near a south-facing window or under partial shade—most child-friendly plants like sunflowers, marigolds, and herbs need 4-6 hours of sunlight daily.
For extra fun, add a sun dial or weather vane to the tabletop. Kids love tracking sunlight patterns and predicting weather. If your space gets too much direct sun, drape a lightweight shade cloth over part of the table. You'll notice plants wilting or turning yellow when they need more shade—this teaches them to observe their garden's needs.
💧 Step 4: Plant Kid-Friendly Seeds and Starts
Start with easy-to-grow seeds like sunflower, bean, or pumpkin—they sprout quickly and grow fast, keeping kids engaged. Plant seeds ½ inch deep and 2 inches apart in rows. For young plants, dig holes twice as wide as the root ball and just as deep. Gently firm the soil around each plant with fingers to remove air gaps.
Label each planting with child-safe markers (use popsicle sticks and washable paint). This helps kids track growth and learn plant names. Water gently after planting—enough to settle the soil but not so much it washes seeds away. You'll see the first true leaves appear in 7-14 days, depending on the plant and weather.
✂️ Step 5: Add Fun Extras for Learning
Include a small tool station with a child-sized trowel, gloves, and magnifying glass attached to the table. Use hooks or a small wooden crate to hold tools within easy reach. Add a chalkboard or whiteboard to the side for tracking plant growth, weather, or drawing what they observe.
For sensory play, tuck in textured plants like lamb's ear (soft leaves), mint (fragrant), or snapdragons (bright colors). These teach kids about plant diversity while keeping them curious. Real talk—kids will want to touch everything, so include non-toxic plants only. Avoid anything with milky sap or thorns.
Tips & tricks for perfect children's gardening table
A few simple tricks will help you build a gardening table that's both sturdy and engaging for little hands.
Stability is Key: When attaching the legs in Step 1, pre-drill holes for the wood screws to prevent splitting. I've found that using 2½-inch screws instead of the standard 2-inch screws adds extra hold, especially if kids will be climbing on it. Also, reinforce the corners with corner braces—this prevents wobbling when kids lean against it. Trust me on this, you don't want to rebuild because the table tipped over during a gardening session!
Drainage Matters: In Step 2, don't skip the ¼-inch drainage holes—they're crucial for preventing soggy roots. I like to use a step bit for consistent hole sizes. After drilling, place the gravel layer and landscape fabric before adding soil. This creates a natural barrier that keeps soil from falling through while allowing water to drain freely. The 2-inch gap between the planter and tabletop is also genius—it prevents water from pooling on the table surface.
Sunlight Strategy: For Step 3, if you don't have a south-facing window, consider placing the table near an east-facing window for morning light. Most child-friendly plants need that 4-6 hours of sunlight daily, but morning sun is gentler and less likely to scorch young leaves. You can also rotate the table throughout the day to follow the sun's path. For indoor setups, add a grow light on a timer for 6-8 hours daily—it's a game-changer for consistent growth.
Planting Pro Tips: When planting seeds in Step 4, make a small indentation with your finger—it's easier than using a trowel for tiny seeds. For the ½-inch depth, think "nickel deep" to help kids visualize it. After planting, gently press the soil with your hand (not too hard!) to create good seed-to-soil contact. This small step makes a big difference in germination rates. And remember, those 7-14 days for sprouts can feel like forever to kids—keep them excited by making a simple growth chart!
Pro Tips for Childrens Gardening Table
- A few simple tricks will help you build a gardening table that's both sturdy and engaging for little hands.
- Stability is Key: When attaching the legs in Step 1, pre-drill holes for the wood screws to prevent splitting.
- Drainage Matters: In Step 2, don't skip the ¼-inch drainage holes—they're crucial for preventing soggy roots.
Frequently asked questions
Got questions about setting up a children’s gardening table? You’re not alone! Here are some of the most common concerns—and their easy solutions—to help you get growing with confidence.
What’s the best age for kids to start using a gardening table?
A gardening table is perfect for kids as young as 3–4 years old, but supervision is key for little ones. Toddlers can enjoy sensory play with soil and seeds, while older kids (5+) can handle planting and watering tasks. Look for tables with adjustable heights to grow with your child!
How long does it take for kids to see results in their garden?
Fast-growing plants like radishes, lettuce, or sunflowers can sprout in as little as 5–10 days, while herbs (basil, mint) take 2–4 weeks to show off leaves. Patience is part of the fun—turn waiting time into a mini science lesson!
Are there budget-friendly alternatives to a built-in gardening table?
Try a raised wooden planter box (DIY or pre-made) on a sturdy table or even a kiddie pool liner filled with soil. Repurpose a plastic storage bin with drainage holes for a temporary setup. Just ensure it’s stable and safe for little hands!
What should I do if my child’s plants wilt or die?
Don’t worry—it’s all part of the learning process! Overwatering is the #1 culprit, so check soil moisture with a finger (top inch should be dry). If leaves turn yellow, adjust sunlight or nutrients. Turn it into a lesson: “Let’s try again with a sun-loving plant!”
Can I add features like a watering station or storage to my table?
Yes! Many tables come with optional add-ons like built-in watering cans or tool holders. For DIY upgrades, attach a small pegboard to the side for gardening tools or add a removable tray to catch spills. Just secure everything tightly to avoid tipping hazards.
Wrapping up and next steps
A children’s gardening table isn’t just a fun toy—it’s a gateway to creativity, learning, and outdoor adventure for little hands! 🌱 With the right materials and a dash of imagination, you’ve got everything needed to grow confidence (and maybe some veggies or flowers) alongside your kids.
Whether they’re digging in the dirt or celebrating their first sprout, this project is all about making memories—and maybe a few messes—along the way.
Ready to get started? Grab your tools, rally the family, and let the planting begin! 🌟 Next up: Watch your child’s excitement bloom as they tend to their very own green space—one tiny seed at a time.