
Planting
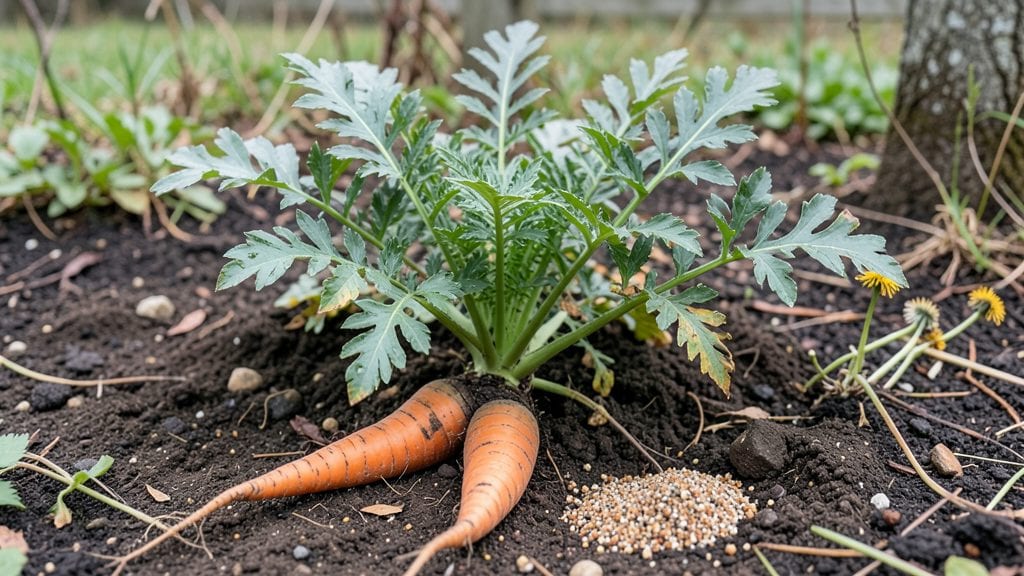
Deep root gardening isn't just digging deeper—it's about creating a soil environment where plants can reach for nutrients like they would in the wild. 🌱 I learned this the hard way when my tomatoes kept wilting in 90-degree heat, even though I watered them daily.
The problem? Their roots never went past the top 6 inches of soil.
This method focuses on loosening soil naturally, adding organic matter that encourages roots to grow downward, and choosing plants bred for deep exploration.
You’ll need a few simple tools—a broadfork, compost, and patience—but the results speak for themselves: plants that stay green through droughts, produce heavier yields, and resist disease better than shallow-rooted varieties.
📚 In This Guide
- What you need
- Instructions
- Tips and common mistakes
- Wrapping up and next steps
What you need
- ● Garden fork or deep-rooting trowel: A heavy-duty, 12–18-inch fork (like a Broadfork) or a sturdy trowel for breaking up compacted soil.
- ● Compost or organic matter: At least 2–3 gallons per planting hole (aged compost, worm castings, or leaf mold work best).
- ● Slow-release fertilizer: A balanced, organic fertilizer (e.g., 5-5-5 or 10-10-10) to nourish roots over time.
- ● Mulch: 2–3 inches of straw, wood chips, or shredded leaves to retain moisture and regulate soil temp.
- ● Watering can or hose with a gentle nozzle: For deep, slow watering (aim for 1–2 gallons per plant per session).
- ● pH test kit: To check soil acidity/alkalinity (ideal range: 6.0–7.0 for most plants).
- ● Biochar or perlite: Improves drainage and microbial activity (1 cup per hole mixed into soil).
- ● Mycorrhizal fungi: A powder or liquid inoculant to boost root networks (follow package instructions).
- ● Soil aerator or deep-root feeder: For larger gardens or stubborn compaction.
- ● Garden journal: To track soil amendments, plant growth, and watering schedules!
Step-by-Step instructions for deep root gardening
Here’s the method I’ve used to transform struggling plants into hardy, drought-resistant giants.
🌱 Step 1: Prepare the Soil with Deep Amendments
Start by removing any existing vegetation from your planting area—roots and all. Use a broadfork or digging fork to loosen the soil to a depth of 12-18 inches. This breaks up compaction and creates space for roots to explore. I like to work in dry soil first, then water deeply to settle the amendments.
Mix in 3-4 inches of compost and 1-2 inches of aged manure into the top 6 inches of soil. For heavier clay soils, blend in 2-3 inches of coarse sand to improve drainage. The goal is a crumbly, nutrient-rich layer that encourages roots to dive deep instead of staying shallow.
💧 Step 2: Plant Deeply and Train Roots Downward
When planting, bury the stem deeper than you normally would—up to ⅓ of the plant’s height for perennials or half the stem for vegetables like tomatoes. This triggers root growth along the buried portion. For example, if you’re planting a tomato seedling that’s 12 inches tall, bury it so only 6 inches remain above soil level.
After planting, water deeply to encourage roots to seek moisture below the surface. I like to use a soaker hose or drip irrigation to deliver water slowly, which prevents runoff and encourages roots to grow downward. Avoid surface watering—it rewards shallow roots that stay near the top.
☀️ Step 3: Mulch Heavily to Protect and Insulate
Spread a 3-4 inch layer of organic mulch—like straw or wood chips—around the base of your plants, keeping it 2-3 inches away from the stem to prevent rot. Mulch does more than suppress weeds; it regulates soil temperature, retains moisture, and encourages roots to grow deeper in search of stability.
Replenish mulch as it breaks down, especially in hot climates where it decomposes quickly. You’ll notice stronger stems and fewer wilting issues, even during dry spells. This is the moment roots really start working for you—stay patient, and you’ll see the difference in just a few weeks.
✂️ Step 4: Prune Strategically to Encourage Root Growth
Prune back any leggy or overgrown stems by ⅓ of their length to redirect the plant’s energy toward root development. This is especially effective for fruiting plants like tomatoes, peppers, and berries. The key is to prune in the early stages of growth, before the plant puts all its energy into flowering or fruiting.
Remove any suckers or competing growth that steals nutrients from the main plant. You’ll see thicker stems and a more robust structure as the plant focuses on building a strong root system. This step is often overlooked, but it’s one of the best ways to ensure long-term plant health.
🪴 Step 5: Monitor and Adjust for Long-Term Success
Check soil moisture at a depth of 6-8 inches using a moisture meter or by digging down with a trowel. Water only when the soil at this depth feels dry—this trains roots to seek moisture deeper in the soil profile. Overwatering at the surface discourages deep root growth, so resist the urge to water lightly every day.
Every few months, add a 1-2 inch layer of compost to the soil surface and lightly scratch it into the top layer. This keeps nutrients available without disturbing the deeper roots you’ve worked so hard to establish. With consistent care, your plants will develop the strength to thrive year-round, even in challenging conditions.
Tips & tricks for deep root gardening
These soil secrets will help you cultivate plants that defy drought and stand strong through seasons—no green thumb required.
The Depth Factor: When loosening soil in Step 1, aim for that 12-18 inch depth with your broadfork, but don't rush—work in sections if needed. The key is to create vertical channels for roots to follow. I've found that adding a few handfuls of perlite to clay soils (along with the recommended sand) creates even better drainage pathways. Think of it like building a subway system for your roots instead of surface streets.
Planting Hack: In Step 2, if you're planting tomatoes or peppers, make a small trench around the buried stem before backfilling. This creates a natural moisture reservoir that encourages roots to grow outward along the trench walls. For perennials, consider creating a "root collar" by mounding soil around the base—this prevents stem rot while encouraging downward growth. The deeper you plant, the more stable your plants will be during wind and storms.
Mulch Strategy: For Step 3, I recommend using a 2-inch layer of coarse wood chips over the 3-4 inch organic mulch layer. The wood chips break down slowly, creating a sponge-like effect that holds moisture deep in the soil profile. In hot climates, this can reduce watering needs by up to 50%. Pro tip: Refresh the mulch layer every spring—this gives you a chance to check soil moisture at that critical 6-8 inch depth mentioned in Step 5.
Pruning Insight: When pruning in Step 4, focus on removing growth that's pointing inward toward the center of the plant. These "suckers" compete for nutrients that could be going to root development. I like to use clean, sharp pruners and make cuts at a 45-degree angle just above a leaf node. This technique actually stimulates faster root growth while keeping your plant's energy focused downward. Remember, every cut you make above ground encourages growth below!
Pro Tips for Deep Root Gardening
- These soil secrets will help you cultivate plants that defy drought and stand strong through seasons—no green thumb required.
- The Depth Factor: When loosening soil in Step 1, aim for that 12-18 inch depth with your broadfork, but don't rush—work in sections if needed.
- Planting Hack: In Step 2, if you're planting tomatoes or peppers, make a small trench around the buried stem before backfilling.
Frequently asked questions
Got questions about deep root gardening?
You’re not alone! Here are answers to the most common queries to help you grow stronger, healthier plants with confidence.
What’s the best time of year to start deep root gardening?
Deep root gardening works year-round, but the best time to start is early spring (before the growing season) or late summer/fall (to prep for winter). Avoid extreme heat or frost—soil needs to be workable but not soggy. For container plants, you can start anytime!
Do I need special tools for deep root gardening?
Not necessarily! While a deep root fertilizer (like compost or mycorrhizal fungi) and a long-handled trowel or auger help, you can also use a sturdy shovel or even your hands for smaller plants. The key is loosening soil 12–18 inches deep to encourage root growth.
How often should I water deep-rooted plants?
Deep root plants need less frequent but deeper watering. Aim for 1–2 inches of water per week, delivered slowly to encourage roots to grow downward. Mulch helps retain moisture—just avoid overwatering, which can suffocate roots.
Can I use deep root gardening for indoor plants?
For potted plants, use a well-draining soil mix and gently loosen roots when repotting. Add compost or worm castings to boost nutrients. Just ensure pots have drainage holes—roots need space to explore downward, even in containers.
What if my plants aren’t growing deeper roots?
Check your soil first—it should be loose, aerated, and rich in organic matter. If roots stay shallow, try:
- Adding compost or biochar to improve drainage.
- Using a deep watering technique (like a soaker hose).
- Choosing deeper-rooted varieties (e.g., tomatoes, carrots, or fruit trees).
Wrapping up and next steps
Deep root gardening isn’t just a technique—it’s a game-changer for resilient, thriving plants that stand strong through every season! By unlocking the soil’s hidden potential, you’re giving your garden the foundation it needs to flourish with minimal effort.
Whether you’re a beginner or a seasoned green thumb, these soil secrets will empower you to grow healthier, hardier plants year-round.
Ready to transform your garden? Start small—pick one plant or section, test your soil, and dive into deep root techniques. Your future self (and your plants!) will thank you. 🌱✨