Tools
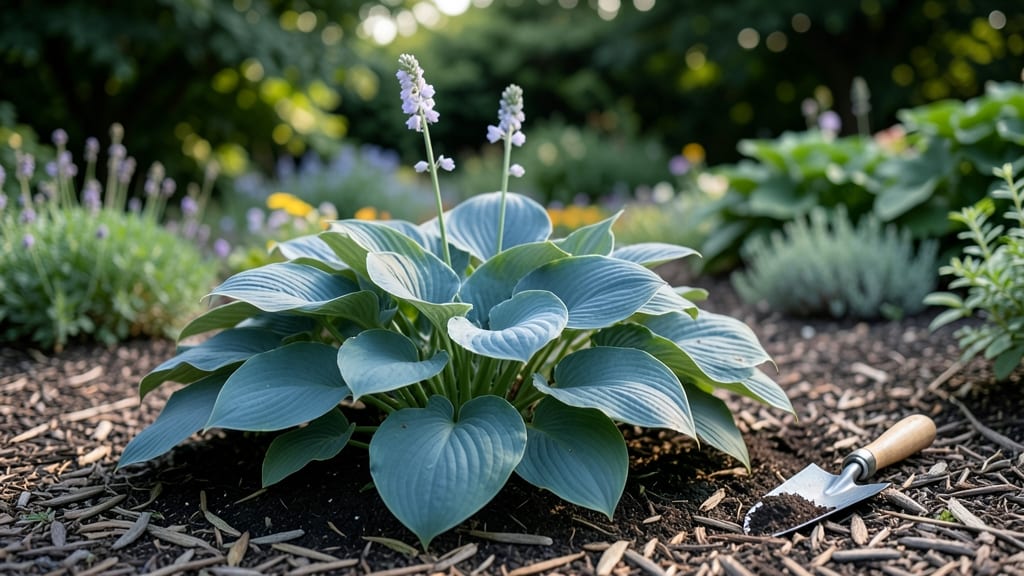
Garden bed layering transformed my cluttered backyard into a lush, three-dimensional masterpiece where every inch produces something delicious. 🌿 The secret isn't just planting tall things in back and short things in front—it's stacking plants by their natural growth habits, sunlight needs, and even their blooming seasons to create a garden that looks stunning while yielding more food.
Start with your tallest perennials or woody plants at the back—they'll anchor the design and cast minimal shade on shorter plants below. Next comes the middle layer with shrubs, herbs, or mid-height vegetables that need support, like tomatoes or peppers.
Finally, fill the front with low-growing flowers, greens, or ground covers that spill over edges. This isn't just pretty; it's a space-saving hack that lets me grow twice as much in the same footprint.
By the time summer hits, you'll have a garden that's bursting with color and texture at every level—tall sunflowers nodding behind fragrant lavender, bush beans climbing trellises in the middle, and sweet alyssum spilling over the front edge.
The best part? Layers reduce competition for sunlight and water, so plants thrive without constant fuss. Let's get your beds stacked the right way!
This method works for raised beds, in-ground plots, or even container gardens—just adjust the scale. Whether you're dealing with a sunny border or a shady corner, layering lets you customize the look while maximizing every square foot of growing space.
The key is starting with your tallest plants and working your way down like building a living staircase.
📚 In This Guide
- What you need
- Instructions
- Tips and common mistakes
- Wrapping up and next steps
What you need
- ● Cardboard or thick newspaper – 2-3 sheets per square foot of bed (to smother weeds and block light). Use uncoated, non-glossy paper without color ink.
- ● Brown cardboard boxes – 1-2 per bed (for structural support and bulk). Avoid wax-coated or taped boxes.
- ● Compost – 3-4 inches (for nutrient-rich base layer). Use well-aged compost or homemade pile.
- ● Leaf mold or shredded leaves – 2-3 inches (for aeration and moisture retention). Shred leaves to speed up decomposition.
- ● Straw or dry grass clippings – 2-3 inches (as a carbon-rich layer). Avoid fresh grass clippings to prevent matting.
- ● Wood chips or chopped twigs – 1-2 inches (for bulk and structure). Use hardwood or untreated softwood.
- ○ Well-rotted manure – 1-2 inches (optional but boosts fertility). Choose horse, cow, or chicken manure—avoid dog or cat waste.
- ● Mulch (straw, wood chips, or leaves) – 2-3 inches (top layer to retain moisture). Choose based on your climate and plant needs.
- ● Garden fork or broadfork – 1 (for loosening soil minimally, if needed).
- ● Rake – 1 (to smooth layers and remove debris).
- ● Shovel or spade – 1 (for marking bed edges and minor adjustments).
- ● Wheelbarrow or large bin – 1 (for mixing and hauling materials).
- ● Watering can or hose – 1 (to dampen layers as you go).
- ● Biochar – Sprinkle lightly (improves soil structure and microbial activity).
- ● Worm castings – Mix into compost layer (adds beneficial microbes).
- ● Compost tea or microbial inoculant – Spray on layers (boosts decomposition).
- ○ Landscape fabric (optional) – 1 roll (if weeds are a persistent issue; poke holes for plants).
- ● Garden twine or stakes – 1 roll (to mark bed edges temporarily).
Instructions for building a no-dig garden bed layer by layer
This method transforms compacted soil into rich, crumbly loam without a single shovel turn.
🌱 Step 1: Mark and Clear the Bed Layout
Use the wooden stakes and string to outline your 4-foot wide by 8-foot long bed. Step back and adjust until the shape feels balanced in your space. Clear away all grass, weeds, and debris—this prevents competition for nutrients later. I like to lay down a thick layer of cardboard (no glossy ink) over stubborn weeds to smother them completely before adding layers.
Check that the bed sits in full sun for at least 6 hours daily—most vegetables and herbs demand this for best growth. If your spot gets afternoon shade, focus on leafy greens or herbs instead of tomatoes or peppers. The cardboard should cover the entire bed area, overlapping edges by 2 inches to block light entirely.
🪴 Step 2: Build the Foundation Layers
Start by spreading the 2 inches of coarse wood chips evenly over the cardboard. This layer prevents weeds from pushing through while breaking down slowly to feed the soil. Use your hands to fluff the wood chips—don’t compact them, as air pockets help roots establish faster. Next, add the 3 inches of compost directly on top. I like to mix in a handful of the bone meal here for phosphorus, which encourages strong root development.
Smooth the compost layer with a rake, breaking up any clumps. The goal is an even surface—no deep holes where water might pool later. Press down lightly with your foot (wear shoes!) to settle the materials. You’ll notice the compost feels warm and crumbly—this is your first sign the bed is ready for planting.
💧 Step 3: Add the Topsoil and Mulch
Spread the 2 inches of topsoil evenly over the compost. Unlike garden soil, this light mix won’t compact when wet. Use a rake to level it, then sprinkle the 1 inch of straw mulch on top. The straw keeps moisture in and weeds out while breaking down slowly. I always save a small bag of straw for the final touch—it’s the last layer that signals the bed is complete.
Gently press the mulch into the topsoil just enough to remove air gaps. You’re not creating a hard crust—think "lightly nestled." Water the bed thoroughly until moisture reaches 6 inches deep. The surface should look damp but not soggy. This initial watering helps the layers settle and activates decomposition in the compost.
✂️ Step 4: Plant and Maintain the No-Dig Bed
Make small holes in the mulch with your fingers, just deep enough to tuck in seeds or seedlings. Space plants according to their mature size—12-18 inches apart for most vegetables. Water each planting hole individually to settle the soil around roots. I like to add a pinch of kelp meal to each hole for extra nutrients, especially for heavy feeders like tomatoes or peppers.
After planting, top off with an extra ½ inch of straw mulch to conserve moisture. Avoid walking on the bed once planted—compacted soil slows root growth. You’ll see new leaves emerge within 7-10 days, signaling the bed is working. Replenish mulch every 4-6 weeks to maintain moisture and suppress weeds.
Tips & tricks for perfect no-dig garden beds
Here's what nobody tells you about creating the ideal no-dig garden layering system that actually works.
Sunlight Strategy: That 6-hour daily sunlight requirement is non-negotiable for most vegetables, but here's the thing: morning sun is more valuable than afternoon sun. If your space only gets afternoon light, prioritize shade-tolerant plants like lettuce or spinach. I've seen tomatoes thrive with just 5 hours of morning sun—it's all about timing.
Cardboard Selection: Not all cardboard works! Avoid glossy or wax-coated cardboard—it contains chemicals that can harm plants. Plain brown cardboard from shipping boxes is perfect. Tear it into overlapping strips (2 inches is ideal) to cover every inch of your bed. This creates a perfect weed barrier while breaking down naturally over time.
Layering Precision: When spreading your 2 inches of wood chips, don't be tempted to make them thicker—this creates anaerobic conditions that prevent roots from penetrating. The key is to fluff them properly so they stay loose and allow air circulation. After adding the compost layer, give it a gentle press with your foot (wearing shoes!) to settle it without compacting—think "lightly nestled" like a fluffy blanket.
Watering Wisdom: That initial 6-inch deep watering is crucial, but don't drown your bed. The surface should look damp, not soggy. I like to water in stages: first soak the center, then water the edges to ensure even moisture distribution. After planting, maintain consistent moisture by watering at the base rather than overhead—this prevents fungal issues and keeps roots happy.
Pro Tips for Garden Bed Layering
- Here's what nobody tells you about creating the ideal no-dig garden layering system that actually works.
- Sunlight Strategy: That 6-hour daily sunlight requirement is non-negotiable for most vegetables, but here's the thing: morning sun is more valuable than afternoon sun.
- Cardboard Selection: Not all cardboard works!
Frequently asked questions
Got questions about garden bed layering?
You’re not alone! Here are some of the most common queries—and their no-fuss answers—to help you get started with confidence.
What’s the best time of year to start layering my garden bed?
The ideal time is fall or early spring—when the soil is workable but not frozen. This gives materials time to break down before planting season. Avoid layering during extreme heat or drought, as it can dry out the bed too quickly. For new gardeners, late summer or early fall is a sweet spot!
Can I use free or cheap materials for garden bed layering?
Look for free options like fallen leaves, grass clippings, or wood chips from local tree services. Budget-friendly choices include straw, cardboard (untreated!), or even kitchen scraps (like veggie peels). Just avoid treated wood or diseased plants. Pro tip: Check community boards or Facebook Marketplace for free mulch or compost!
Will layering attract pests like rodents or insects?
Not if done right! Pests are drawn to rotting meat or greasy foods—keep those out. Stick to carbon-rich layers (like cardboard or straw) and nitrogen-rich layers (like grass clippings). If you notice critters, add a thin layer of coarse wood chips on top to deter them. A well-balanced bed stays pest-free!
How long does it take for a layered garden bed to be ready for planting?
With proper layering, your bed can be plant-ready in 4–6 weeks—but it’s a living process. Add a top layer of compost or mulch and let nature work its magic. For faster results, till in a handful of finished compost before planting. Patience pays off with richer soil over time!
What if my garden bed doesn’t look “perfect” after layering?
Don’t stress—imperfection is part of the process! A slightly uneven or messy bed still breaks down into nutrient gold. Focus on balance (carbon:nitrogen ratio) and depth (12–18 inches). Over time, it’ll settle into a lush, fertile paradise. No dig, no sweat!
Still curious? Drop your question in the comments—we’re happy to help!
Wrapping up and next steps
Mastering garden bed layering is your ticket to thriving, low-maintenance gardens that yield bountiful harvests with minimal effort! 🌱 Whether you're a seasoned gardener or just starting out, this no-dig method transforms your soil into a nutrient-rich haven—without the backbreaking work.
The key? Patience, the right materials, and a little creativity to build layers that nature will thank you for.
Now that you’re armed with the science and steps, it’s time to roll up your sleeves and start layering! Pick a sunny spot, gather your supplies, and dive in—your future plants (and your back) will thank you. Ready to transform your garden?** Pick a bed and begin! 🌿✨