Tools
A sturdy garden enclosure DIY transforms any yard into a private oasis—no more peeking neighbors or stray pets digging through your beds. I built mine last summer after years of struggling with flimsy fencing that sagged under the weight of morning dew and summer storms.
The right materials make all the difference: cedar resists rot, metal offers long-term strength, and even bamboo can work if you seal it properly. My panels now stand tall, offering both privacy and a polished look that matches my garden’s aesthetic.
You’ll need basic tools—a circular saw, drill, and level—and materials like pressure-treated lumber, screws, and corner brackets for reinforcement. For a 6-foot-tall enclosure, plan on 2x4s for framing and 1x6 boards for panels, cut to fit your space.
If your yard has uneven ground, add gravel or pavers underneath for drainage and stability. The key is pre-measuring everything before cutting; I learned that the hard way when my first panels didn’t align perfectly.
Once assembled, your enclosure will create a defined space that feels like an extension of your home. Imagine stepping into a lush, secluded garden where herbs thrive without wandering cats and veggies grow undisturbed. The best part?
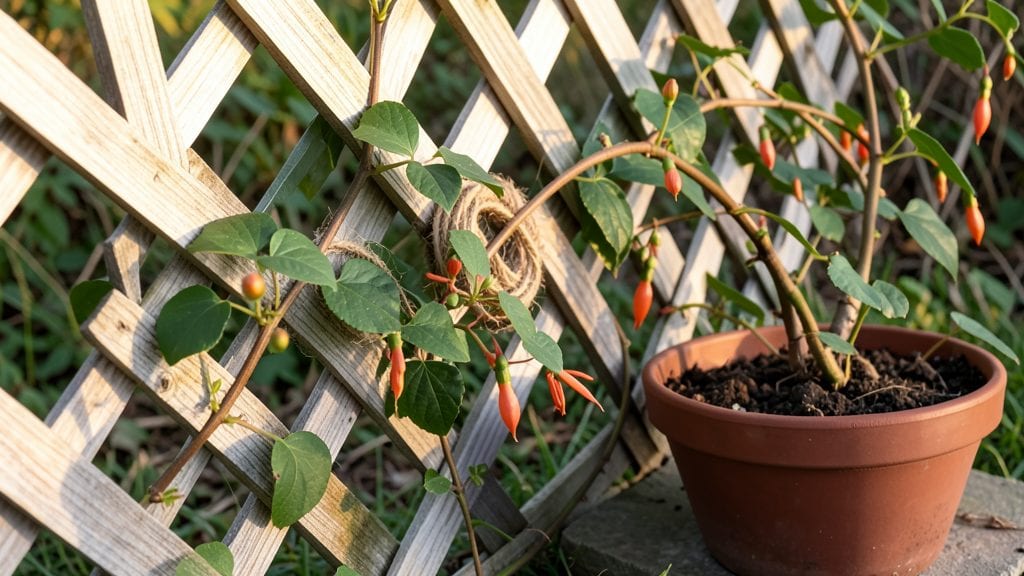
You can customize the height, style, and even add lattice for climbing plants. My favorite touch was staining the cedar a soft gray—it blends with the landscape while still standing out as a deliberate feature.
For small yards, consider modular panels that you can adjust as your garden grows. And if you’re worried about durability, add a waterproof sealant to protect against rain and humidity.
Whether you’re enclosing a raised bed, trellis, or just creating a cozy corner, this project delivers results that last. Ready to build your own private garden retreat?
📚 In This Guide
- What you need
- Instructions
- Tips and common mistakes
- Wrapping up and next steps
What you need
- ● Lumber: Pressure-treated 4x4 posts (6–8 ft tall, quantity depends on enclosure size) and 2x4 or 2x6 boards (for framing).
- ● Privacy panels: Pre-made lattice panels, bamboo screens, or wooden slats (cut to fit your design, typically 4 ft wide x 8 ft tall).
- ● Hardware: Galvanized screws (2.5"–3" deck screws, ~50–100 pieces), post anchors (4–6), and corner braces (if needed).
- ○ Fasteners: Outdoor-rated staples (for attaching panels) and construction adhesive (optional for extra hold).
- ● Ground prep: Gravel (for post bases, ~1 bag per post) and concrete mix (for securing posts, if desired).
- ● Measuring tape, speed square, and pencil.
- ● Circular saw or miter saw (for cutting lumber).
- ● Drill/driver with impact setting (for screws).
- ● Post hole digger or auger (manual or powered).
- ● Level (4-ft for posts, torpedo for panels).
- ● Staple gun (if using lattice or fabric).
- ● Safety gear: Gloves, goggles, and ear protection.
- ● Stain or sealant (to weatherproof wood).
- ● Landscape fabric (to block weeds at the base).
- ● Decorative trim or paint (for a polished look).
- ● Gate hardware (hinges, latch, and knobs if adding a gate).
Step-by-Step instructions for building sturdy privacy panels
Here’s how to create a functional, attractive garden enclosure that stands up to weather and time.
Measure and Mark Your Layout
Start by measuring the area where you’ll install the panels. Use a tape measure to determine the length of each side, marking the ground with stakes and string for a straight guide. For a 4-panel enclosure, divide your total perimeter evenly—each panel should be roughly 6 feet wide to balance stability and coverage. Double-check your measurements before cutting materials to avoid costly mistakes.
I like to use a 4-foot by 8-foot sheet of plywood for each panel, which gives you a sturdy base. Lay the plywood flat and mark where you’ll cut it to your desired panel width. A jigsaw or circular saw works best for clean edges. If you’re building taller panels (over 4 feet), add vertical supports by cutting 2x4 studs to match your panel height and attaching them at 12-inch intervals along the back.
Assemble the Frame and Attach Privacy Material
Construct a simple frame for each panel using 2x4 lumber. Cut two horizontal pieces to match your panel width and two vertical pieces to match your desired height. Assemble the frame with 2.5-inch deck screws, pre-drilling holes to prevent wood splitting. For extra strength, add diagonal braces inside the frame if your panels will be taller than 5 feet.
Now, attach your privacy material. For a natural look, use bamboo lattice or woven cedar slats, securing them with staple guns or outdoor-rated screws. If you’re using privacy fabric, stretch it tightly over the frame and staple it along the edges, leaving a 1-inch overlap at the seams for a seamless finish. Avoid stretching the fabric too tightly—it should have a little give to prevent tearing over time.
Install Posts and Secure the Panels
Dig holes for your 4x4 wooden posts at each corner of the enclosure, spacing them 6 feet apart for stability. The holes should be 1 foot deep and wide enough to hold the posts securely. Set the posts in concrete or use post anchors for a removable option. Let the concrete cure for 24 hours before attaching the panels to ensure a solid base.
Once the posts are set, lift each panel into place and attach it to the posts using heavy-duty brackets or hinges if you want a removable design. For a permanent look, screw the panels directly into the posts, using 3-inch exterior screws for extra hold. If your enclosure will face wind, add horizontal cross-bracing between posts to prevent leaning.
Finish and Maintain for Longevity
Protect your enclosure from the elements by sealing all wood with an outdoor-rated stain or paint. I recommend a waterproof sealant to prevent rot, especially if you’re using untreated lumber. Apply the sealant with a brush, following the manufacturer’s instructions for drying time. For added durability, consider using galvanized hardware to resist rust and corrosion over time.
After installation, check the panels periodically for loose screws or warping, especially after heavy rain or wind. Tighten any loose hardware and reapply sealant every 2-3 years to keep the wood in top condition. If you notice gaps in the privacy material, patch them with extra fabric or slats to maintain your enclosure’s effectiveness.
Tips & tricks for building sturdy privacy panels
A few key strategies will help you avoid common mistakes and build a garden enclosure that lasts for years. Here's what I've learned from building multiple enclosures myself.
Precision in Step 1: When measuring your layout in Step 1, use a helper to hold the string taut while you mark the corners. I've found that even small deviations can cause alignment issues later, especially when attaching the 6-foot-wide panels. A 4-foot level can help verify your corners are perfectly square before digging post holes. Trust me on this—skipping this step leads to crooked panels that look unprofessional.
Frame Reinforcement Technique: In Step 2, when assembling your 2x4 frame, consider adding a third horizontal brace about halfway up the panel if you're building panels taller than 5 feet. This prevents sagging over time, particularly with heavier materials like bamboo lattice. I've seen many enclosures develop a slight bow after a few years when this reinforcement is skipped. For extra stability, use pocket hole screws instead of regular deck screws—they distribute weight more evenly.
Post Installation Strategy: For Step 3, when setting your 4x4 posts, I recommend using a post level to ensure they're perfectly vertical before pouring concrete. Even a slight lean can cause your panels to become uneven over time. After pouring, let the concrete cure for the full 24 hours before attaching panels—rushing this step can lead to posts shifting as the concrete sets. For windy areas, consider adding diagonal bracing between posts to create a triangle shape, which is the strongest geometric form for resisting lateral forces.
Maintenance Planning: In Step 4, when applying your waterproof sealant, pay special attention to the edges of your plywood panels where water can pool. I've found that using a brush rather than a sprayer gives you better control over these areas. Plan to reapply sealant every 2-3 years, but check annually for signs of wear—especially after heavy rain seasons. For the privacy fabric, consider using a UV-resistant fabric if your enclosure gets full sun exposure, as regular fabric can degrade and yellow over time.
Pro Tips for Garden Enclosure Diy
- A few key strategies will help you avoid common mistakes and build a garden enclosure that lasts for years.
- Precision in Step 1: When measuring your layout in Step 1, use a helper to hold the string taut while you mark the corners.
- Frame Reinforcement Technique: In Step 2, when assembling your 2x4 frame, consider adding a third horizontal brace about halfway up the panel if you're building panels taller than 5 feet.
Frequently asked questions
Got questions about building your own garden enclosure?
Here are answers to the most common concerns to help you plan with confidence!
What’s the best material for a durable garden enclosure?
The best choice depends on your needs! For long-term durability, cedar or redwood resist rot and insects naturally. For budget-friendly options, pressure-treated pine works well. If you want low maintenance, consider composite panels or PVC lattice. Always check local regulations—some areas restrict treated wood for safety.
How long does it typically take to build a DIY garden enclosure?
Time varies by size and complexity! A small 3- to 4-foot-tall fence (6–8 panels) can take 4–6 hours for a beginner. Larger projects (10+ panels, gates, or decorative elements) may require a full weekend. Break it into sections—start with the frame, then panels, and finish with gates or trim. Pro tip: Pre-measure everything to save time!
Do I need special tools beyond basic ones?
Mostly standard tools will do! You’ll need a circular saw or miter saw, drill/driver, level, speed square, and post hole digger. For extra precision, a stud finder (if attaching to existing structures) and clamps help hold panels in place. Rent heavy-duty tools like a post driver if your posts are tall or heavy.
Can I build a garden enclosure without digging post holes?
If digging isn’t an option, try these alternatives:
- Surface-mounted bases: Use concrete footings or heavy metal brackets to anchor panels to the ground.
- Existing structures: Attach panels to a deck, fence, or shed for support.
- Freestanding panels: Secure with ground stakes or weighted bases (great for temporary setups).
For windy areas, always reinforce with cables or additional bracing.
What’s the most common mistake to avoid when building?
Skipping the leveling step is a top mistake—uneven panels look sloppy and can warp over time. Always check your frame and posts with a laser level or spirit level. Another pitfall? Over-tightening screws, which can split wood. Pre-drill holes and use washer heads for extra grip without damage.
How can I make my enclosure look more decorative?
Add personality with these easy upgrades:
- Paint or stain panels in earthy tones or bold colors.
- Incorporate lattice or trellises for climbing plants.
- Top with copper or black metal caps for a modern edge.
- Add solar-powered lights or hanging planters.
Pro tip: Mix materials—combine wood with bamboo or wrought iron for texture!
Wrapping up and next steps
Building your own garden enclosure DIY project is a rewarding way to add privacy, security, and charm to your outdoor space—without breaking the bank! 🌿 With the right materials, a clear plan, and a little elbow grease, you can create a sturdy, custom solution that fits your yard perfectly.
Whether you’re enclosing a cozy garden nook or securing a larger area, your effort will pay off in both function and aesthetic appeal.
Now that you’re armed with tips and answers, take the next step: sketch your design, gather supplies, and start building! Your future garden retreat awaits—go make it happen! 🛠️✨