Fertilization
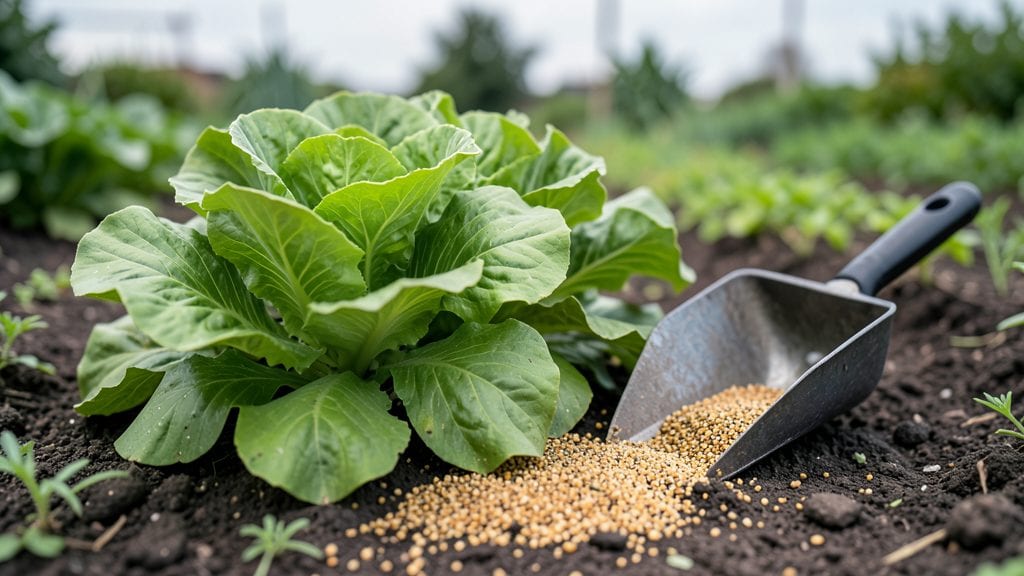
My garden fertilizing tips start with one hard truth: most gardeners overdo it. 🌱 That first shovel of fertilizer won’t magically turn your soil into black gold—it’s about feeding plants right, not just feeding them more.
I’ve learned that the difference between struggling plants and shockingly lush growth often comes down to understanding what your soil actually needs, not just what’s in the bag.
The secret weapon? A simple soil test kit (they’re cheaper than you think) to check pH and nutrient levels before you buy anything. Once you know your soil’s personality—whether it’s hungry for nitrogen, starving for phosphorus, or just needs better drainage—you can pick the right fertilizer.
Organic options like compost or bone meal work slower but build long-term health, while synthetic blends give plants a quick boost when they’re really pushing growth.
Timing matters just as much as what you use. Pre-planting feeds get roots off to a strong start, while mid-season top-dressings keep plants thriving through heat or drought.
My tomatoes, for example, get a light feeding every 4-6 weeks once they start flowering—never more, or you’ll get leafy monsters with no fruit. The payoff? Plants that stay green, resist pests better, and produce harvests that make neighbors ask, “What’s your secret?”
Here’s the thing—this isn’t about perfection. Even my black thumb can nail it with these basics: test first, feed lightly, and adjust as you go.
The goal isn’t a perfectly balanced soil science lab; it’s plants that look happy, grow strong, and reward you with the harvests you actually want to eat. Let’s get your soil working with you, not against you.
📚 In This Guide
- What you need
- Instructions
- Tips and common mistakes
- Wrapping up and next steps
What you need
- ● Fertilizer: Granular fertilizer (e.g., 10-10-10 NPK ratio) – 1-2 lbs per 100 sq ft
- ● Organic options (compost, worm castings, or manure) – 2-3 inches spread evenly
- ● Liquid fertilizer (e.g., fish emulsion or seaweed extract) – 1-2 tbsp per gallon of water
- ○ Soil Testing Kit: To assess pH and nutrient levels (optional but highly recommended)
- ● Garden Gloves: Heavy-duty, chemical-resistant (e.g., nitrile-coated)
- ● Hand Trowel or Spade: For mixing fertilizer into soil
- ● Watering Can or Hose with Sprayer Attachment: For liquid fertilizers
- ● Measuring Cups/Scoops: For precise fertilizer application
- ● Wheelbarrow or Bucket: For mixing and transporting materials
- ● Slow-release fertilizer tablets or spikes (for container plants)
- ● Mulch (straw, wood chips, or compost) – 2-3 inches to retain moisture
- ● pH Adjusters (lime to raise pH, sulfur to lower it)
- ● Soil Conditioners (peat moss, coconut coir, or perlite for improving texture)
- ● Labeling Tags – To track fertilizer types and application dates
Step-by-step soil fertilizing for thriving garden plants
Here’s how to feed your garden the right way—no guesswork, just science-backed results.
🌱 Step 1: Test Your Soil First
Before adding anything, grab a soil test kit from your local extension office. This tells you exactly what nutrients your soil lacks—whether it’s nitrogen for leafy growth, phosphorus for roots, or potassium for resilience. I’ve seen gardeners waste money on fertilizers their plants don’t even need. A test costs about $15 and saves you from overdoing it.
Dig a sample from 6 inches deep, mix it well, and follow the kit’s instructions. Most results come back in 1-2 weeks. If you’re impatient, a quick pH test strip (under $10) gives you an instant reading. Aim for a pH between 6.0 and 7.0—too acidic or alkaline, and plants struggle to absorb nutrients, no matter how much fertilizer you add.
💧 Step 2: Choose the Right Fertilizer Type
Granular fertilizers are best for established plants—just sprinkle the 10-10-10 or 5-10-5 blend (from your supplies) around the base and water it in. I like to apply it in a 3-inch wide band about 4 inches from the stem to avoid burning roots. For quick fixes, use a liquid fertilizer mixed with water—it feeds plants faster but requires more frequent applications.
Organic options like compost or worm castings take longer to work but improve soil structure over time. I blend 2 cups of compost into the top 6 inches of soil in spring and again in early summer. This feeds the soil ecosystem, not just the plants. Avoid synthetic fertilizers with high nitrogen if you’re growing flowering plants—they’ll produce lots of leaves but few blooms.
⏰ Step 3: Apply at the Right Time
Timing matters more than most gardeners realize. For vegetables and annuals, fertilize every 4-6 weeks during the growing season—start when you plant and stop 6-8 weeks before harvest to avoid bitter flavors or unsafe residues. Perennials and shrubs only need feeding in early spring and mid-summer, unless they’re heavy feeders like tomatoes or peppers.
Water the soil deeply before and after applying fertilizer. Dry soil locks nutrients in place, while soggy soil washes them away. I set a timer for 10 minutes of watering after each application to ensure everything soaks in. If rain is forecast, hold off—you’ll just lose the nutrients.
🌿 Step 4: Feed Based on Plant Needs
Leafy greens like lettuce and spinach thrive on nitrogen-heavy fertilizers, so I use a 10-5-5 blend for them. Flowering plants, though, need more phosphorus—look for a 5-10-5 formula to encourage blooms. Fruiting plants (tomatoes, peppers, berries) benefit from a balanced 10-10-10 or a potassium-rich 5-10-10 to boost fruit production.
Watch your plants for signs of deficiency: yellowing leaves mean nitrogen, purple stems mean phosphorus, and weak stems mean potassium. I keep a small notebook by my garden to track what I’ve applied and when—it’s easy to forget, and over-fertilizing can be just as harmful as under-fertilizing.
☀️ Step 5: Maintain Soil Health Long-Term
Fertilizer isn’t a magic fix—healthy soil is. After each feeding, top off the soil with 1-2 inches of mulch (like straw or shredded leaves) to retain moisture and prevent nutrient loss. I also rotate crops yearly to avoid depleting the same nutrients in one spot. If you notice soil compacting, aerate it with a fork in spring to help roots breathe.
Every fall, I spread a thin layer of compost over the entire garden bed and let it work into the soil over winter. This builds organic matter slowly, reducing the need for synthetic fertilizers over time. The key is consistency—don’t expect miracles in one season, but stick with it, and your plants will reward you with lush, high-yield growth.
Tips & tricks for perfect soil fertilizing
Here’s what I’ve learned after years of trial and error—these tricks will help you avoid common mistakes and get the most out of your garden’s soil.
The Soil Test Secret: Don’t skip the soil test! I’ve seen gardeners spend $50 on fertilizers their plants didn’t need because they didn’t know what their soil was missing. That 6-inch deep sample tells you everything—nitrogen for leafy growth, phosphorus for roots, or potassium for resilience. If your pH is outside 6.0-7.0, you’ll waste money on fertilizers your plants can’t absorb.
Application Technique: When applying that 3-inch wide band of fertilizer 4 inches from the stem, use a small shovel or spreader for precision. Too close to the stem burns roots, while too far means wasted nutrients. For liquid fertilizers, mix them with water first—this helps distribute nutrients evenly without clumping. I always water 10 minutes after applying to ensure everything soaks in properly.
Plant-Specific Formulas: Not all plants need the same thing! Leafy greens like spinach love that 10-5-5 blend, but flowering plants need 5-10-5 to encourage blooms. Fruiting plants like tomatoes thrive on 10-10-10. Keep a small notebook by your garden to track what you’ve applied—it’s easy to forget, and over-fertilizing can be just as harmful as under-fertilizing.
Long-Term Soil Health: After each feeding, top off the soil with 1-2 inches of mulch (straw or shredded leaves work great). This retains moisture and prevents nutrient loss. Every fall, I spread a thin layer of compost over the entire bed—it builds organic matter slowly, so you’ll need fewer synthetic fertilizers over time. Think of it as an investment in your garden’s future.
Pro Tips for Garden Fertilizing Tips
- Here’s what I’ve learned after years of trial and error—these tricks will help you avoid common mistakes and get the most out of your garden’s soil.
- The Soil Test Secret: Don’t skip the soil test!
- Application Technique: When applying that 3-inch wide band of fertilizer 4 inches from the stem, use a small shovel or spreader for precision.
Frequently asked questions
Got questions about fertilizing your garden?
You’re not alone! Here are answers to the most common concerns—from timing to troubleshooting—to help you grow a thriving, high-yield garden with confidence.
How often should I fertilize my garden?
Most vegetables and flowers benefit from light fertilization every 4–6 weeks during the growing season (spring to fall). Slow-release fertilizers (like organic compost or granules) need less frequent applications—every 8–12 weeks—while liquid fertilizers can be used weekly for a quick boost. Overdoing it burns roots! Adjust based on plant type and soil tests.
When is the best time to fertilize?
Apply fertilizer early in the growing season (spring) to jumpstart root and leaf growth. For established plants, fertilize in the morning after watering to reduce root burn. Avoid fertilizing late in the season—especially for cool-season crops—since it encourages tender new growth that may not survive frost. Pro tip: Side-dress (add fertilizer beside roots) mid-season for a nutrient boost without disturbing plants.
Can I use coffee grounds or eggshells as fertilizer?
Coffee grounds add nitrogen (great for acid-loving plants like blueberries) and improve soil structure, while crushed eggshells provide calcium to prevent blossom-end rot in tomatoes. Mix them into compost or top-dress soil lightly—never apply in large clumps, as they can mat and hinder water absorption. For a balanced approach, pair them with a complete fertilizer (like 10-10-10) for best results.
Why are my plants turning yellow after fertilizing?
Yellowing leaves often signal over-fertilization (too much salt or nitrogen) or underwatering after feeding. Flush the soil with water to leach excess salts, and reduce fertilizer strength by half for 2–3 weeks. If roots look brown or mushy, cut back on synthetic fertilizers and switch to organic options (like compost tea) for a gentler nutrient boost. Healthy soil = happy plants!
Are organic fertilizers worth the extra cost?
Organic fertilizers (compost, manure, bone meal) improve soil long-term by enhancing microbial life and structure, while synthetic fertilizers provide immediate, targeted nutrients. For most gardeners, a mix of both works best: Use organic fertilizers seasonally to build soil health and synthetic ones for quick fixes (like blooming annuals). Budget tip: Make your own compost—it’s free and packed with nutrients!
Wrapping up and next steps
Mastering the art of fertilizing is your secret weapon for a thriving garden! 🌱 By focusing on soil health, choosing the right fertilizers, and applying them thoughtfully, you’re not just feeding plants—you’re building a self-sustaining ecosystem.
Start small, observe your soil, and let your green thumb grow with every season.
Ready to transform your garden? Grab your tools, test that soil, and plan your first fertilization session today—your future harvests will thank you!