
Tools
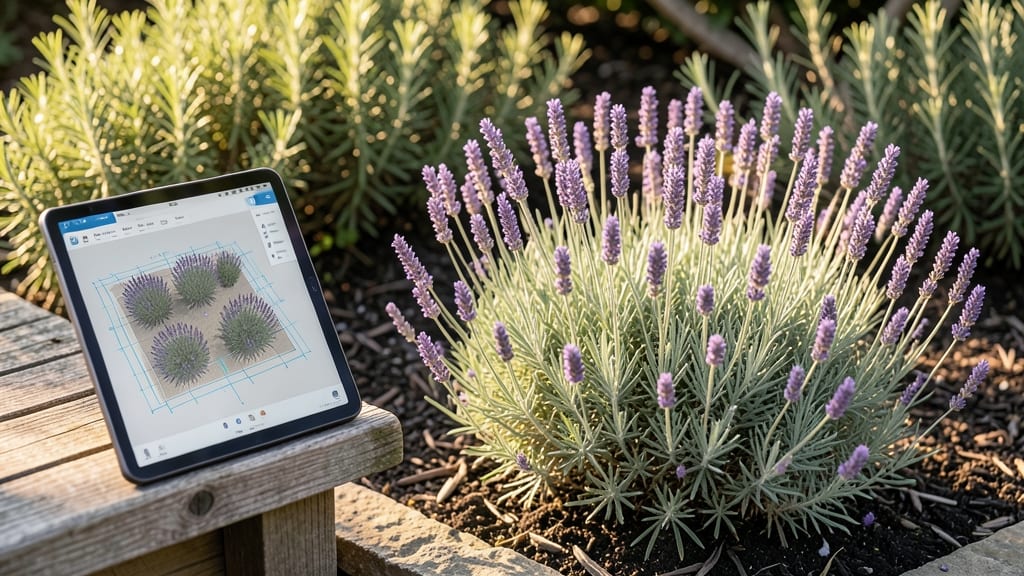
Creating a garden layout generator plan that fits your space used to mean hours of sketching and guesswork—but now, AI tools do the heavy lifting while you focus on what really matters: the plants and the vision.
I’ve tested these digital helpers, and they cut my planning time from three frustrating afternoons to just 30 minutes of tweaking. The best ones let you input your yard’s dimensions, sunlight patterns, and even your favorite plants, then spit out functional, beautiful layouts instantly.
Here’s the magic: you input your space’s square footage, note where sunlight hits (and for how long), and select plants based on their mature size and care needs. The AI handles the math—spacing, borders, focal points—while you adjust until the design feels right.
No more staring at blank paper wondering where to put the tomatoes or how to sneak in a cozy seating area. For beginners, this is a game-changer; even experienced gardeners use it to refresh tired layouts or test bold new ideas before breaking ground.
What you end up with is a customized, printable plan that accounts for growth over time, traffic flow, and even seasonal shade shifts. Imagine walking through your garden in summer and knowing every plant thrives exactly where it’s planted—no more overcrowded herbs or sun-scorched perennials.
The best tools even let you drag and drop until the layout feels intuitive, balancing aesthetics with practicality like a pro.
Whether you’re working with a 500-square-foot backyard or a tiny urban patio, these generators adapt to your space. Free options like SketchUp’s garden templates or paid apps such as Garden Planner Pro offer everything from basic grids to 3D visualizations.
The key? Start with accurate measurements, then let the AI handle the rest—you’ll save time, avoid costly mistakes, and still get that satisfying "this is perfect" moment when the design clicks.
📚 In This Guide
- What you need
- Instructions
- Tips and common mistakes
- Wrapping up and next steps
What you need
- ● Graph paper or digital design tool: A sketchpad (11"x17" or larger) or software like SketchUp, Garden Planner, or even free tools like Canva.
- ● Measuring tape: 25-foot tape measure for accuracy.
- ● Pencil & eraser: For hand-drawn layouts (or a stylus if digital).
- ● Ruler or straightedge: 12" or 18" for clean lines.
- ● Notebook or digital notes: To jot down plant lists, measurements, and ideas.
- ● Garden stakes & string: 12" wooden stakes (10–20) + 50–100 ft. of string for marking boundaries.
- ● Camera or phone: To snap reference photos of your space.
- ● Color-coded markers: For labeling plants, paths, or zones.
- ● Plant catalogs or seed packets: To match your design with real-world specs.
- ● Augmented reality (AR) app: Like IKEA Place or Gardenate for virtual previews.
- ● Soil test kit: To ensure your design aligns with plant needs.
- ● Weather-resistant printer: If printing physical layouts for outdoor use.
Instructions for designing a functional garden layout
Let’s transform your outdoor space into a thriving, intentional garden with this step-by-step approach.
Analyze Your Space and Sunlight Patterns
Begin by mapping your garden area, noting dimensions, existing structures, and sunlight exposure. Measure the length and width of the space, then sketch a rough outline on graph paper or a digital tool. Pay special attention to sunlight—most plants thrive with 6-8 hours of direct sun, while shade-lovers need partial or full shade. Observe sunlight patterns throughout the day, especially during peak hours (10 AM to 4 PM), to determine which areas receive full sun, partial shade, or deep shade.
Use stakes or flags to mark key points like property lines, walkways, or utility lines. This ensures you avoid obstacles and maximize usable space. If your garden has slopes or uneven terrain, note these features—they’ll influence plant placement and drainage solutions. For example, slope-prone areas may require terracing or raised beds to prevent erosion and improve accessibility.
Define Zones Based on Plant Needs and Function
Divide your garden into functional zones tailored to plant requirements and your intended use. Start with a sun-loving zone for vegetables like tomatoes, peppers, and herbs, placing it where sunlight is most abundant. Next, designate a partial-shade zone for plants like lettuce, spinach, or ferns, positioning it where morning or afternoon sun filters through. Finally, create a shade zone for hostas, astilbes, or ferns, using trees, structures, or tall plants to cast natural shade.
Consider practical zones too, such as a herb spiral for easy access to culinary plants, a cutting garden for flowers, or a relaxation area with seating and low-maintenance ground covers. If you’re designing for four seasons, include a winter interest zone with evergreens, ornamental grasses, or berry-producing shrubs. Label each zone on your sketch to visualize the layout before committing to physical changes.
Plan Plant Placement for Harmony and Efficiency
Arrange plants based on their mature size, growth habits, and companion relationships. Start by placing tall plants (like sunflowers, hollyhocks, or small trees) at the north or back of the garden to avoid shading shorter plants. Next, add mid-height plants (such as shrubs, perennials, or bush beans) in the middle, ensuring they won’t outgrow their space. Finally, fill the front or edges with low-growing plants (like thyme, creeping phlox, or lettuce) to create a layered, visually appealing effect.
Incorporate companion planting to enhance growth and deter pests. For instance, pair basil with tomatoes to improve flavor and repel mosquitoes, or plant marigolds around vegetables to scare off nematodes. Avoid planting competitive species (like corn and potatoes) near each other, as they deplete similar nutrients. Use your sketch to experiment with arrangements until the design feels balanced and functional.
Incorporate Hardscaping and Practical Elements
Add structural elements like paths, raised beds, or trellises to define your layout and improve usability. Use gravel, mulch, or stepping stones for paths to prevent soil compaction and make navigation easier. If your garden has poor soil quality, raised beds filled with high-quality potting mix (or a mix of compost and native soil) can create ideal growing conditions. Place trellises or obelisks near climbing plants like cucumbers, beans, or roses to save space and encourage vertical growth.
Include utilitarian features like a water source (hose bib, drip irrigation, or rain barrel) near frequently used areas, a tool storage station (a shed, bench, or wall-mounted rack), and seating or shade structures for relaxation. If you’re designing for accessibility, ensure paths are wide enough (at least 3 feet) for wheelbarrows or mobility aids. Test your layout by walking through it—can you reach all plants easily? Are there clear pathways to avoid trampling delicate foliage?
Finalize the Layout with a Digital or Physical Mockup
Transfer your sketch to a digital tool (like SketchUp, Garden Planner, or even a free app like iScape) or create a physical mockup using string, stakes, and labeled cards. This helps visualize scale, spacing, and potential issues before breaking ground. Walk through the mockup again, adjusting plant placements or hardscaping as needed. Pay attention to wind exposure—group delicate plants together to protect them from gusts, and place windbreaks (like tall grasses or hedges) on exposed edges.
Once satisfied, take photos of your mockup for reference as you implement the design. If you’re working with others (like a gardening partner or landscape professional), share the mockup to align on expectations. This step ensures your garden layout is practical, beautiful, and tailored to your space—setting you up for success from day one.
Tips & tricks for perfect garden layout design
Creating a functional garden layout goes beyond aesthetics—it’s about crafting a space that thrives year-round. Here’s how to elevate your design from good to exceptional.
The Sunlight Factor: In Step 1, when mapping sunlight patterns, use a simple trick: observe your space at 10 AM, 12 PM, and 4 PM on a clear day. Shadows shift dramatically—what appears to be full sun at noon might be partial shade in the morning. I’ve seen gardeners overlook this and end up with stunted vegetables or leggy herbs. Mark your sketch with chalk or flags to track these changes before committing to plant placement.
Zone Efficiency: Step 2’s functional zones are where creativity meets practicality. For instance, if you’re designing a herb spiral, place it near your kitchen entrance so fresh basil and parsley are always within arm’s reach. Pro tip: Use a color-coded system in your digital sketch—assign each zone a unique color (e.g., blue for sun-loving, green for partial shade) to instantly visualize balance. This visual cue prevents the classic mistake of overcrowding sun-hungry tomatoes in a shaded corner.
Layered Planting Strategy: The layered approach in Step 3 isn’t just about looks—it’s a survival tactic. Tall plants like sunflowers should cast minimal shade on mid-height perennials, which in turn shouldn’t block low-growing thyme. I recommend starting with your tallest plants first, then working downward like building a pyramid. This ensures every layer gets its required sunlight, even as the garden matures. Test your arrangement by crouching at ground level—what you see from there is what visitors will experience.
Hardscaping Hacks: When incorporating paths in Step 4, think beyond aesthetics. Gravel paths, for example, allow rainwater to permeate the soil while preventing muddy footprints—a game-changer for clay-heavy gardens. For raised beds, consider corrugated metal edges instead of wood; they’re termite-proof and last decades. And here’s a secret: Place your tool storage station near the garden’s entrance but out of the way of foot traffic. You’ll save steps and keep your tools dry during rain.
Pro Tips for Garden Layout Generator
- Creating a functional garden layout goes beyond aesthetics—it’s about crafting a space that thrives year-round.
- The Sunlight Factor: In Step 1, when mapping sunlight patterns, use a simple trick: observe your space at 10 AM, 12 PM, and 4 PM on a clear day.
- Zone Efficiency: Step 2’s functional zones are where creativity meets practicality.
Frequently asked questions
How do I know which garden layout generator is best for my needs?
A good garden layout generator should offer customization for your space size, climate, and gardening goals (e.g., veggies, flowers, or landscaping). Look for tools with AI-driven suggestions, 3D previews, and user reviews. Free options like Garden Planner or SmartDraw are great for beginners, while premium tools (e.g., Planter) provide advanced features like plant spacing calculators.
How long does it take to design a garden layout using a generator?
Design time varies! A quick basic layout (e.g., a small herb garden) can take 10–30 minutes, while a detailed, multi-seasonal plan might require 1–2 hours. Pro tip: Start with a rough sketch or measure your space first to save time. Most generators let you refine designs over days or weeks as you experiment with plant placements.
Are there free alternatives to paid garden layout generators?
Free tools like Google’s SketchUp Free (with plant plugins), Gardenate, or even Excel/Google Sheets templates work for simple layouts. For AI-powered help, try Canva’s garden planner or Plan-a-Garden. Paid versions often include premium plant databases, weather integration, or professional support, but free tools cover 80% of basic needs.
What should I do if the generator’s suggestions don’t match my vision?
No worries—generators are tools, not rules! If the AI suggests a layout you dislike, override it by manually adjusting plant types, sizes, or zones. Most tools let you drag-and-drop or delete suggestions to customize. For stubborn issues, check the tool’s help forums or tutorials. Pro tip: Combine the generator’s efficiency with your creative input for the best results!
Can a garden layout generator account for my local climate or soil type?
Many modern generators do! Look for features like USDA hardiness zone integration (e.g., Planter or Garden Planner) or soil-type filters. Enter your zip code or select your region to get climate-appropriate plant recommendations. If your tool lacks this, manually research native plants or use local gardening guides (e.g., Extension Office resources) to supplement.
Wrapping up and next steps
Designing your dream garden doesn’t have to be overwhelming—thanks to a garden layout generator, you now have a powerful tool to simplify the process! Whether you’re a seasoned gardener or just starting, AI-driven planning ensures your space is both functional and beautiful. 🌿
Ready to bring your vision to life? Start by sketching your ideas, then use a generator to refine them into a polished layout. Next, gather your materials and tools—your perfect garden is just a few clicks and some hard work away!