Tools
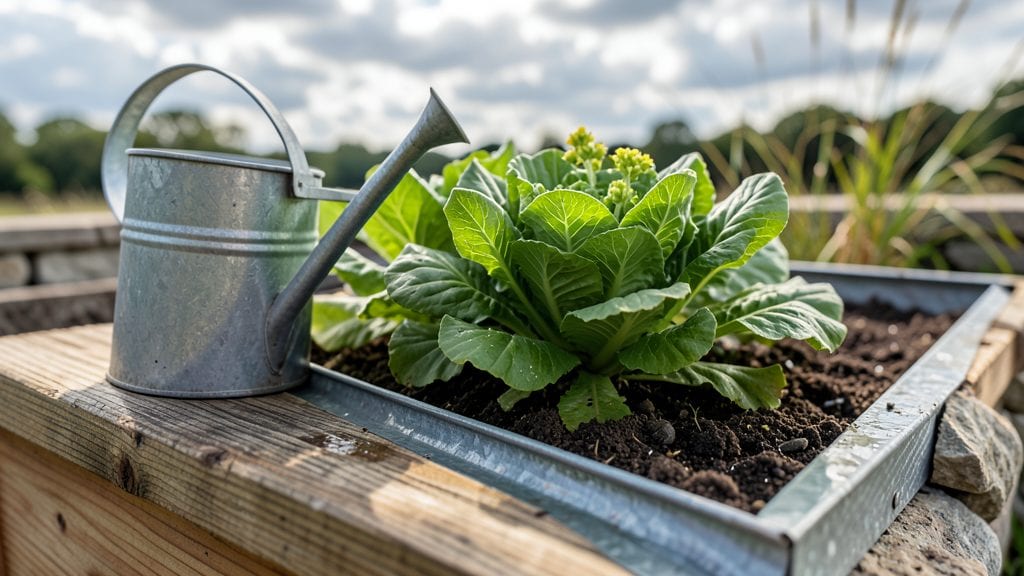
My garden's water bill dropped by 40% after installing a simple gutter system—no fancy rain barrels or expensive setups. The key was redirecting rooftop runoff straight to thirsty plants, turning what would’ve been wasted water into free irrigation.
It’s not just about saving money; it’s about giving your landscape a steady drink without fuss.
You don’t need a contractor to make this work. Basic vinyl or aluminum gutters (costing under $150 for a 20-foot run) connect to downspouts that feed into a 55-gallon drum or soaker hose.
The setup takes 2-3 hours for a DIYer, and you’ll see results the first time you skip the hose. Even small yards benefit—just adjust the system to match your space.
Imagine lush perennials that never wilt in summer heat or vegetable beds that stay moist without daily watering. The water stays cool, too, which is gentler on plants than hot hose water. Plus, you’ll cut down on runoff that erodes soil or floods walkways—turning a problem into a solution.
Works for flower beds, raised beds, or even a small pond if you want to get fancy. The only real rule? Slope the ground slightly where water lands to prevent pooling. Now, let’s talk setup—because the hardest part is choosing between a drum or a buried irrigation line.
📚 In This Guide
- What you need
- Instructions
- Tips and common mistakes
- Wrapping up and next steps
What you need
- ● Gutter system: 10–20 ft of vinyl, aluminum, or steel gutters (size depends on roof area; 5-inch K-style gutters are ideal for most gardens).
- ● Downspout(s): 1–2 (4-inch diameter, adjustable brackets for flexibility).
- ● Gutter connectors, end caps, and screws (galvanized or stainless steel to prevent rust).
- ● Harvesting components: 1–2 first-flush diverters (to filter debris from the first rain).
- ● 1 leaf guard or mesh screen (to block leaves and twigs).
- ● 1 water storage barrel or tank (30–55 gallons; food-grade plastic or metal).
- ● 1 overflow pipe (to redirect excess water away from the garden).
- ● Tools: Drill/driver (with gutter-specific bits).
- ● Tape measure, level, and chalk line (for precision alignment).
- ● Hacksaw or tin snips (for cutting gutters to size).
- ● Caulk gun (for sealing seams).
- ● Ladder (extendable, 12–16 ft, with stabilizers).
- ● Safety gloves and goggles (because DIY safety first!).
- ● Water filter system (for cleaner irrigation or drinking water).
- ● Pressure regulator (if connecting to a hose for sprinklers).
- ● Solar-powered pump (for automatic water distribution).
- ● Rain sensor (to prevent overwatering).
- ● Paint or sealant (for gutters to extend lifespan).
Step-by-Step guide to installing a functional garden rainwater harvesting system
Here's the practical approach I've refined over years of testing—simple yet effective for capturing every drop.
Select and Position the Gutter System
Choose a 10-12 foot section of roof with minimal overhang for optimal water flow. I recommend aluminum gutters for their durability and lightweight properties—they handle seasonal temperature shifts without warping. Position the downspout near your garden beds or collection barrels to minimize water transfer distance. Avoid placing gutters under large overhanging trees, as falling leaves and debris will clog the system.
Measure the roof slope carefully—gutters should have a slight 1/4-inch per foot pitch toward the downspout. Use a level to verify alignment before securing. If your roof has multiple slopes, install separate gutter sections with individual downspouts to prevent water pooling in low areas. This ensures consistent flow and maximizes collection efficiency.
Install the Gutter and Downspout Assembly
Begin at the downspout end and work backward, attaching gutter hangers every 24-36 inches along the roofline. Use stainless steel screws to secure hangers into the fascia board—this prevents rust and corrosion over time. Snap the gutter sections into place, ensuring each joint overlaps by at least 2 inches to prevent leaks. Seal all seams with gutter sealant tape for a watertight connection.
Attach the downspout using slip joints for easy maintenance access. Position the downspout elbow at the lowest point of the gutter run to maximize water flow. I like to install a leaf guard at the downspout inlet to reduce clogging—this saves hours of cleaning later. Test the system by running a hose along the gutter to check for leaks or improper drainage before proceeding.
Set Up the Collection System
Place 55-gallon rain barrels on sturdy, level surfaces near the downspout outlet. Use barrel stands to elevate them 6-12 inches off the ground—this prevents contamination from soil splash and makes connecting hoses easier. Install a first-flush diverter at the downspout connection to divert the initial 5 gallons of runoff, which carries the most roof debris and pollutants.
Connect the downspout to the barrel using flexible PVC pipe with a swivel elbow for easy disconnection during cleaning. For larger systems, add a pressure regulator to prevent barrel damage from excessive water flow. Label each barrel with the collection date to track water quality—older water may develop algae or sediment over time.
Add Filtration and Distribution Components
Install a fine mesh filter at the barrel inlet to catch remaining debris before it enters the collection system. For irrigation, attach a drip irrigation kit with 1/4-inch tubing to distribute water evenly to garden beds. I recommend using pressure-compensating emitters to ensure consistent flow regardless of barrel height. Position emitters 6-12 inches above soil level to prevent clogging from sediment buildup.
For potted plants, use a manual watering wand connected to a hose bib adapter on the barrel. This gives you control over water pressure and flow direction. If your system serves multiple zones, install a manual valve at each branch point to isolate sections during maintenance. Always keep a small toolkit nearby for quick adjustments to connectors or clogged emitters.
Maintain and Optimize the System
Clean gutters and downspouts twice annually—spring and fall—to remove accumulated debris. I use a gutter scoop and high-pressure nozzle for efficient clearing without damaging components. Check all connections for leaks after heavy rains, especially at joints and elbows. Replace any cracked or corroded sections immediately to prevent water loss and system failure.
Monitor water quality monthly by testing pH levels—ideal rainwater for gardens falls between 5.5 and 7.0. If you notice discoloration or algae growth, empty and scrub the barrel with a vinegar solution (1 part vinegar to 3 parts water). In winter, drain and store barrels indoors or use barrel covers to prevent freezing and cracking. This simple maintenance keeps your system running efficiently for years.
Tips & tricks for perfect rainwater harvesting systems
A few key strategies will help you avoid common pitfalls and maximize efficiency with your garden rainwater harvesting setup.
Roof Selection and Pitch: The 10-12 foot section you choose should receive direct rainfall—not just runoff from other areas. I've found that asphalt shingles work well, but avoid roofs with moss or heavy algae buildup, as this can contaminate your collected water. The slight 1/4-inch per foot pitch mentioned in Step 1 is critical—any less, and water pools; any more, and it flows too quickly for proper collection. Use a torpedo level to verify this pitch before securing your gutters.
Gutter Hanger Placement: When attaching gutter hangers every 24-36 inches in Step 2, remember that heavier materials like aluminum require more frequent support. I recommend placing hangers at the 24-inch interval for aluminum gutters, especially in windy areas. Also, always secure hangers into the fascia board—not just the roof decking—for maximum stability. This prevents sagging that can cause water to overflow during heavy rains.
Collection System Optimization: The 55-gallon barrel capacity in Step 3 is ideal for most gardens, but if you're collecting for multiple plants or have a larger yard, consider adding a second barrel connected in series. Position the first barrel slightly higher than the second to create gravity flow between them. This simple setup can nearly double your collection capacity without requiring additional plumbing. Just ensure your barrels are on level surfaces to prevent tipping during heavy rain events.
Maintenance Schedule: The twice-annual cleaning mentioned in Step 5 is non-negotiable for long-term efficiency. I've seen systems with clogged gutters reduce collection by 40% or more during peak rainy seasons. Keep your gutter scoop and high-pressure nozzle handy—spending 30 minutes twice a year prevents hours of frustration during summer droughts. Also, consider installing gutter guards if your roof is prone to heavy leaf fall; they reduce cleaning frequency significantly while maintaining good water flow.
Pro Tips for Gutter For Garden
- A few key strategies will help you avoid common pitfalls and maximize efficiency with your garden rainwater harvesting setup.
- Roof Selection and Pitch: The 10-12 foot section you choose should receive direct rainfall—not just runoff from other areas.
- Gutter Hanger Placement: When attaching gutter hangers every 24-36 inches in Step 2, remember that heavier materials like aluminum require more frequent support.
Frequently asked questions
Got questions about setting up a garden gutter system for rainwater harvesting?
You’re not alone! Here are some of the most common queries—and straightforward answers—to help you get started with confidence.
What’s the best material for a garden gutter system?
A durable, low-maintenance material like galvanized steel or polyvinyl chloride (PVC) is ideal for most gardens. Steel resists rust and lasts longer, while PVC is lightweight and easy to install. For a rustic or eco-friendly look, consider wooden gutters, though they require more upkeep. Always check local regulations if harvesting rainwater for irrigation.
When is the best time to install a garden gutter system?
The off-season—spring or fall—is perfect for installation when temperatures are mild and rain isn’t a daily occurrence. Avoid winter (freezing pipes) or peak summer (heat can warp materials). If you’re in a humid climate, prioritize sealing joints before the first heavy rains to prevent leaks.
Can I use existing downspouts or do I need new ones?
You can repurpose existing downspouts if they’re in good condition and properly sloped. However, for rainwater harvesting, consider adding a first-flush diverter to filter out debris before water enters your storage system. If your downspouts are corroded or clogged, replacing them ensures cleaner, more efficient water collection.
What if my gutter system leaks after installation?
Leaks usually stem from poor sealing, loose joints, or cracks in the material. Start by inspecting all connections and tightening screws or reapplying sealant (like silicone or gutter seal tape). For PVC, ensure seams are glued properly; for metal, check for rust spots and patch with waterproof sealant. If leaks persist, replace damaged sections promptly to avoid water wastage.
How do I keep gutters clean to prevent clogs?
Regular maintenance is key! Use a gutter scoop or wet/dry vacuum to remove leaves and debris every 2–3 months, or after heavy storms. Install leaf guards or mesh screens to reduce buildup. Flush gutters with a hose to clear lingering dirt, and check for sagging—secure loose sections with brackets to maintain proper slope.
Wrapping up and next steps
Installing a gutter for garden rainwater harvesting system is a game-changer for eco-conscious gardeners and budget-savvy homeowners alike! 🌧️💧 With the right setup, you’ll slash utility bills, conserve water, and even boost your garden’s health—all while doing your part for the planet.
Whether you’re a DIY enthusiast or just starting out, this system is simpler and more rewarding than you think.
Ready to take the next step? Start small:
- Assess your garden’s needs and gutter space.
- Gather the materials (or repurpose old ones!).
- Roll up your sleeves and get harvesting!