Picking
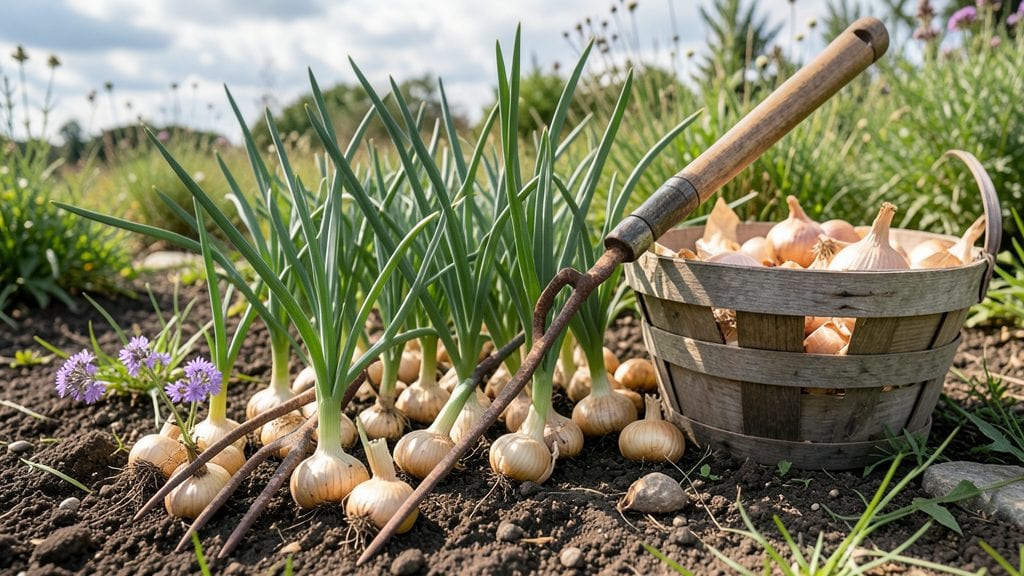
Harvesting shallots from your garden at the right time unlocks their sweetest, most aromatic flavor—before they turn tough or split.
Picture this: you’ve spent months nurturing your 🧅 plants, only to dig up bulbs that taste bland or feel mushy. That’s what happens when you miss the perfect window, which is why knowing the exact cues matters more than you’d think.
Shallots thrive in USDA Zone 6a from spring planting through late summer, but timing your harvest between August and September ensures peak quality. Too early, and they’re still growing; too late, and they’ll rot in the soil.
Below, I’ll walk you through the step-by-step process—when to dig, how to handle them without damage, and how to store them so they stay fresh for months.


When to harvest shallots for maximum flavor and storage potential
Timing your shallot harvest correctly is the difference between restaurant-quality bulbs and disappointing, pithy messes. Shallots mature gradually, and their flavor intensity peaks at a specific window—typically 3-4 months after planting. Miss this window, and you risk bulbs that are either underdeveloped or overripe.
The key lies in watching for visual maturity cues while accounting for your local climate zone and shallot variety.
Most gardeners harvest shallots in late summer to early fall, but the exact timing depends on your region. In warmer climates (USDA Zones 8-10), you might harvest as early as July-August, while cooler zones (4-7) often wait until September-October.
Even within these ranges, brown-skinned varieties like 'Cotton' mature slightly later than green-skinned types like 'French Grey'.
Here’s the critical visual checklist: foliage yellowing, papery skin, and firm bulbs. When the tops turn straw-colored and flop over, it’s time to dig. If you wait too long, the bulbs may split or rot, while harvesting too early leaves them small and pithy.
The goal is to catch them at the peak of flavor—when the skin is tight but the bulb is fully formed.
Climate plays a surprising role. In hot, dry regions, shallots may mature faster due to accelerated growth, while cool, damp summers can delay maturity. Pay attention to local frost dates: if a hard frost is forecast within 2 weeks, harvest immediately, even if the tops aren’t fully yellow.
Shallots can tolerate light frosts, but frozen bulbs lose flavor and texture.
One common mistake is assuming all shallots are ready at the same time. In reality, individual bulbs mature at different rates—even within the same patch. To avoid this, I recommend harvesting in stages, checking a few bulbs weekly once the tops start yellowing.
This staggered approach ensures you capture the best flavor window for each bulb.
Now, let’s break down the exact signs to watch for and how they translate into actionable harvest times.
| Harvest Cue | Description | Action | Best Time |
|---|---|---|---|
| Foliage Color | Tops turn straw-yellow and wilt | Check bulb firmness | Late summer (Zones 8-10) or early fall (Zones 4-7) |
| Bulb Size | 1-2 inches in diameter, firm to touch | Dig and cure immediately | 90-120 days after planting |
| Skin Texture | Papery, tight skin (not loose or wrinkled) | Harvest and dry in shade | Before first frost |
| Green vs. Brown Skins | Green-skinned: harvest 1-2 weeks earlier | Monitor color changes | Mid-summer to early fall |
| Climate Adjustments | Hot/dry: harvest earlier; cool/wet: harvest later | Use frost dates as deadline | Flexible window (±2 weeks) |
Understanding these cues transforms guesswork into a precise science. For example, in my Zone 6 garden, I harvest 'French Grey' shallots in early September when the tops turn yellow, but I dig 'Cotton' shallots a week later—their brown skins take longer to mature.
This staggered approach ensures I capture the peak flavor for each variety.
Pro tip: If you’re unsure whether your shallots are ready, perform the "squeeze test". Gently press a bulb—if it feels firm and round, it’s harvest-ready. If it’s soft or uneven, wait another week.
This simple test saves hours of digging prematurely. Overripe shallots often have loose skin and may split when handled, so timing is everything.
For gardeners in warmer
Step-by-step guide to digging and handling shallots properly
Harvesting shallots at the right time ensures maximum flavor and longer storage life. The key is patience—waiting until the foliage yellows and dries naturally signals peak maturity. I’ve found that harvesting in the morning (when soil is cooler) reduces stress on the bulbs and preserves their quality.
Avoid digging after heavy rain, as wet soil can damage delicate shallot skins and invite rot.
Before you start, gather your tools: a garden fork, pruning shears, and a baking sheet for drying. Wear gloves to protect your hands from the sharp edges of shallot clumps.
The goal is to lift the bulbs gently without puncturing them. I’ve ruined entire harvests by being too aggressive—don’t make that mistake!
Digging too early can result in small, pithy bulbs with weak flavor. Overlooking drying time leads to mold, while storing damp shallots causes premature spoilage. Never cut the roots or tops before curing—this invites disease. Always harvest when 60% of foliage has yellowed for ideal balance.
Start by loosening the soil around the shallot clump with your garden fork, inserting it 3-4 inches deep and rocking it gently. Lift the entire clump, then shake off excess soil—don’t rinse the bulbs yet! Let them air-dry for 10-15 minutes to toughen the skins.
I use this time to inspect for pests or damaged bulbs, removing any that won’t store well. A quick trim of the roots (but leave ½ inch) helps prevent rot during storage.
Curing is critical for storage success. Spread the shallots in a single layer on a well-ventilated surface (like a mesh screen) in a dry, dark place with 60-70°F temperatures. Avoid direct sunlight—it can scorch the skins. Cure for 3-5 days, turning them daily to ensure even drying.
Humidity control is key: if your home feels damp, prop up a small fan to circulate air. I’ve cured shallots in my garage with a dehumidifier running nearby for perfect results.
Once cured, trim the dry tops to 1 inch above the bulb and remove any remaining soil. Store them in a mesh bag or paper bag (never plastic!) in a cool, dark spot like a pantry.
Check them monthly—discard any that soften or sprout. Properly stored shallots can last 4-6 months. My best harvests stay fresh until late winter, ready to elevate soups and roasts with their intense, sweet flavor.
If you’re harvesting shallots for immediate use, skip curing and store them in the fridge for 2-3 weeks. For long-term storage, freeze whole, uncured shallots in a single layer before bagging.
This preserves their flavor for up to 1 year. Whether you’re a home cook or market gardener, mastering these steps ensures your harvest shines in every dish.