How To
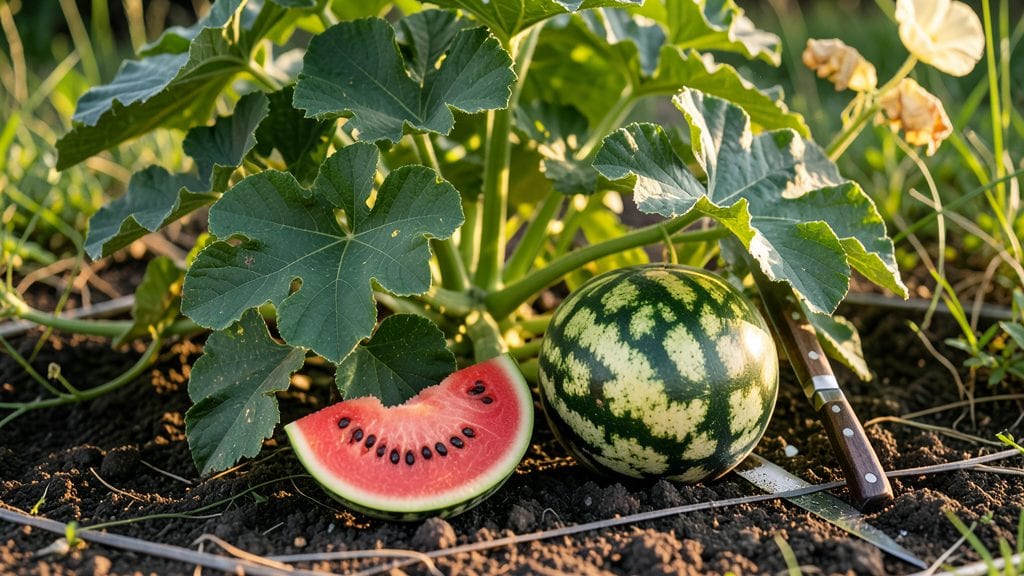
To know when to pick watermelon from your garden, watch for 5 key signs that signal peak ripeness—because nothing ruins the harvest like pulling one too soon.
Nothing beats the excitement of harvesting your own homegrown 🍉—except the disappointment of cutting one open too early and finding a mealy, underripe fruit. The difference between a juicy, sweet success and a bland, watery failure often comes down to timing.
From the telltale yellowing of the tendril to the satisfying hollow thump of a ripe fruit, these clues take the guesswork out of harvest day. Whether you're in USDA Zone 6a or further south, mastering these visual and physical cues ensures you never miss the perfect moment.
Below, I’ll walk you through the exact steps to check your watermelon’s readiness—so you can go from garden to table with confidence, every single time.

5 Visual and physical signs your watermelon is ready to harvest
Watermelons are one of summer’s greatest rewards, but timing your harvest is an art. Overripe melons turn mushy and bland, while underripe ones stay hard and tasteless. The key lies in combining visual cues with physical tests—each clue builds confidence that you’re picking at peak sweetness.
I’ve learned the hard way that ignoring even one sign can mean wasting a perfect fruit.
Don’t rely on days since planting—watermelons mature at different rates based on variety, climate, and soil conditions. Instead, focus on these five reliable indicators that tell you it’s time to harvest.
These methods work for both heirloom and hybrid varieties, though some, like Sugar Baby, ripen faster than Charleston Gray.
-
1. Tendril Turns Brown and Dries
Look for the small curly tendril near the stem attachment. When it turns brown and crispy, the watermelon is ready. This happens because the vine stops feeding nutrients to the fruit—nature’s way of saying, “It’s done!” -
2. Field Spot Changes to Cream or Yellow
The ground spot (where the watermelon rested) shifts from white to cream or yellowish. This color change signals full ripeness, as the fruit’s chlorophyll breaks down under the sun. -
3. Rind Dulls and Resists Pressure
A ripe watermelon’s skin dulls slightly (less shiny). Press your thumbnail into the rind—if it doesn’t dent easily, it’s ready. Underripe melons feel hard and resistant, while overripe ones yield too much. -
4. Stem Snaps Near the Fruit
Gently twist the stem at the base. If it snaps cleanly (rather than tearing), the watermelon is at peak ripeness. A green stem means it’s still growing; a dry, shriveled stem suggests it’s past its prime. -
5. Hollow Sound When Thumped
Tap the watermelon with your knuckles. A ripe one sounds deep and hollow, like a drum. Underripe melons thud dully, while overripe ones sound flat or mushy. Pro tip: Shake it near your ear—vibrations change as ripeness increases.
I once picked a watermelon based solely on size, only to find it seedy and bland inside. The lesson? Combine these signs—a melon with a brown tendril and cream-colored field spot is almost always perfect.
If you’re unsure, wait a day or two; watermelons don’t spoil quickly once fully ripe.
Watch for environmental clues too. Watermelons in hot, dry climates ripen faster than those in cool, humid areas. If your melons are growing slowly, check for adequate sunlight (they need 6+ hours daily) and consistent watering (1–2 inches per week). Underwatering can stunt ripening, while overwatering dilutes flavor.
One mistake I see often is picking by weight. A heavy watermelon isn’t necessarily ripe—it could just be waterlogged. Focus on the visual and physical signs above, not the scale.
For example, a Sugar Baby might feel light but still be sweet if its tendril is brown and its field spot is yellow.
If you’re growing multiple varieties, track their days to maturity (check seed packets). While visual cues are universal, some types, like seedless watermelons, may ripen slightly earlier. For example, Crimson Sweet typically takes 80–90 days, while Black Diamond can take up to 95 days.
Finally, harvest early in the morning when temperatures are cool. This preserves the fruit’s sweetness and texture. Store ripe watermelons in a shady, dry place (not the fridge) for 1–2 weeks.
Overripe melons can be used for smoothies or jam, but nothing beats that first juicy bite at peak ripeness.
Next time you’re eyeing that plump watermelon, take a moment to check these signs. Your taste buds—and your garden’s hard work—will thank you. 🍉
How to test watermelon ripeness: the thump, tap, and scent method
Once your watermelon has reached its full size, visual cues alone might not guarantee ripeness. That’s where the thump test, tap method, and scent analysis come into play. These techniques help confirm whether your fruit is ready to harvest or still needs time on the vine.
I’ve tested these methods across my garden for years, and they consistently deliver accurate results when combined.
While some gardeners swear by one method over another, I’ve found that using a combination of tests reduces guesswork. For example, a hollow sound might not always mean perfect ripeness—especially in hot climates where watermelons can dry out prematurely.
That’s why I pair sound tests with scent checks and texture evaluations for foolproof accuracy.
How to Know When to Pick Watermelon from Garden
| Method | Pros | Cons |
|---|---|---|
| Thump Test | Quick, no tools needed; works for most varieties | Can be misleading in dry conditions; subjective |
| Tap Method | Simple and effective; confirms internal ripeness | Requires gentle tapping; may not work for small melons |
| Scent Check | Detects natural sweetness; no tools required | Subjective; can vary by variety and climate |
| Stem Test | Clear visual cue; easy to perform | Not foolproof; some stems dry late |
For best results, combine 2-3 methods. For example, a hollow thump + dry stem + sweet scent = perfect ripeness.
The thump test is my go-to method because it’s fast and doesn’t require any tools. To perform it, gently tap the watermelon with your knuckles—if it sounds hollow, it’s likely ripe.
However, I’ve learned that this method works best when the fruit is fully grown. If your watermelon is still expanding, it may not be ready yet, even if it thumps.
For a more precise test, try the tap method. Instead of thumping, lightly tap the watermelon with your fingers and listen for a deep, resonant sound. This indicates that the internal flesh is fully developed.
I’ve found that this method works particularly well for heirloom varieties, which often have denser flesh. Pair this with a scent check—ripe watermelons emit a sweet, musky aroma near the stem.
Don’t overlook the texture check either. Run your thumbnail over the field spot (the cream-colored area where the watermelon rested on the ground). If it feels slightly soft and dulls under pressure, your watermelon is ready.
I’ve also noticed that the curly tendril near the stem turns brown and brittle when the fruit is ripe—this is a visual cue I never skip.
Finally, combine these methods for maximum accuracy. For instance, if your watermelon passes the thump test but lacks a sweet scent, it might need a few more days on the vine.
Conversely, a strong scent without a hollow sound could indicate overripeness. By using all three techniques together, you’ll rarely miss the perfect harvest window. 🍉