Tools
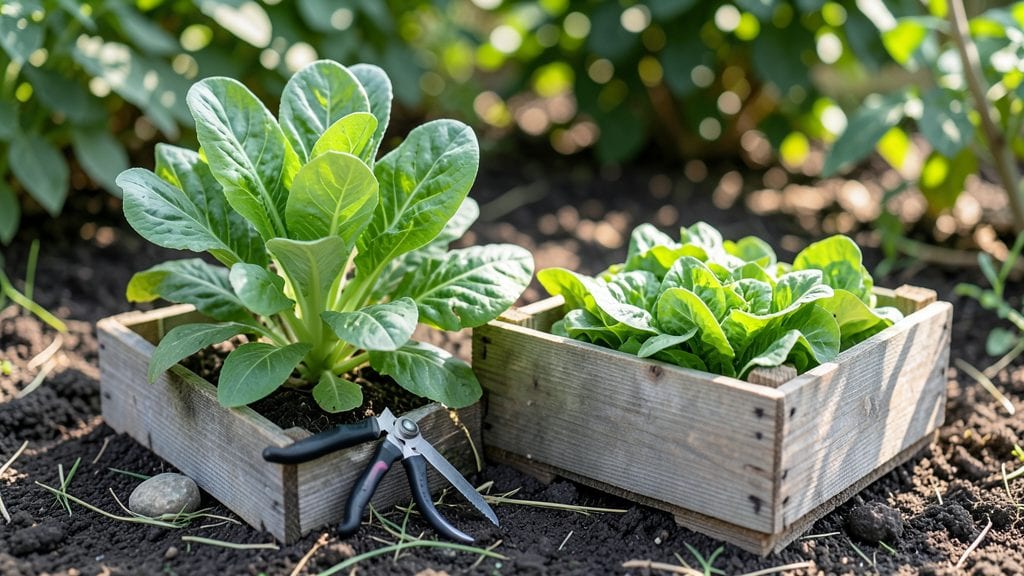
Creating a kids' first garden is about more than just planting—it's about sparking curiosity and making every dig-in-the-dirt moment unforgettable. 🌱 I learned this the hard way when my nephew's first attempt at growing sunflowers ended with a muddy mess and a handful of seeds instead of sprouts.
The key? Simple layouts that let little hands explore without frustration, durable materials that survive their energy, and plants that grow fast enough to keep their interest.
Start with a 3-foot-by-3-foot raised bed or a long, shallow container where kids can stand and reach everything. Fill it with lightweight, non-toxic soil (no heavy bags—they're too hard for tiny arms) and add sensory elements like smooth river rocks or textured bark mulch.
Plant fast-growing favorites like sugar snap peas, cherry tomatoes, or marigolds—they pop up in 7-14 days, giving kids that "I did this!" moment before they lose interest. Add a knee-high wooden fence around the bed to mark boundaries and keep curious paws safe.
You'll end up with a space where kids can pull weeds (with supervision), harvest their own food, and watch bugs up close—all while learning where their meals come from. The best part?
By summer's end, they'll be bragging about their "giant" sunflowers (even if they're only 2 feet tall) and begging to garden again next year. The secret is keeping it simple, safe, and satisfying—no fancy tools or complicated layouts.
Works for backyards, balconies, or even a sunny windowsill with containers. The goal isn't perfection—it's messy, muddy, memory-making gardening. Here's how to set it up without the stress.
📚 In This Guide
- What you need
- Instructions
- Tips and common mistakes
- Wrapping up and next steps
What you need
- ● Garden bed or containers: 2-4 raised beds (12"–18" high, 4'x4' or smaller) or 5–10 large pots (12"+ diameter, with drainage holes). Pro tip: 💡 Use lightweight materials like cedar or recycled plastic to make lifting easier!
- ● High-quality soil: 2–3 cubic feet of kid-safe potting mix (organic, peat-free, and free of synthetic fertilizers). Avoid garden soil—it’s too heavy and may contain pests!
- ● Seeds or seedlings: Fast-growing, easy-to-harvest: 5–10 sunflower seeds, 10–15 radish seeds, or 5–10 cherry tomato plants.
- ● Fun shapes/colors: 5–10 rainbow chard seeds or purple basil plants (kids love these!).
- ● Watering tools: 1 small watering can (1–2 gallons, with a long spout).
- ● 1 hose with a gentle spray nozzle (for bigger beds).
- ● Safety gear: 1 pair of child-sized gardening gloves (nitrile or cotton, snug fit).
- ● 1 sun hat or cap (UPF-rated for extra protection).
- ● Mini tools: 1 kid-sized trowel (lightweight, 6"–8" blade).
- ● 1 hand fork (for turning soil gently).
- ○ Optional but fun: 1 colorful garden marker set (to label plants with pictures!).
- ● 1 bucket or wagon (for hauling dirt or harvests).
- ● 1 knee pad or cushion (to make digging comfy!).
- ● Sunlight: A spot with 4–6 hours of direct sunlight daily (south or west-facing is ideal).
- ● Water access: A nearby hose or water source (gardens need consistent moisture!).
- ● Adult supervision: Always have a helper nearby for little ones (especially with tools or sharp objects).
- ● Patience & excitement: Kids gardens grow best with daily check-ins and lots of praise! 🌟
Step-by-step instructions for designing a kids first garden
Here's how to create a safe, engaging, and productive garden that grows confidence alongside veggies.
🌱 Step 1: Select a Sunny, Accessible Spot
Choose a location with at least 6 hours of sunlight daily—most vegetables and herbs thrive with morning sun and afternoon shade. A flat, easily reachable area near a water source prevents little arms from straining. I like to use a 4-foot by 4-foot raised bed for this size project because it keeps soil contained and prevents bending over.
Test the spot by observing where sunlight hits throughout the day. Mark the boundaries with 4 wooden stakes (one at each corner) to visualize the space before digging. Avoid low-lying areas where water pools after rain—kids' gardens need good drainage to prevent soggy roots and mold.
🪴 Step 2: Prepare the Soil with Kid-Friendly Amendments
Fill the bed with 2 cubic feet of premium potting mix mixed with 1 cubic foot of compost—this creates loose, nutrient-rich soil perfect for tiny hands to work with. I always let kids scoop and mix the compost themselves; they love the worm surprises and learn where food comes from.
Spread the 1 gallon of slow-release fertilizer evenly across the soil surface, then gently work it into the top 4 inches with a small hand trowel. This ensures nutrients are accessible to roots without overwhelming young plants. Moisten the soil lightly with a watering can until it feels like a damp sponge—not dripping, but holding together when squeezed.
☀️ Step 3: Plant Easy, Fast-Growing Seeds or Starts
For this size garden, I recommend 4 fast-growing plants: 4 radish seeds, 4 lettuce seeds, 4 sunflower seeds, and 4 bean seeds. Radishes and lettuce grow quickly (in 3-4 weeks), so kids see results fast, while sunflowers and beans offer longer-term rewards. Plant seeds ½ inch deep and 2 inches apart—use a small ruler to mark spacing for consistency.
If using transplants, dig holes twice as wide as the root ball and gently place each plant in, filling gaps with soil. Water immediately after planting to settle roots. I always let kids decorate the garden with 4 colorful plant markers (write names with washable markers)—it makes them feel ownership over their growing project.
💧 Step 4: Set Up a Simple Watering System
Place the small watering can near the garden and demonstrate how to water gently at the base of plants—not overhead—to keep leaves dry and prevent disease. Teach kids to check soil moisture by touching it: "If it feels dry 1 inch down, it's time to water." This prevents overwatering, which can drown seeds.
For a fun twist, add 4 colorful spray bottles filled with water for misting leaves (great for sunflowers!). Schedule watering for early morning or late afternoon to avoid evaporation and sunburn on delicate seedlings. Kids love the routine—turn it into a game by assigning them "watering captain" duties.
✂️ Step 5: Maintain with Weekly Check-Ins and Celebrations
Every 7-10 days, check for new growth: "Can you find the first true leaves on your radishes?" This builds observation skills. Harvest radishes when they reach 1 inch in diameter—they're ready! Let kids pull them gently with their hands (no tools needed). Celebrate each harvest with a "Garden Chef Day" where they use their veggies in simple recipes (like butter lettuce wraps).
Watch for pests like aphids (tiny green bugs on leaves) and show kids how to blast them off with water from a spray bottle. If soil looks dry, add ½ inch of mulch (like shredded leaves) to retain moisture. The goal is consistent, low-maintenance care—not perfection. Mistakes (like overwatering) are part of learning, and kids remember the process more than the outcome.
Tips & tricks for perfect kids first garden layouts
Creating a garden that excites kids while ensuring success requires a few strategic touches that go beyond the basics.
Sunlight Strategy: Those 6 hours of sunlight are non-negotiable, but here's the secret: position your 4-foot by 4-foot raised bed to catch morning sun—it's gentler on young plants and prevents afternoon wilting. I've seen kids lose interest when plants struggle, so choose a spot where the sun arcs across the bed throughout the day. A simple shadow test with a stick at different times reveals the best placement.
Soil Prep Hack: The 2 cubic feet of premium potting mix and 1 cubic foot of compost combo works wonders, but here's how to make it even more engaging: let kids sift the soil through a large colander first. They'll love the tactile experience while you create that perfect loose, airy texture. For the 1 gallon of slow-release fertilizer, sprinkle it in a crisscross pattern before mixing—this ensures even distribution without clumping.
Plant Selection Tip: While the 4 radish seeds, 4 lettuce seeds, 4 sunflower seeds, and 4 bean seeds are perfect starters, here's a pro move: plant the radishes and lettuce in the center of the bed where they'll get consistent moisture, and place the sunflowers and beans along the edges. This creates natural pathways that make watering and checking progress easier for little hands. The ½ inch deep planting depth is crucial—use a ruler to mark the spots before planting so kids can see exactly where each seed goes.
Watering System Upgrade: The small watering can is perfect, but add these two upgrades: first, attach a spout extender> to the can so kids can reach all corners without straining. Second, show them how to fill the can only halfway—this prevents overwatering while still providing enough moisture. The 4 colorful spray bottles> are fantastic for sunflowers, but here's a bonus: let them add a drop of dish soap to the water. This creates a natural insect repellent that keeps aphids away without chemicals.
Pro Tips for Kids First Garden
- Creating a garden that excites kids while ensuring success requires a few strategic touches that go beyond the basics.
- Sunlight Strategy: Those 6 hours of sunlight are non-negotiable, but here's the secret: position your 4-foot by 4-foot raised bed to catch morning sun—it's gentler on young plants and prevents afternoon wilting.
- Soil Prep Hack: The 2 cubic feet of premium potting mix and 1 cubic foot of compost combo works wonders, but here's how to make it even more engaging: let kids sift the soil through a large colander first.
Frequently asked questions
What’s the best age to start a kids’ garden?
Kids as young as 3–4 years old can enjoy planting seeds (with supervision) and watering, while those 5+ can handle more tasks like weeding and harvesting. Focus on their attention span and motor skills—start simple with fast-growing plants like sunflowers or radishes!
When is the ideal time to plant a kids’ garden?
Timing depends on your climate! For most regions:
- Cool seasons: Plant in early spring (after last frost) or fall (6–8 weeks before first frost).
- Warm seasons: Start in late spring after soil warms (test with your hand—it should feel like a warm bath!).
How much does a kids’ garden cost to start?
A basic setup can cost as little as $20–$50 if you repurpose containers (like yogurt cups or old buckets) and use seeds instead of transplants. Budget-friendly staples:
- Seeds: $5–$10 for a variety pack.
- Soil: $10–$15 for a small bag (or compost kitchen scraps!).
- Tools: Dollar-store trowels or DIY sticks work great!
What if my child loses interest halfway through?
Don’t stress! Kids’ attention spans fluctuate—keep it fun with:
- Quick-growing plants (e.g., beans sprout in 5–7 days!).
- Themed gardens (e.g., "superhero veggies" or "rainbow flowers").
- Weekly "harvest parties" to celebrate progress.
What are the most common mistakes to avoid?
Newbie gardeners (and their tiny helpers!) often overlook:
- Overwatering: Check soil moisture with fingers—it should feel damp but not soggy.
- Skipping sunlight: Place gardens in 6+ hours of direct light daily (or use grow lights).
- Ignoring pests: Teach kids to spot aphids early (spray with water or introduce ladybugs!).
Wrapping up and next steps
Creating a Kids First Garden is more than just a fun project—it’s a gift of curiosity, responsibility, and fresh flavors for life! 🌱 Whether you’re planting a mini herb patch, a colorful veggie patch, or a pollinator paradise, the key is to start small, keep it safe, and let their excitement grow alongside the seeds.
The best part? You don’t need a green thumb—just patience, a little dirt, and a whole lot of joy.
Ready to dig in? Your next step: Pick one layout from this guide, gather your supplies, and let your little gardener take the lead. Who knows? You might just inspire a future botanist—or at least a kid who loves eating their own homegrown tomatoes! 🍅✨