
Tools
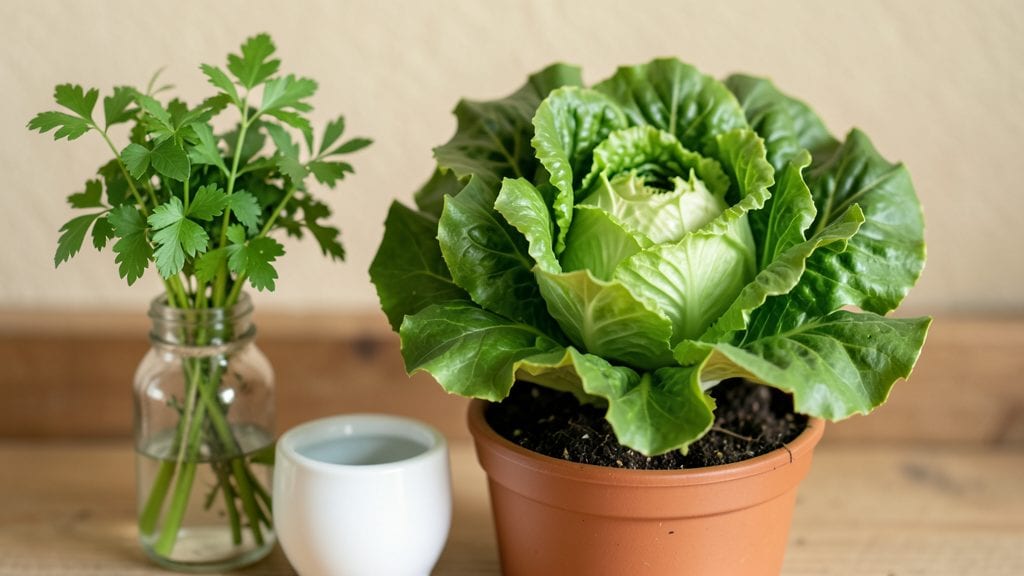
A kitchen counter garden transforms your cooking space into a fragrant, functional hub where fresh herbs are always within arm's reach. I started mine after realizing how quickly store-bought basil and cilantro wilted—now I snip what I need before it even has time to brown.
The best part? You don’t need a green thumb or a sunny backyard to make it work.
Start with dwarf varieties like thyme, parsley, and chives—they thrive in small pots and won’t outgrow your countertop. A 6-8 inch diameter pot with drainage holes is perfect, and grouping plants by water needs keeps maintenance simple.
South-facing windows provide the best light, but a grow light on a timer works wonders if your kitchen stays dim.
Within 4-6 weeks, you’ll harvest your first leaves, and the aroma alone makes the effort worth it. Imagine chopping basil so fresh it still crackles between your fingers, or snipping mint leaves that smell like a summer afternoon.
The space stays tidy, the herbs stay productive, and your cooking becomes instantly more vibrant.
This setup works year-round, whether you’re cooking for two or hosting a dinner party. The key is keeping soil moist (not soggy) and rotating pots weekly for even light exposure. No fancy tools or expensive setups—just a little counter real estate and the satisfaction of growing what you eat.
📚 In This Guide
- What you need
- Instructions
- Tips and common mistakes
- Wrapping up and next steps
What you need
- ● Herb seeds or seedlings: Choose 3–5 easy-to-grow herbs like basil, parsley, chives, mint, or thyme (or pre-sprouted kits for beginners).
- ● Shallow containers: 2–4 small pots (4–6" diameter) with drainage holes or a long, narrow tray (12"–18" length) for a unified look.
- ● Potting mix: 1 bag of lightweight, well-draining organic potting soil (avoid garden soil—it’s too dense!).
- ● Drainage layer: Small pebbles, perlite, or hydroponic clay balls (½ cup per pot).
- ● Watering can or spray bottle: A fine-mist sprayer keeps soil moist without overwatering.
- ● Sunlight access: A south-facing window (6+ hours of light/day) or a small grow light (LED or fluorescent, 12–15 watts).
- ● Trowel or small spoon for planting.
- ● Organic fertilizer (balanced 10-10-10 or fish emulsion).
- ● Humidity dome or plastic wrap to retain moisture during germination.
- ● Decorative trays or saucers to catch water and add style.
- ● Labels and markers to track your herbs.
Instructions for creating your kitchen counter garden
Transform your countertop into a thriving herb garden with these simple, foolproof steps.
Choose and Prepare Your Containers
Select containers with drainage holes—no exceptions. I like using 6-inch diameter pots for herbs like basil and parsley because they give roots room to grow while keeping the footprint small. If your containers don’t have holes, drill them yourself—herbs rot quickly if they sit in soggy soil. Place a coffee filter or piece of mesh over each hole to keep soil from washing out while still allowing water to drain.
Clean the containers thoroughly with warm, soapy water to remove any residue from previous plants. This prevents mold and disease from taking hold. Once clean, let them air-dry completely before adding soil. I always arrange the pots near a sunny window first to test the light conditions before planting—this helps me visualize where everything will go.
Fill with Quality Potting Mix
Fill each container with 2-3 inches of fresh potting mix, leaving about ½ inch of space at the top. Press the soil down lightly with your fingers—just enough to remove air pockets but not so much that it becomes compacted. Herbs need loose, well-aerated soil to grow strong roots. I like to add a handful of perlite to the mix for extra drainage, but if you’re using pre-mixed potting soil, skip this step.
Water the soil gently until it’s evenly moist but not dripping. You’ll know it’s right when the top inch feels damp to the touch. Avoid overwatering at this stage—herbs hate soggy soil from the start. Let any excess water drain completely before planting. This ensures your herbs get off to a healthy start without the risk of root rot.
Plant Your Herb Starts
Dig a hole in the center of each pot that’s twice as wide as the root ball of your herb plant. Gently remove the plant from its nursery pot and place it in the hole, making sure the top of the root ball sits just below the soil line. Fill in around the roots with more potting mix, pressing lightly to secure the plant. Water again to settle the soil and remove any air pockets.
Space your pots 3-4 inches apart on the countertop to allow for airflow. Herbs need good circulation to stay healthy and avoid fungal diseases. If you’re planting multiple pots, group them by sunlight needs—some herbs, like basil, thrive in bright light, while others, like parsley, tolerate slightly lower light. Watch for any leaves that yellow or wilt after planting—this usually means the plant needs more light or water.
Position for Optimal Light
Place your herb garden in the sunniest spot on your countertop, ideally near a south- or west-facing window. Herbs need at least 4-6 hours of direct sunlight daily to grow vigorously. If your kitchen doesn’t get enough natural light, supplement with a grow light placed 6 inches above the plants for 12-14 hours a day. You’ll notice leaves turning pale or stretching toward the light if they’re not getting enough—this is a clear sign to adjust their position or add a grow light.
Rotate the pots a quarter turn every few days so all sides of the plants get equal light exposure. This prevents herbs from leaning or growing unevenly. Keep an eye on the soil moisture—water when the top inch feels dry to the touch, but avoid letting the soil stay soggy. Overwatering is the fastest way to kill a kitchen garden, so always check before adding more water.
Maintain and Harvest Regularly
Herbs grow quickly, so check them daily for signs of pests or disease. Remove any yellow or damaged leaves immediately to keep the plant healthy. Water in the morning so the leaves have time to dry before evening, which reduces the risk of fungal issues. Fertilize every 4-6 weeks with a balanced, water-soluble fertilizer diluted to half strength—this gives herbs a gentle boost without overwhelming them.
Start harvesting leaves when your herbs reach 3-4 inches tall. Pinch off the outer leaves first, leaving the inner growth to continue. Regular harvesting encourages bushier growth and prevents herbs from becoming leggy. If you notice flowers starting to form, snip them off immediately—herbs focus their energy on producing seeds when they bloom, which dulls their flavor. With consistent care, your kitchen counter garden will stay fresh and productive for months.
Tips & tricks for perfect kitchen counter herb gardens
Creating a thriving kitchen counter garden is easier than you think—these pro tips will help you avoid common pitfalls and maximize your herb harvest.
Container Selection: In Step 1, when choosing your 6-inch pots, prioritize containers with drainage holes to prevent root rot. If your containers don't have holes, drill them yourself—herbs will thank you by growing stronger and healthier. I've found that terracotta pots work especially well because they breathe better than plastic, but any container with proper drainage will do. Just remember, the key is airflow at the bottom as much as it is at the top!
Soil Preparation: When filling your containers with 2-3 inches of potting mix in Step 2, avoid pressing down too firmly. Herbs need loose, well-aerated soil to develop strong roots. I like to mix in a handful of perlite or coarse sand for extra drainage, but even regular potting mix works well if you're careful not to compact it. The goal is to create a fluffy environment where roots can spread easily—think of it like giving your herbs a cozy, airy bedroom to grow in.
Light Positioning: The 4-6 hours of direct sunlight mentioned in Step 4 is non-negotiable for most herbs. If your kitchen doesn't get enough natural light, invest in a simple grow light placed just 6 inches above your plants for 12-14 hours a day. I've seen dramatic improvements in herb growth using basic LED grow lights—just make sure to rotate your pots every few days so all sides get equal exposure. This prevents that classic "leggy" growth where plants stretch toward the light source.
Harvesting Technique: When your herbs reach 3-4 inches tall in Step 5, start harvesting by pinching off the outer leaves first. This might seem counterintuitive, but it actually encourages bushier growth by stimulating new shoots from the center. I've found that regular harvesting—about once a week—keeps herbs productive for months. And here's a secret: if you notice flowers starting to form, snip them off immediately. Herbs channel all their energy into seed production when they bloom, which dulls their flavor faster than you'd expect.
Pro Tips for Kitchen Counter Garden
- Creating a thriving kitchen counter garden is easier than you think—these pro tips will help you avoid common pitfalls and maximize your herb harvest.
- Container Selection: In Step 1, when choosing your 6-inch pots, prioritize containers with drainage holes to prevent root rot.
- Soil Preparation: When filling your containers with 2-3 inches of potting mix in Step 2, avoid pressing down too firmly.
Frequently asked questions
Got questions about your kitchen counter garden? You’re not alone!
Here are some of the most common queries—plus quick, actionable answers to keep your herb haven thriving.
What’s the best lighting setup for a kitchen counter garden?
Most herbs thrive with 4–6 hours of bright, indirect sunlight daily. If your counter gets limited light, supplement with a LED grow light (12–16 hours/day). South- or west-facing windows are ideal, but avoid harsh midday sun, which can scorch delicate leaves like basil.
How often should I water my kitchen counter herbs?
Water when the top inch of soil feels dry—usually every 2–3 days. Overwatering is the #1 killer! Use a spray bottle for gentle hydration (especially for parsley or cilantro) and ensure pots have drainage holes. Pro tip: Stick your finger in the soil—if it’s damp, wait another day!
Can I reuse soil from last year’s kitchen garden?
Not ideal! Old soil can harbor disease, pests, or depleted nutrients. Opt for a lightweight potting mix (like 50% peat/50% perlite) to promote drainage. Refresh soil every 6–12 months, or mix in compost for a nutrient boost.
Why are my herbs turning yellow or crispy?
Yellow leaves? Likely overwatering or poor drainage. Crispy edges? Underwatering or low humidity. Check your care routine:
- Yellowing: Let soil dry slightly between waterings.
- Brown tips: Increase humidity (place pots on a tray with pebbles + water).
- Leggy growth: Move herbs to a brighter spot or rotate pots weekly.
What are the easiest herbs to grow on a kitchen counter?
Start with these beginner-friendly picks:
Herb
Light Needs
Watering
Basil
Bright, indirect
Every 2–3 days
Parsley
Moderate to bright
Keep soil moist
Chives
Low to moderate
Weekly (drought-tolerant!)
Mint
Indirect light
Frequent (loves moisture)
Pro tip: Avoid fussy herbs like dill (bolts quickly) unless you’re ready for a challenge!
Wrapping up and next steps
A kitchen counter garden isn’t just a trend—it’s a game-changer for indoor chefs! 🌱 With minimal space and effort, you can grow fresh herbs year-round, elevating your cooking and cutting costs.
Whether you’re a seasoned gardener or a beginner, this setup makes it easy to enjoy vibrant flavors at your fingertips.
Ready to take the next step? Start small—pick one herb to grow, and let your culinary creativity flourish! Which herb will you try first?