
Tools
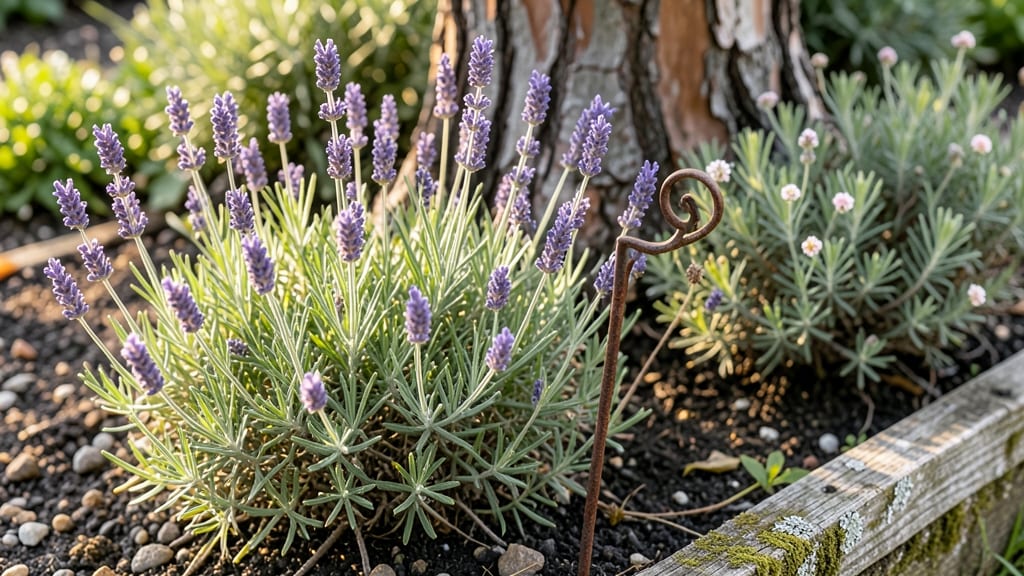
Large garden signs transform a cluttered yard into a curated storybook. ✨ I used to label plants with scraps of paper that blew away in the first rain—until I discovered how bold lettering turns utility into charm.
These signs do more than name your roses; they set the tone for your entire outdoor space.
The best materials depend on your style and climate: cedar resists rot, metal stands up to weather, and slate adds rustic elegance. My favorite DIY project uses reclaimed wood and stencils for custom designs, while pre-made signs in copper or stone add instant sophistication.
Even a simple "Welcome" sign at your gate makes guests feel like they’ve stepped into a designed retreat.
Imagine strolling past signs that mark your herb spiral, vegetable rows, or hidden seating nook—each one guiding you while adding personality. The right placement turns functional labels into decorative accents that enhance your garden’s flow.
A well-placed sign can highlight a focal point, create visual interest, or even tell a story about your gardening journey.
Whether you’re labeling a cutting garden or marking a child’s play area, these signs work year-round. For beginners, start with one or two statement pieces; for seasoned gardeners, mix materials and themes to create a cohesive look. The key is balancing practicality with style—so your yard stays organized and inviting.
📚 In This Guide
- What you need
- Instructions
- Tips and common mistakes
- Wrapping up and next steps
What you need
- ● Base Material: Plywood (½" to ¾" thick, 24" x 48" or larger) – 1-2 sheets (for wooden signs)
- ● Aluminum or PVC sheets (½" thick, custom size) – 1 sheet (for modern signs)
- ● Styrofoam board (1" thick, 4' x 8') – 1 sheet (for lightweight, paintable signs)
- ● Lettering Supplies: Stencils (large letters, 4"–12" tall) – alphabet set or custom-cut
- ○ Wood burning tool (optional for carved signs) – 1
- ● Permanent markers or chalk paint pens – 2-3 colors
- ● Finishing Touches: Outdoor paint (acrylic or latex, weather-resistant) – 1-2 quarts
- ● Clear sealant (polyurethane or Mod Podge Outdoor) – 1 can
- ● Sandpaper (80-120 grit) – 1 sheet
- ● Measuring tape, pencil, and straightedge – 1 each
- ● Power drill with sanding attachment (for smoother edges)
- ● Spray adhesive (for securing stencils)
- ● LED string lights or battery-operated fairy lights (for nighttime glow)
- ● Stain or wood preservative (for natural wood signs)
- ● Metal brackets or stakes (for easy mounting)
Instructions for crafting professional-quality garden signs
Here’s how I create durable, weather-resistant signs that elevate any garden space.
🪴 Step 1: Select Materials for Longevity
Start with a 12" x 18" wooden board (cedar or redwood resists rot best). Sand all surfaces smooth with 80-grit sandpaper to prevent splinters and ensure paint adhesion. I like to seal the edges with outdoor wood glue before painting—this keeps moisture from warping the wood over time.
For lettering, use 1/4-inch thick vinyl letters in weatherproof colors. Avoid glossy finishes—they peel faster in direct sun. Test your chosen paint or stain on a scrap piece first to check for colorfastness after a few weeks outside.
✂️ Step 2: Design and Cut Letters
Sketch your design on the board with a pencil, then transfer it to the vinyl using a cutting mat and craft knife. For bold lettering, space words 1/2 inch apart to prevent crowding. I always add a 1/8-inch border around the entire sign to protect edges from moisture.
Cut out each letter carefully, then peel the backing and position them on the board. Press firmly with a brayer or your hands to remove air bubbles. If using paint instead of vinyl, apply a primer first—this prevents the wood from absorbing moisture and cracking your design.
💧 Step 3: Seal and Protect the Sign
Once letters are in place, apply a clear outdoor polyurethane sealant with a brush, working in thin coats. Two coats ensure waterproofing, but let each dry for 4-6 hours before adding the next. Avoid painting in direct sunlight—temperature fluctuations cause uneven drying and bubbles.
For extra durability, add a 1/4-inch metal bracket to the back of the sign and mount it on a 4-foot wooden post. This keeps it stable in wind and prevents leaning. I always pre-drill holes to avoid splitting the wood when securing the bracket.
☀️ Step 4: Install and Maintain
Position your sign in a spot with partial shade to extend its lifespan. Direct sun fades vinyl and cracks paint over time. If using a post, bury it 6 inches deep in the ground and fill the hole with gravel for drainage.
Clean signs annually with a damp cloth and mild soap. Avoid pressure washers—they strip sealant and damage lettering. Store spare materials in a dry place to reuse for future signs.
Tips & tricks for perfect large garden signs
A few key strategies will help you create signs that stand the test of seasons and weather.
Material Selection Matters: Cedar and redwood are your best choices for longevity, but if those aren't available, pressure-treated pine works too—just sand it extra smooth first. The 12" x 18" size gives you plenty of space for bold designs while remaining manageable to handle. I've learned the hard way that skipping the outdoor wood glue on edges leads to warping after just a few rainstorms.
Lettering Precision: When spacing your 1/2-inch gaps between words in Step 2, use a ruler or even a business card as a guide—it's easier than eyeballing it. For that 1/8-inch border around the sign, I like to trace around a piece of cardboard first to mark the perfect boundary before cutting. This prevents moisture from creeping under the edges later.
Sealant Application Strategy: The 4-6 hour drying time between polyurethane coats is non-negotiable, but you can speed up the process slightly by working in a warm (but not hot) environment. A hairdryer on low heat can help dry the first coat in about 2 hours if you're in a hurry, but only do this for the first coat—temperature fluctuations during the second coat can cause bubbles.
Installation Stability: For signs mounted on posts, I recommend using two brackets instead of one—this creates a more stable base that won't wobble in wind. When burying the 4-foot post 6 inches deep, mix the gravel with a bit of concrete mix at the bottom to create a solid foundation. This prevents the post from shifting over time, especially in clay soil.
Pro Tips for Large Garden Signs
- A few key strategies will help you create signs that stand the test of seasons and weather.
- Material Selection Matters: Cedar and redwood are your best choices for longevity, but if those aren't available, pressure-treated pine works too—just sand it extra smooth first.
- Lettering Precision: When spacing your 1/2-inch gaps between words in Step 2, use a ruler or even a business card as a guide—it's easier than eyeballing it.
Frequently asked questions
Got questions about making the most of your large garden signs? You’re not alone! Here are some common concerns—and their straightforward solutions—to help you create eye-catching yard appeal with confidence.
What’s the best material for outdoor garden signs?
Durability is key! Opt for weather-resistant materials like PVC, cedar, or aluminum. These resist moisture, fading, and pests. For a rustic look, cedar or reclaimed wood works beautifully, while PVC offers lightweight, long-lasting versatility. Pro tip: Seal wood with outdoor varnish to extend its life!
How long do large garden signs last before needing replacement?
With proper care, most high-quality signs last 3–5 years outdoors. Wood signs may degrade faster (1–3 years) unless sealed, while metal or PVC signs can last 5+ years. Check for warping, rust, or faded lettering annually. Pro tip: Store wooden signs indoors during harsh winters to maximize longevity!
Can I paint or customize large garden signs myself?
Use outdoor-grade paint (like acrylic or spray paint designed for metal/wood) and stencils for crisp lettering. For a DIY touch, try chalkboard paint on wood or vinyl decals for easy updates. Pro tip: Apply a clear sealant over painted surfaces to protect your design from rain and sun!
What’s the ideal size for a garden sign to be visible from the street?
Aim for 12”–24” tall for signs placed near walkways or driveways, and 24”–36”+ for high-visibility spots like front yards or garden entrances. Bigger isn’t always better—balance size with your space! Pro tip: Test placement by standing at your curb to ensure readability from the road.
Are there eco-friendly alternatives to plastic or metal signs?
Yes! Try reclaimed wood, bamboo, or recycled metal for sustainable options. For a temporary fix, use biodegradable chalkboard signs or plant-based inks on paper signs (replace seasonally). Pro tip: Upcycle old pallets or barn wood for a zero-waste, rustic vibe!
Wrapping up and next steps
Large garden signs are more than just decor—they’re a creative way to express your personality, guide guests, or celebrate your outdoor space. Whether you’re crafting a hand-painted masterpiece or opting for durable materials like wood or metal, the right sign can transform your yard into a welcoming haven.
Don’t wait for inspiration to strike—grab your tools and start making your garden the talk of the neighborhood!
🌱 Next step: Sketch your design, gather supplies, and dive in! Share your progress or final project with us—we’d love to see your garden glow! 📸