
Tools
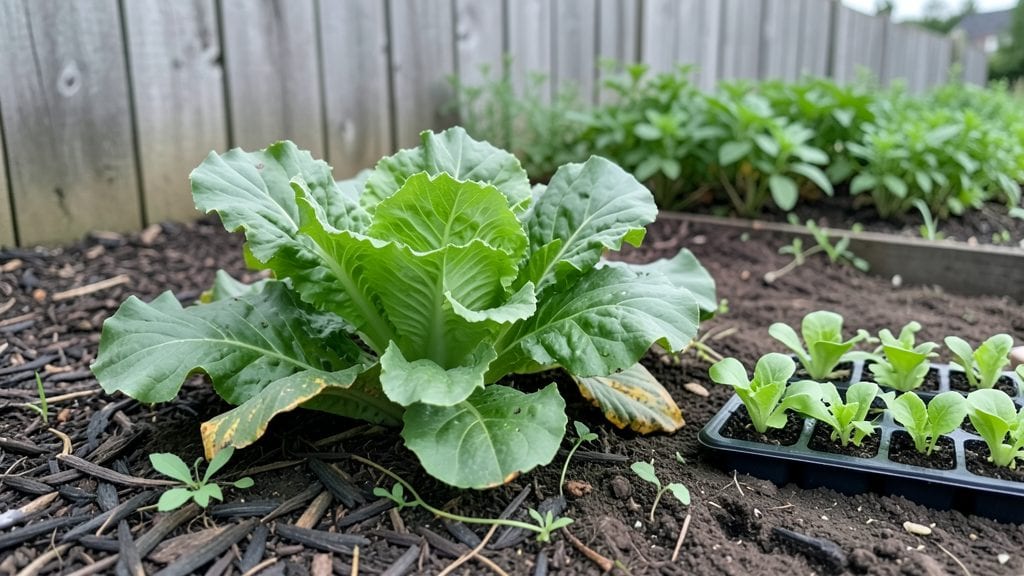
A low cost garden doesn’t mean sacrificing beauty or productivity—it means working smarter, not harder. 🌱 Last summer, I turned a 4-by-6-foot patch into a thriving mini-farm using repurposed lumber, free seeds from neighbors, and plants that spread like wildfire.
The best part? My grocery bill dropped by $15 a week, and my front yard became the neighborhood envy.
You don’t need expensive soil or fancy tools—just a few basic supplies: old pallets for raised beds, recycled containers, and mulch from yard waste. I planted fast-spreading crops like bush beans, zucchini, and lettuce, which gave me harvests in under 60 days.
Even my black thumb couldn’t kill these. The key is choosing plants that multiply easily and layouts that make every inch count, like vertical trellises for vining plants.
By the end of the season, I had fresh greens, tomatoes, and herbs without spending a dime on store-bought produce. The garden stayed lush with minimal watering, and the layout made weeding a breeze.
You’ll end up with a space that’s both functional and stunning—proof that great gardens aren’t about money, but creativity and a little elbow grease.
Whether you’re working with a balcony, a sunny windowsill, or a patch of dirt, these layouts adapt to any space. Let’s get growing without breaking the bank—your wallet (and taste buds) will thank you.
📚 In This Guide
- What you need
- Instructions
- Tips and common mistakes
- Wrapping up and next steps
What you need
- ● Garden Beds or Containers: Reclaimed wood pallets (free or low-cost) – 2-4 pallets
- ● Plastic bins or buckets (5+ gallon size) – 3-5 units
- ● Cinder blocks or bricks – 10-15 blocks (for raised edges)
- ● Soil & Amendments: Topsoil or compost – 1-2 cubic yards (or homemade compost)
- ● Peat moss or coconut coir – 1-2 bags (for moisture retention)
- ● Basic Tools: Trowel or hand shovel – 1
- ● Garden gloves – 1 pair
- ● Pruners – 1 pair (for trimming)
- ● Watering can or hose – 1
- ● Drip irrigation kit or soaker hoses – saves water & time!
- ● Mulch (straw, leaves, or grass clippings) – 1-2 bags (suppresses weeds)
- ● Seedling trays or egg cartons – for starting plants indoors
- ● Trellis or stakes – 2-4 units (for climbing plants like beans or cucumbers)
- ● Old newspapers or cardboard – for weed barriers
How to design a low-cost garden that packs big harvests
Here's how to create a thriving garden without breaking the bank—using what you already have.
🪴 Step 1: Assess Your Space and Gather Free/Recycled Materials
Start by measuring your available area—even small spaces can produce bountiful harvests with smart planning. I like to sketch a rough layout on paper first, marking sunlight patterns throughout the day. Most urban or small gardens get 4-6 hours of sun—this determines where to place sun-lovers like tomatoes and peppers.
For containers, repurpose anything that holds soil: old buckets, plastic bins, or even clean milk jugs cut in half. Just ensure they have drainage holes (poke a few with a nail if needed). I’ve used broken terracotta pots as planters too—just line them with plastic to prevent leaks. Check your local "free" section on Craigslist or Facebook Marketplace for discarded pallets or wooden crates.
🌱 Step 2: Choose High-Yield, Low-Cost Plants and Seeds
Skip expensive nursery starts and opt for seeds from dollar stores, library seed swaps, or even grocery store herb packets (like basil or cilantro). I always save seeds from my best-performing veggies—tomatoes, beans, and lettuce are easy to collect. For space efficiency, pick compact varieties like 'Bush Early Girl' tomatoes or 'Roma' beans, which produce heavily without sprawling.
Focus on "cut-and-come-again" crops like leafy greens (spinach, kale) and herbs (parsley, chives) that regrow after harvesting. These give multiple harvests from one planting, stretching your dollar further. Avoid specialty plants with long germination times or delicate starts—they’re riskier for beginners and often pricier.
☀️ Step 3: Build Vertical and Tiered Structures
Maximize vertical space with trellises made from old fencing, bamboo stakes, or even wire mesh stretched between two posts. I’ve used repurposed picture frames as mini trellises for cucumbers or pole beans—just bend the wire into a grid. For tiered planting, stack containers on pallets or cinder blocks to create levels, allowing sun access to all plants.
Train vining plants like peas, squash, or melons upward to save ground space. Even a simple string tied between two stakes works. This keeps the garden organized and makes harvesting easier. If you’re short on materials, use sturdy branches from pruned trees—just sterilize them with boiling water first to prevent disease.
💧 Step 4: Implement Water-Saving Techniques
Reduce costs by conserving water with drip irrigation made from plastic bottles. Poke small holes in the cap of a 2-liter bottle, bury it near the base of plants, and fill it with water. The slow release keeps roots moist without waste. For larger gardens, lay a soaker hose along rows—old garden hoses work just as well as new ones.
Mulch heavily with free materials like grass clippings, shredded newspaper, or fallen leaves to retain moisture and suppress weeds. I spread a 2-inch layer around plants, keeping it 1 inch away from stems to prevent rot. This also keeps soil temperatures stable, which is crucial for seedlings.
✂️ Step 5: Maintain with Minimal Effort
Use companion planting to naturally deter pests—pair basil with tomatoes to repel flies, or plant marigolds around the perimeter to scare off nematodes. This reduces the need for expensive sprays. I also rotate crops yearly (if possible) to prevent soil depletion, even in containers by swapping out the top 2 inches of soil annually.
Harvest regularly to encourage continuous production. Pinch off dead flowers on herbs like mint or oregano to keep them bushy. For veggies, harvest in the morning when flavors peak and moisture levels are highest. Store extras by freezing or fermenting—this extends your harvest without buying more supplies.
Tips & tricks for perfect low-cost garden layouts
A few clever strategies that'll transform your space into a productive, budget-friendly harvest powerhouse.
Sunlight Strategy: In Step 1, when you're mapping your garden layout, pay special attention to those 4-6 hours of sun mentioned. I've found that placing taller plants on the north side of containers prevents shading for shorter crops. For urban balconies, rotate containers every few weeks to ensure even sun exposure—this prevents lopsided growth and maximizes production from every square inch.
Container Hack: When repurposing containers in Step 1, remember that terracotta pots actually wick moisture better than plastic, but they dry out faster. To balance this, I line terracotta pots with a plastic bag (with drainage holes) before adding soil. This gives you the best of both worlds—better moisture retention without sacrificing breathability. The key is to check soil moisture more frequently with terracotta.
Vertical Space Multiplier: For Step 3's vertical structures, don't overlook the potential of hanging baskets made from old colanders or mesh bags. I've seen gardeners create tiered hanging systems using coat hangers and wire—perfect for herbs and trailing plants. The secret is to place the heaviest baskets at the bottom and secure everything tightly to prevent swaying in wind or when harvesting.
Watering Wisdom: When implementing your water-saving techniques in Step 4, the 2-liter bottle irrigation system works best with smaller holes—about 1/8-inch diameter. I've found that larger holes can cause uneven watering, while these tiny holes provide consistent moisture. For the 2-inch mulch layer, use a ruler to ensure even coverage—uneven mulching can create hot spots that dry out soil unevenly.
Pro Tips for Low Cost Garden
- A few clever strategies that'll transform your space into a productive, budget-friendly harvest powerhouse.
- Sunlight Strategy: In Step 1, when you're mapping your garden layout, pay special attention to those 4-6 hours of sun mentioned.
- Container Hack: When repurposing containers in Step 1, remember that terracotta pots actually wick moisture better than plastic, but they dry out faster.
Frequently asked questions
Got questions about creating a low-cost garden?
You’re not alone! Here are answers to the most common concerns—from space-saving tricks to budget-friendly tips.
What are the cheapest materials for a low-cost garden?
Start with what you have! Use pallets, old tires, or scrap wood for raised beds, and repurpose containers like buckets, plastic bins, or even boot boxes for potted plants. Recycled materials (e.g., broken bricks, cinder blocks) work great too. Check local free listings (Facebook Marketplace, Craigslist) or compost piles for "garden gold" like mulch or soil amendments.
Can I grow food in a small space without spending much?
Opt for vertical gardening (trellises, hanging pockets) to save floor space, and choose fast-growing, high-yield crops like leafy greens, radishes, or bush beans. Succession planting (harvesting in waves) maximizes output. Even a windowsill herb garden or balcony planter can yield fresh produce for pennies!
How long does it take to see results in a low-cost garden?
Some crops sprout in as little as 1–2 weeks (radishes, lettuce), while others (tomatoes, peppers) take 6–8 weeks to mature. Herbs like basil or cilantro may be ready in 3–4 weeks. Plan ahead: cool-season crops (spinach, kale) thrive in early spring/fall, while warm-season plants (beans, squash) need consistent warmth.
What’s the easiest way to keep pests away on a budget?
Prevent pests naturally with homemade sprays (soapy water, garlic/chili pepper mix) or physical barriers like row covers or coffee grounds (repels slugs). Companion planting (e.g., marigolds near tomatoes) deters bugs without chemicals. Handpick pests early (like aphids) before they multiply—it’s free and effective!
What if I don’t have soil? Can I still garden cheaply?
Yes! Use cardboard or newspaper as a weed-blocking layer, then top with compost, leaves, or straw (free from local tree services or farms). Hydroponics or aquaponics (DIY kits start under $20) work without soil. Even aquarium gravel or coconut coir can substitute for dirt. Just ensure proper drainage!
What should I do if my low-cost garden fails?
Don’t stress—even "failures" teach lessons! Analyze the cause: Was it poor drainage? Too much shade? Adjust next time. Start small (e.g., 1–2 plants) to test conditions. Learn from others: Join local gardening groups or forums for troubleshooting tips. Every gardener—even experts—faces setbacks!
Wrapping up and next steps
Creating a low-cost garden doesn’t mean sacrificing beauty or productivity—it’s all about smart planning! With space-saving layouts, recycled materials, and a little creativity, you can grow a thriving harvest without breaking the bank.
Whether you’re working with a tiny balcony or a small backyard, these designs prove that big results come from small spaces.
Ready to get started? Pick one layout that fits your space, gather your supplies, and watch your garden grow! 🌱💚 Check out our step-by-step guide to turn your vision into reality today.