
Tools
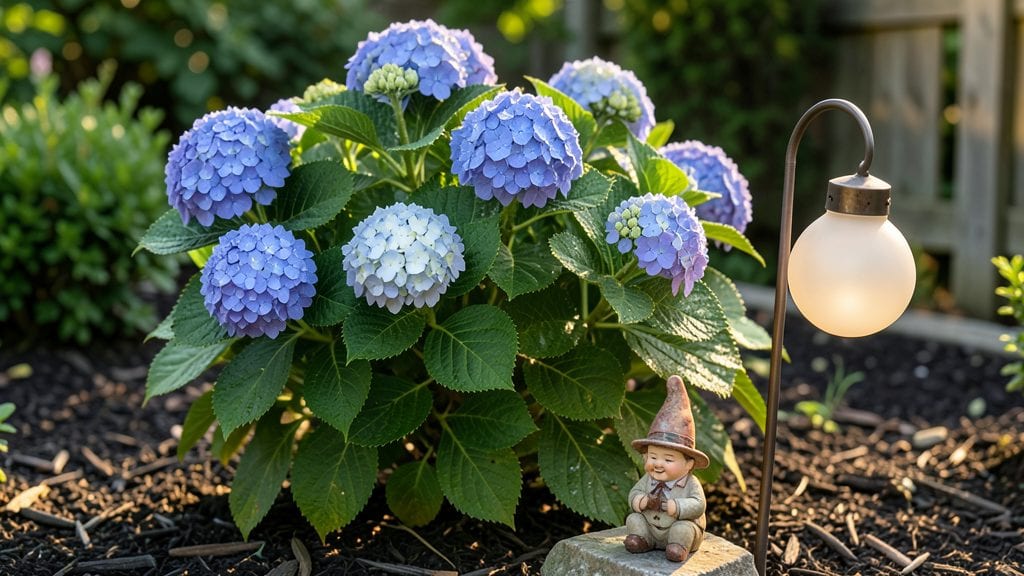
Glass terrariums for outdoor gardens bring the magic of miniature ecosystems right to your patio or yard. ✨ I’ve watched these delicate orbs transform dull corners into lush, self-contained worlds where mosses, ferns, and tiny succulents thrive year-round—no matter the weather.
The key lies in their sealed design, which traps humidity while letting in just enough light to keep plants happy without wilting.
The best part? You don’t need a green thumb to make them work. A few hours of setup—choosing the right glass orb, selecting moisture-loving plants, and adding a touch of activated charcoal to keep things fresh—turns a simple decoration into a living art piece.
They’re perfect for adding texture to garden borders, brightening dark corners, or even creating a whimsical focal point near seating areas.
Imagine the soft glow of fairy lights inside an orb at dusk, or the way dew clings to the glass after a summer rain. These little worlds become conversation starters, adding a touch of enchantment to any outdoor space.
Plus, they’re low-maintenance—just a quick misting every few weeks keeps everything vibrant and alive.
Whether you’re a seasoned gardener or just love pretty things, outdoor garden orbs let you play with nature on a small scale. They work in containers, on shelves, or even hung from trees, making them endlessly adaptable. Let’s dive into how to create your own magical mini-garden in glass!
📚 In This Guide
- What you need
- Instructions
- Tips and common mistakes
- Wrapping up and next steps
What you need
- ● Glass orbs (terrarium balls): 2–4 orbs (12–18 inches in diameter, depending on design)
- ● Material: Clear glass (for visibility) or colored glass (for aesthetic flair)
- ● Drainage layer: Small pebbles or aquarium gravel (1–2 cups per orb)
- ○ Optional: Charcoal (½ cup per orb) to prevent mold
- ● Soil: Well-draining potting mix (2–3 cups per orb)
- ○ Optional: Perlite or vermiculite (½ cup) for extra aeration
- ● Plants: Small, slow-growing plants (e.g., succulents, ferns, or air plants)
- ● Quantity: 3–5 plants per orb (adjust based on size)
- ○ Decorative elements: Miniature figurines, moss, or driftwood (optional but fun!)
- ● Spray bottle (for misting plants)
- ● Small hand trowel or spoon (for soil placement)
- ● Rubbing alcohol or glass cleaner (to sanitize orbs)
- ○ Optional: Super glue or silicone sealant (for securing lids, if applicable)
Step-by-Step instructions for crafting outdoor garden orbs
Here's the straightforward method I use to create stunning, self-sustaining glass terrariums that thrive outdoors.
🪴 Step 1: Prepare the Glass Orbs and Base Layer
Start by cleaning your glass orbs thoroughly with warm, soapy water and a soft cloth—any dirt or residue will disrupt moisture balance. Choose a base layer of 1 inch of small pebbles or gravel from your materials list to create essential drainage. This layer prevents root rot by keeping water from pooling at the bottom.
Arrange the pebbles evenly across the bottom of each orb, using your finger to gently press them into place. Leave about ½ inch of space between the pebbles and the glass edges—this ensures proper airflow and prevents condensation buildup on the walls. If you're working with multiple orbs, do this step for all four before moving forward.
💧 Step 2: Add Activated Charcoal and Soil Layer
Sprinkle ½ inch of activated charcoal over the pebbles—this critical layer filters impurities and prevents mold growth. I like to use a fine-mesh strainer to distribute it evenly without clumping. Next, add 2 inches of well-draining potting mix, tamping it down lightly with your fingers to create a stable base.
Here's the thing—don't compact the soil too firmly. You want it loose enough for roots to penetrate easily but firm enough to support your plants. Press gently until the surface holds its shape when you run your finger across it. This layer should feel like damp sand when squeezed—not too wet, not too dry.
🌱 Step 3: Plant Your Selected Greenery
Choose small, slow-growing plants like moss, ferns, or miniature succulents—these thrive in the confined space. Using your fingers or a small spoon, create ½-inch deep planting holes for each plant. Gently remove your plants from their nursery pots and place them in their new homes, spacing them 1-2 inches apart depending on their mature size.
Don't bury the plants too deeply—just enough to cover their roots completely. Press the soil lightly around the base to secure them. If you're using pre-moistened plants, skip the initial watering step. For dry plants, give them a light mist with your spray bottle to settle the soil around their roots.
☀️ Step 4: Water and Seal the Orbs
Mist the soil surface with room-temperature water until it's evenly moist but not soggy. You'll know it's right when water beads form on the soil surface but disappear within a minute. Avoid overwatering—excess moisture causes condensation that can lead to mold within days.
Seal each orb by placing the lid on securely. For the first 24 hours, place your orbs in bright, indirect light to allow any condensation to settle. After this period, you can move them to their final outdoor location, choosing a spot that receives dappled sunlight—direct sun will overheat the glass and scorch your plants.
⏰ Step 5: Maintain and Monitor Growth
Check your orbs weekly for signs of overwatering—look for mold on the glass or a sour smell. If you notice condensation on the walls, open the lid slightly for 30 minutes to air it out. Most outdoor garden orbs need watering every 2-3 weeks, but this depends on your climate and plant selection.
Rotate your orbs quarter-turn weekly so all sides receive even light exposure. This prevents plants from leaning toward one direction. With proper care, your garden orbs will maintain their lush appearance for months, providing year-round greenery with minimal effort.
Tips & tricks for perfect outdoor garden orbs
Creating thriving outdoor garden orbs takes a few key tricks to avoid common pitfalls. Here's what I've learned from years of experimenting with these delicate ecosystems.
Drainage is Everything: In Step 1, that ½-inch space between pebbles and glass edges isn't just for looks—it's crucial for preventing condensation buildup. I've seen orbs fail within days when this space was skipped. Use a ruler to verify the gap before adding charcoal, and don't be tempted to pack pebbles too tightly. Think of it like creating tiny air pockets that allow moisture to evaporate naturally.
Soil Texture Matters: When tamping down the 2 inches of potting mix in Step 2, aim for a texture that feels like damp sand. Too firm, and roots can't penetrate; too loose, and your plants won't stay upright. I press gently until the soil holds its shape when I run my finger across it—about the same firmness as a well-packed snowball. This balance is what lets your plants thrive without becoming waterlogged.
Plant Selection Strategy: For Step 3, choose plants that match your orb's size and climate. Miniature succulents need less water than ferns, so adjust your watering schedule accordingly. I always test plants in a small pot first for a week to see how they handle confined spaces before committing them to the orb. This prevents the heartbreak of plants that look perfect in the store but wilt in your terrarium.
Condensation Control: The 24-hour bright indirect light period in Step 4 is non-negotiable. I've learned this the hard way—skipping this step leads to excessive condensation that causes mold within days. Place your orbs near a north-facing window or under grow lights during this critical adjustment period. After 24 hours, any remaining condensation will settle, and you'll be ready for outdoor placement.
Pro Tips for Outdoor Garden Orbs
- Creating thriving outdoor garden orbs takes a few key tricks to avoid common pitfalls.
- Drainage is Everything: In Step 1, that ½-inch space between pebbles and glass edges isn't just for looks—it's crucial for preventing condensation buildup.
- Soil Texture Matters: When tamping down the 2 inches of potting mix in Step 2, aim for a texture that feels like damp sand.
Frequently asked questions
Got questions about outdoor garden orbs? You’re not alone!
Here are some of the most common queries to help you get started with your glass terrarium project.
What types of plants thrive best in outdoor garden orbs?
Opt for low-maintenance, slow-growing plants like Fittonia (nerve plant), Pilea peperomioides (Chinese money plant), or small ferns. Avoid fast-growing or large-leaved varieties—they’ll outgrow the space quickly! Succulents (like Haworthia) work too, but ensure they get bright, indirect light.
Can outdoor garden orbs survive winter temperatures?
Most glass terrariums can handle light frosts, but extreme cold (<32°F) risks cracking. If winters are harsh, move your orb indoors or wrap it in bubble wrap and place it in a sheltered spot. Choose tempered glass orbs for added durability, and avoid placing them directly on frozen ground.
How often should I water outdoor garden orbs?
Overwatering is the #1 killer of terrarium plants! Check moisture by lifting the orb—if condensation forms on the glass, wait. In summer, mist lightly every 2–4 weeks; in winter, reduce to once a month. A self-watering base or moisture meter can help monitor levels without overdoing it.
What’s the best way to clean my outdoor garden orb?
Dust and algae buildup are common. Gently wipe the outside with a damp microfiber cloth and mild soap. For stubborn grime, use a 50/50 vinegar-water solution. Never open the orb to clean inside—this disrupts humidity. Instead, trim overgrown plants with sterilized scissors to maintain airflow.
My orb’s glass is foggy inside—what’s causing this?
Foggy glass usually means too much humidity from overwatering or poor airflow. Open the orb slightly for 24 hours to air it out, then trim any crowded plants. If mold appears, remove affected foliage and sprinkle cinnamon (a natural antifungal) on the soil before sealing it back up.
Wrapping up and next steps
Transforming your outdoor space with garden orbs is a rewarding way to bring nature indoors—literally! These glass terrariums offer a low-maintenance, visually stunning solution for year-round greenery, perfect for adding life and charm to patios, balconies, or even office spaces.
Whether you're drawn to their whimsical aesthetic or their practicality, these orbs are a game-changer for plant lovers and decor enthusiasts alike.
Ready to dive in? Start small with a single orb, experiment with your favorite plants, and let your creativity grow! 🌿✨ Grab your supplies and begin crafting your own enchanting garden orb today!