
Tools
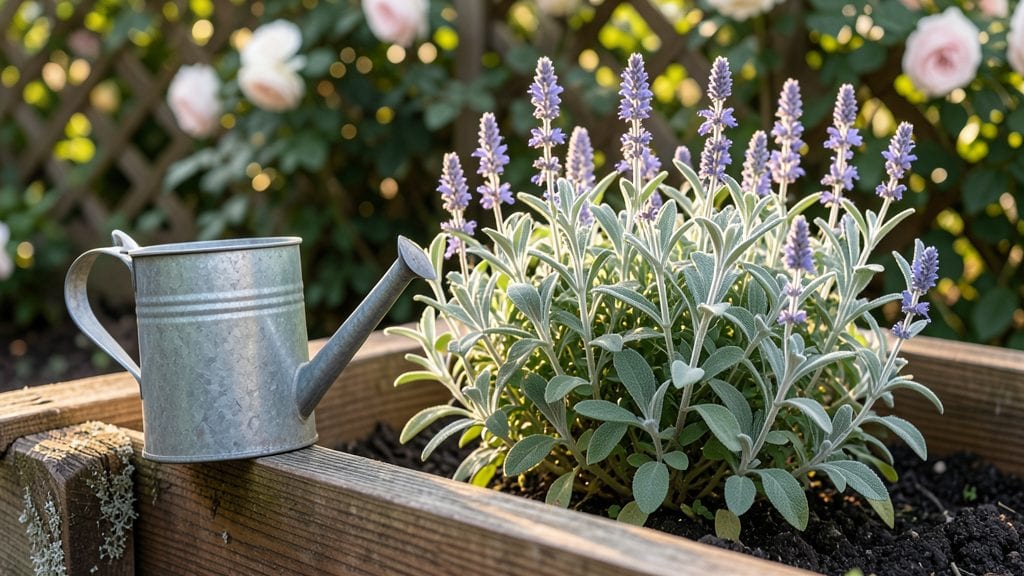
Creating an outdoor gardening station that works year-round changed how I garden—no more scrambling for tools or losing patience when the weather turns. The right multi-level layout keeps everything within reach while maximizing space, whether you've got a postage-stamp patio or a sprawling backyard.
I designed mine with three levels: a bottom shelf for heavy tools, a middle tier for potting supplies, and a top workspace with a fold-down seat. The key was using weatherproof materials that won't warp or rust, so everything stays functional through rain, snow, or summer heat.
Start with a sturdy base—pressure-treated lumber or composite decking—that elevates your station off the ground. Add pegboard or slatted shelves for customizable storage, and include hooks for hoses, pruners, and gloves.
I tucked a small water barrel with a spigot at the base to keep irrigation handy, and a built-in bench doubles as seating when I'm propagating seedlings. The whole setup took a weekend and cost less than $200, but it's saved me hours of frustration every growing season.
What you'll end up with is a space that actually feels inviting to spend time in—no more gardening as a chore, but as a daily ritual. Imagine snipping herbs for dinner while seated at your workbench, or rearranging containers without bending over all day.
The multi-level design also lets you grow vertically: trellises on one side, hanging baskets above, and a small greenhouse insert for cold snaps. Even in winter, this station keeps my hands busy with seed starting or tool sharpening.
This works for any yard size, from urban balconies to rural homesteads. The only rule? Build it at a height where you don't have to stoop—your back will thank you. For small spaces, go vertical with wall-mounted stations; for larger areas, add a movable cart for flexibility.
The goal is making gardening feel effortless, not like a workout. Let's make yours functional and beautiful too.
📚 In This Guide
- What you need
- Instructions
- Tips and common mistakes
- Wrapping up and next steps
What you need
- ● Base Structure: 4–6 pressure-treated lumber (2x4s or 2x6s), 8–10 ft long (for framing)
- ● 1–2 sheets of plywood or composite decking, 4x8 ft (for platforms)
- ● Galvanized screws or decking screws, 2.5–3 inches (1–2 lbs)
- ● Multi-Level Components: 2–4 wooden or metal risers (pre-built or DIY, 6–12 inches tall)
- ○ Cinder blocks or concrete piers (optional for elevated sections)
- ● Growing Containers: 5–10 large pots or planters (12–18 inches deep, weather-resistant)
- ○ Raised bed kit or wooden crates (3–4 ft wide, optional for modularity)
- ● Essential Tools: Circular saw or handsaw
- ● Drill/driver with bits
- ● Level (for even surfaces)
- ● Measuring tape
- ● Work gloves and safety goggles
- ● Trex or composite decking for weather-resistant surfaces
- ● Drip irrigation kit or soaker hoses for efficient watering
- ● Solar-powered LED lights for evening ambiance
- ● Portable tool organizer or pegboard for storage
- ● Seating cushions or a small bench for comfort
How to design a functional outdoor gardening station
Here's my approach to building a space that works year-round and keeps plants happy without the guesswork.
Choose a Sun-Exposure Strategy for Each Level
First, map your yard's sunlight patterns. Most plants need 6+ hours of sun, but some—like lettuce or ferns—thrive in partial shade. I divide my station into three zones: full sun for tomatoes and peppers, partial shade for herbs, and deep shade for leafy greens. Use a sunlight tracker app for a week to identify hotspots and shaded corners before building.
Next, position your tallest structures—like trellises or raised beds—toward the south or west to avoid blocking light. If your yard has afternoon shade, place sun-loving plants on the north side of taller elements. This ensures even light distribution across all levels.
Build or Select Multi-Level Structures
Start with a base layer—either a raised bed, in-ground plot, or large container—to anchor your station. For height, add stackable planters, tiered shelves, or a small deck (if space allows). I use galvanized metal shelves for durability and wooden crates for a rustic look, ensuring each level has drainage holes to prevent root rot.
Space levels 12-18 inches apart for easy access and airflow. If using vertical elements like trellises, secure them sturdy enough to support vining plants (like cucumbers or beans) without bending. Test each structure’s stability before planting—nothing ruins a season faster than a collapsed shelf mid-watering.
Layer Soil and Drainage for Optimal Growth
Begin with a 3-inch layer of gravel or broken pottery at the bottom of each container or bed to improve drainage. This prevents waterlogging, which is especially critical in clay-heavy soils or during heavy rains. Next, add 6 inches of high-quality potting mix (or a blend of topsoil, compost, and perlite for in-ground beds).
For containers, mix in slow-release fertilizer to feed plants over 3-4 months. If your station includes hydroponic or self-watering components, follow the manufacturer’s soil-less mix instructions. The key is loose, well-aerated soil—press it down lightly after filling, but don’t compact it. You’ll know it’s right when a handful crumbles easily between your fingers.
Arrange Plants by Height and Needs
Place tallest plants—like sunflowers or corn—at the back or center of each level to avoid shading smaller varieties. Herbs, lettuce, and radishes go in the front or edges where they’ll get enough light. For vertical gardening, train climbers (such as pole beans or morning glories) to grow upward along trellises or netting.
Group plants with similar water needs together. For example, succulents and rosemary thrive with less frequent watering, while basil and spinach need consistent moisture. This makes irrigation easier and reduces waste. Label each section with plant names and care notes—trust me, you’ll forget by summer!
Add Irrigation and Maintenance Accessories
Install a drip irrigation system or soaker hoses to deliver water directly to the roots, reducing evaporation and weed growth. For containers, use self-watering trays to maintain moisture without overwatering. I also add a small hose with a gentle spray nozzle for hand-watering delicate seedlings or newly transplanted plants.
Include shade cloth for hot afternoons (especially in full-sun zones) and windbreaks if your garden is exposed. A portable tool caddy keeps pruners, gloves, and a trowel within reach. Test your setup after a week—adjust watering schedules based on how quickly soil dries, and move shade cloth as the sun’s angle shifts with the seasons.
Tips & tricks for perfect outdoor gardening station layout
Creating a thriving outdoor gardening station takes more than just arranging plants—it's about strategic planning that maximizes space and sunlight. Here are the insights I've gathered after years of trial and error.
Sunlight Strategy: Don't just guess at sunlight exposure—use a sunlight tracker app for at least a week to map your yard's patterns accurately. I've found that even small trees can cast surprising shadows that change throughout the day. Mark these patterns with stakes or spray paint before building your station. This ensures you can position your full-sun, partial-shade, and deep-shade zones precisely where they'll get optimal light year-round.
Structure Stability: When building multi-level structures, I can't stress enough how important it is to test stability before planting. I've seen too many gardeners rush this step and end up with collapsed shelves mid-season. For wooden crates, use galvanized screws that won't rust, and for metal shelves, add cross-bracing between levels. The 12-18 inch spacing between levels isn't just about aesthetics—it gives you room to kneel comfortably and prevents air circulation issues that can lead to fungal problems.
Soil Preparation: The 3-inch gravel layer at the bottom of containers is often overlooked, but it's absolutely critical for preventing waterlogging. I like to add a handful of broken terracotta pots to the gravel—they'll break down over time, adding beneficial minerals to your soil. For the 6-inch potting mix layer, I always mix in about 20% perlite to improve aeration. You'll know your soil mix is right when you can squeeze a handful and see it crumble easily without sticking together—this indicates perfect moisture retention without compaction.
Plant Placement: When arranging plants by height, think vertically as well as horizontally. Tall plants like sunflowers should go at the back or center, but if you're using vertical space with trellises, position these at the edges where they won't block light to lower levels. I've found that grouping plants with similar water needs together saves me countless hours of watering. For example, my succulents and rosemary get watered every 10 days, while my lettuce and spinach need moisture every 3-4 days—having them in separate zones makes maintenance a breeze.
Pro Tips for Outdoor Gardening Station
- Creating a thriving outdoor gardening station takes more than just arranging plants—it's about strategic planning that maximizes space and sunlight.
- Sunlight Strategy: Don't just guess at sunlight exposure—use a sunlight tracker app for at least a week to map your yard's patterns accurately.
- Structure Stability: When building multi-level structures, I can't stress enough how important it is to test stability before planting.
Frequently asked questions
Got questions about setting up your outdoor gardening station?
Here are answers to the most common ones to help you plan like a pro!
What’s the best time of year to build an outdoor gardening station?
The ideal time depends on your climate! In mild zones, spring or early fall works best—soil is workable, and plants thrive without extreme heat. In harsh winters, start in late winter or early spring to avoid frost damage. If you’re in a tropical area, year-round is fine, but aim for the dry season to ease construction.
Do I need a permanent foundation, or can I use temporary setups?
It depends on your needs! A permanent foundation (like concrete or pavers) is great for multi-level stations with tools, storage, or seating—it lasts years and resists weather. For temporary setups, use sturdy pallets, cinder blocks, or raised beds on level ground. Just ensure stability to prevent tipping, especially in windy areas.
How much does a DIY outdoor gardening station cost compared to buying pre-made?
DIY stations are far more budget-friendly! A basic multi-level setup with repurposed materials (wood, bricks, or metal) can cost $50–$200. Pre-made stations or high-end designs start at $300–$1,500+. Save money by sourcing reclaimed wood, using gravel for drainage, and skipping fancy finishes until you’re sure you’ll keep it long-term.
How do I protect my gardening station from extreme weather?
Prevent damage with these tips:
- Rain/snow: Add a waterproof sealant to wood and use a sloped roof or tarp over tools.
- Heat: Paint surfaces light colors to reflect sunlight and store tools in shaded or insulated boxes.
- Wind: Anchor heavy structures with concrete footings or sink posts deep into the ground.
- Freezing temps: Drain hoses, elevate pots, and use insulated planters for sensitive plants.
For year-round use, consider a greenhouse attachment or foldable covers for flexibility.
What’s the easiest way to troubleshoot drainage issues in a multi-level station?
If water pools or drains poorly:
- Check for clogged drainage holes in pots or beds—clean them with a wire or drill.
- Ensure each level has a slight slope (1–2%) away from the structure to redirect water.
- Add a gravel or sand layer at the bottom of raised beds to improve flow.
- For severe issues, install French drains or extend downspouts to redirect runoff.
Pro tip: Use perforated pipes wrapped in landscape fabric under levels to create a hidden drainage system!
Wrapping up and next steps
Creating your own outdoor gardening station is a rewarding way to cultivate thriving plants year-round—no matter your skill level! With the right multi-level layout, you’ll maximize space, boost productivity, and enjoy a lush, vibrant garden that grows with you.
Whether you’re a beginner or a seasoned green thumb, this setup makes gardening effortless and fun.
Ready to get started? Roll up your sleeves, gather your tools, and turn that empty corner into a blooming paradise! 🌱 Start small—plant a few herbs or veggies this weekend—and watch your confidence (and garden!) flourish.