
Tools
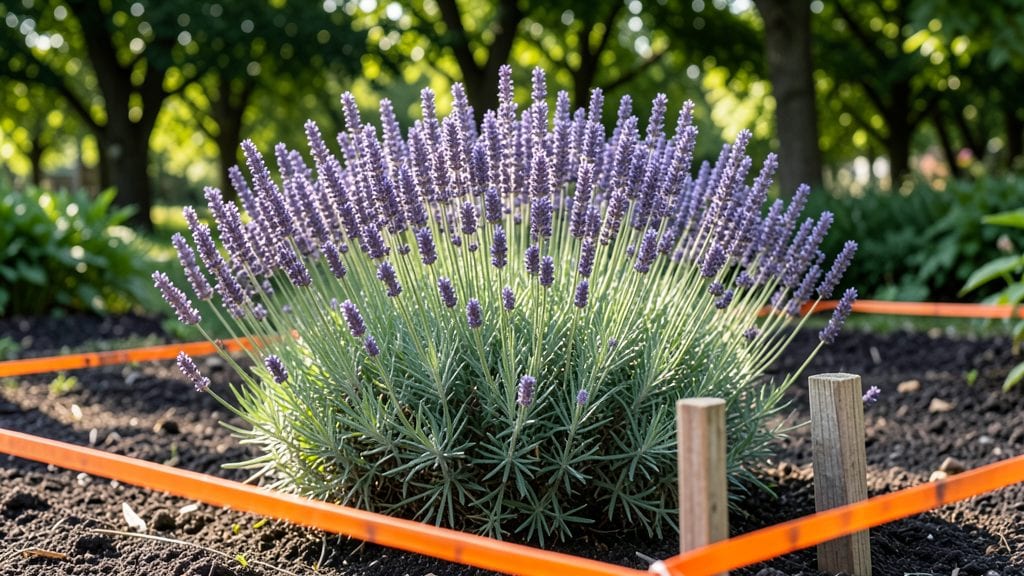
Planning your garden layout isn’t just about where to stick plants—it’s about creating a living space that works as hard as you do.
I’ve designed gardens that went from chaotic to strategically productive by mapping sun paths, grouping plants by needs, and leaving room for paths that don’t turn to mud. The difference between a garden that stresses you out and one that feels like a daily retreat? A little upfront planning.
Start with a simple sketch on graph paper or use free tools like SketchUp’s free web version to map your yard’s sunlight patterns.
Measure where the sun hits at 10 AM, noon, and 4 PM—that tells you where tomatoes, peppers, and leafy greens will thrive, and where shade-lovers like lettuce or ferns belong.
Add paths (even just stepping stones) to keep soil from getting compacted, and tuck in hardscaping like raised beds or trellises to define zones without clutter.
By the time you’re done, you’ll have a layout that maximizes every square foot, whether you’re growing food, flowers, or both. The best part? You’ll spend less time wrestling with weeds and more time enjoying the results—like picking fresh herbs in the morning or watching bees pollinate your veggies.
Ready to turn your yard into a functional masterpiece?
This method works for any size space, from tiny urban plots to half-acre backyards. The key is starting small, testing what works, and adjusting as you go. No need for perfection—just progress. Let’s get those plants mapped out!
📚 In This Guide
- What you need
- Instructions
- Tips and common mistakes
- Wrapping up and next steps
What you need
- ● Graph paper or digital design tool (e.g., SketchUp, Google SketchUp Free, or even a free app like Garden Planner)
- ● Measuring tape (25–50 ft, depending on garden size)
- ● Notebook or digital notes for jotting down plant specs, sunlight needs, and soil types
- ● Pencil and erasers (for sketching and adjusting layouts)
- ○ Soil test kit (optional but helpful for assessing pH and nutrient levels)
- ● Sunlight tracker or app (e.g., Sun Surveyor or Gardenate) to map sunlight exposure
- ● Stakes and string (for marking temporary plant placements in your yard)
- ● Ruler or protractor (for precise measurements and angles)
- ● Plant catalogs or seed packets (to reference mature sizes, spacing, and sunlight needs)
- ● Laser level (for ensuring flat beds or precise slopes)
- ● Garden hoses with spray nozzles (for testing water flow and irrigation zones)
- ● Compost or mulch samples (to test drainage and moisture retention)
- ● 3D visualization software (e.g., Landscaping 3D or Terrain for advanced planning)
- ● Local climate/plant zone guide (USDA Plant Hardiness Zone Map or similar for your region)
Step-by-Step instructions for designing a functional garden layout
Here's how I approach planning a garden that thrives year-round without guesswork.
Analyze Your Site’s Natural Conditions
Start by mapping your garden space with a simple sketch. Note where sunlight hits throughout the day—most gardens have areas with full sun (6+ hours), partial shade (3-6 hours), and deep shade (less than 3 hours). I use a notebook to jot down observations over a week, marking where shadows fall at different times. This helps me assign the right plants to each zone later.
Next, test your soil in 3-4 spots using a basic pH test kit. Most vegetables prefer slightly acidic to neutral soil (6.0-7.0), while blueberries need acidic soil (4.5-5.5). If your soil is heavy clay or sandy, note those areas—you'll need to amend them differently. Dig a small hole in each zone to check drainage: after watering, if water pools after 6 hours, you'll need to improve drainage in that spot.
Divide the Garden into Functional Zones
Break your layout into four key zones: sun-loving plants, partial shade plants, shade-tolerant plants, and support structures. I draw these on my sketch with colored pencils—red for sun, blue for shade, green for partial shade, and yellow for pathways or seating areas. For example, tomatoes and peppers belong in the sunniest spot, while lettuce and spinach thrive in partial shade.
Designate a utility zone near your water source for tools, a hose reel, and a small shed or bench. This keeps your workspace organized and reduces tripping hazards. If your garden has slopes, create contour lines with raised beds or terraces to prevent erosion and make maintenance easier. I always leave a 12-inch pathway between beds for comfortable access.
Plan for Seasonal Successions and Plant Groups
Group plants by their water needs, height, and growth habits to simplify care. Tall plants like sunflowers or corn go in the back or north side of beds, while low-growing herbs like thyme or oregano stay in front. I use companion planting to maximize space—for instance, planting basil near tomatoes deters pests naturally. Sketch a rough plant list for each season, noting when each crop matures.
Leave space for seasonal successions: after harvesting early spring crops like peas, replant with summer squash or beans. In fall, swap those for kale or carrots. I mark these areas on my layout with question marks to remind myself to plan ahead. For perennial plants like asparagus or rhubarb, allocate a permanent spot where they won’t be disturbed for years.
Incorporate Hardscaping and Accessibility
Add hardscaping elements like trellises, arbors, or raised beds to define your layout and add structure. Trellises save space for vining plants like cucumbers or beans, while arbors create a focal point and shade for seating. I place trellises along the north or east side of beds to avoid shading shorter plants. For accessibility, ensure pathways are wide enough for wheelbarrows or garden carts—2 feet is ideal—and use stepping stones or mulch to define them.
Include a small seating area or birdbath to encourage beneficial insects and make your garden more enjoyable. Even a simple wooden bench near a flowering plant like lavender creates a relaxing spot. If your garden has a focal point, like a mature tree or a decorative sculpture, build your layout around it to create a cohesive look.
Finalize with a Planting Schedule and Maintenance Plan
Create a planting calendar based on your last frost date and the maturity times of your crops. I use a wall calendar to block out when to sow seeds, transplant seedlings, and harvest. For example, if your last frost is April 15, you’ll plant cool-season crops like broccoli in early spring and warm-season crops like peppers after May 1. Leave gaps in your schedule for mulching, pruning, and fertilizing.
Outline a maintenance routine to keep your garden thriving with minimal effort. Schedule weekly tasks like weeding and watering, and monthly tasks like pruning or dividing perennials. I set reminders on my phone for critical dates, like when to apply compost or rotate crops. This ensures your garden stays healthy without overwhelming you.
Tips & tricks for designing a functional garden layout
Creating a garden that works year-round takes more than just planting—it's about strategic planning that accounts for sunlight, soil, and seasonal changes. Here are the insights I've gathered to help you avoid common pitfalls and maximize your garden's potential.
Sunlight Mapping Matters: When you're noting sunlight patterns in Step 1, don't just observe one day—track shadows for a full week, especially during the longest day of the year. I've seen gardens where a tree's shadow shifts dramatically between summer and winter, completely changing which plants thrive. Mark your sketch with arrows showing sun direction at different times to ensure you're placing sun-loving plants where they'll get their full 6+ hours, not just the 3-4 hours you might observe on a single day.
Soil Testing Secrets: In Step 1, when testing soil pH, take samples from different depths—surface soil can be very different from 6 inches down. I've found that while the top layer might be slightly acidic, the subsoil could be alkaline, which affects root growth. If you're planting perennials that will be in the ground for years, consider amending the soil to a consistent pH throughout the root zone, not just the surface. For vegetables, focus on the top 6 inches where most roots will grow.
Pathway Planning: The 12-inch pathways mentioned in Step 2 might seem narrow, but they're actually ideal for most gardening tasks. I've learned the hard way that wider pathways (like the 2 feet suggested for wheelbarrows) can actually make your garden feel fragmented. Instead, create clear "main paths" that are 2 feet wide connecting to your utility zone, while keeping secondary paths at 12 inches. This gives you the accessibility you need without losing too much planting space.
Seasonal Succession Strategy: When planning seasonal successions in Step 3, leave a 2-inch buffer between where you harvest one crop and where you'll plant the next. This prevents soil compaction from foot traffic and gives you room to add compost or mulch between plantings. I mark these buffer zones with small flags or colored stakes so I don't accidentally plant too close when the time comes to rotate crops.
Pro Tips for Plan Garden Layout
- Creating a garden that works year-round takes more than just planting—it's about strategic planning that accounts for sunlight, soil, and seasonal changes.
- Sunlight Mapping Matters: When you're noting sunlight patterns in Step 1, don't just observe one day—track shadows for a full week, especially during the longest day of the year.
- Soil Testing Secrets: In Step 1, when testing soil pH, take samples from different depths—surface soil can be very different from 6 inches down.
Frequently asked questions
Got questions about planning your garden layout?
You’re not alone! Here are answers to the most common concerns—from timing to troubleshooting—to help you design a thriving space with confidence.
What’s the best time of year to plan my garden layout?
Spring (after the last frost) and early fall are ideal for planning. Soil is workable, and you can account for seasonal sun shifts. If you’re in a mild climate, winter planning is fine—just sketch ideas and wait for warmer months to implement. Pro tip: Use a garden journal to note sun patterns year-round!
How do I measure my garden space accurately?
Use a tape measure or laser distance tool to record dimensions in feet or meters. Sketch a rough grid on paper, marking north/south for sun exposure. For slopes, measure at intervals (e.g., every 5 feet) to adjust plant placement. Bonus: Apps like Garden Planner can digitize your layout for precision.
What if my yard has uneven terrain or poor soil?
Start with raised beds or berms to level uneven areas—this also improves drainage. For poor soil, amend it with compost or topsoil before planting. Test your soil’s pH (kits are cheap!) to pick the right plants. Perennials and native species often thrive with minimal intervention.
How do I group plants with similar sun needs together?
Divide your garden into zones based on sunlight:
- Full sun (6+ hours): Tomatoes, peppers, herbs (e.g., rosemary).
- Partial sun (3–6 hours): Leafy greens, broccoli, or flowers like coneflowers.
- Shade (under 3 hours): Hostas, ferns, or lettuce.
Use stakes or flags to mark zones before planting.
What’s the easiest way to fix a layout that’s not working?
Rotate crops yearly to prevent disease, and swap struggling plants with hardier varieties. If sun/shade is off, adjust by adding shade cloth or pruning overhanging trees. Start small: Dedicate one bed to “experimentation” to test changes without risking the whole garden.
Can I plan a garden layout without spending money?
Use free tools like:
- Graph paper or a whiteboard for sketches.
- Sticks or chalk to mark zones outdoors.
- Apps like SmartDraw (free version) for digital layouts.
Repurpose materials (e.g., pallets for raised beds) to cut costs further.
Wrapping up and next steps
Designing your garden layout doesn’t have to feel overwhelming—it’s all about strategic planning and a little creativity! 🌱 By mapping out sun exposure, soil types, and seasonal needs, you’ll create a thriving space tailored just for you.
Whether you’re a beginner or a seasoned gardener, every step brings you closer to a lush, productive oasis.
Ready to dig in? Start small—sketch your first zone today, then expand as you gain confidence. Your dream garden is just a sketch away!