Tools
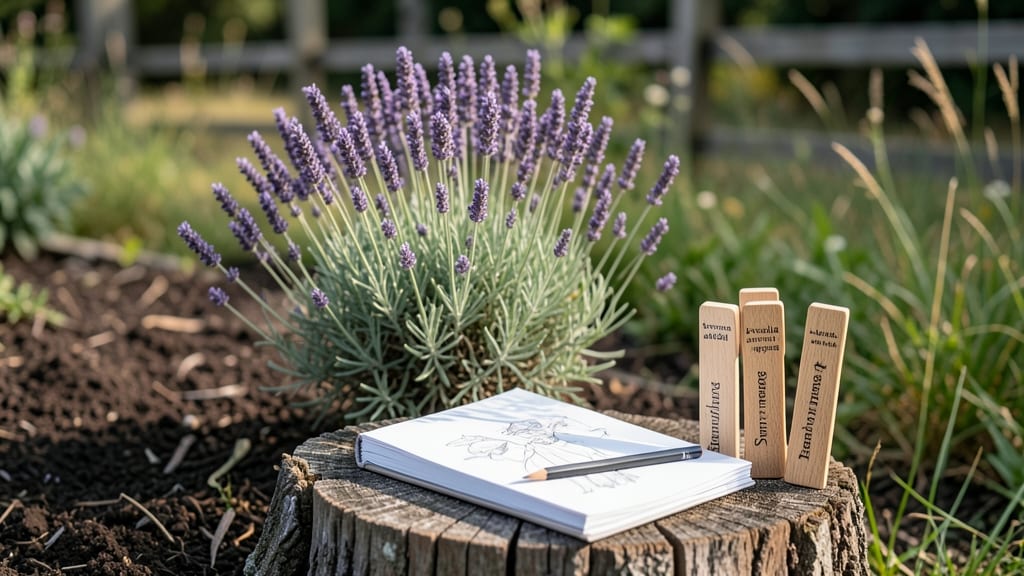
Planning my garden starts with a blank sketch and a few key questions that transform chaos into a thriving layout. 🌱 I’ve designed gardens from 4-foot-wide containers to full backyard plots, and the best ones begin with a simple map of sunlight, space, and what you’ll actually eat—or enjoy looking at.
The secret isn’t fancy tools; it’s matching plants to their perfect spots and avoiding the rookie mistakes that leave gardens half-empty or overcrowded.
You’ll need a pencil, graph paper (or a free app), and a notebook to jot down sun exposure notes—morning light for leafy greens, afternoon shade for delicate flowers.
My first garden failed because I ignored the dappled shade under my oak tree, so I learned to sketch the yard’s light patterns first.
Once you’ve mapped those, group plants by their needs: tall tomatoes in the back, shallow-rooted herbs in front, and fragrant blooms near seating areas for summer evenings.
By the end, you’ll have a layout that works year-round, with seasonal swaps for color or harvests. The best plans account for growth—lettuce bolts in heat, roses need winter pruning space—and leave room for surprises, like that unexpected hosta spreading into a shady corner.
Confidence comes from knowing every inch has a purpose, even in small spaces. Let’s get sketching!
This works for containers, raised beds, or in-ground plots—just adjust the scale. Whether you’re growing food, flowers, or both, the same principles apply. Mistakes? Everyone makes them, but a good plan turns them into learning moments. Ready to design your dream garden?
📚 In This Guide
- What you need
- Instructions
- Tips and common mistakes
- Wrapping up and next steps
What you need
- ● Containers or Garden Beds: 5–10 10–15 gallon containers (for herbs, greens, or compact veggies like tomatoes or peppers)
- ● 1–2 raised beds (4’x8’ or smaller) (if using in-ground space; opt for 6–12 inches deep)
- ● Soil & Amendments: 2–3 50 lb bags of high-quality potting mix (look for "organic" or "all-purpose" blends)
- ● 1 5 lb bag of compost (or worm castings for nutrient-rich soil)
- ○ Optional: Slow-release fertilizer (like 10-10-10 or organic options) or mycorrhizal fungi for root health
- ● Seeds or Seedlings: Choose fast-growing, space-efficient varieties (e.g., bush beans, lettuce, radishes, cherry tomatoes, or dwarf peppers)
- ● Quantities: Start with 1–2 packets per plant type (e.g., 50–100 seeds for greens, 3–5 seedlings for tomatoes)
- ● Basic Tools: 1 hand trowel (for planting and soil prep)
- ● 1 pruning shears (for trimming and harvesting)
- ● 1 watering can or hose with adjustable nozzle (1–2 gallons capacity)
- ● 1 garden gloves (to protect your hands)
- ● 1 measuring tape or ruler (for spacing plants correctly)
- ● Support Structures: Cage or stake for climbing plants (e.g., cucumbers, pole beans)
- ● Trellis or netting (for vertical gardening)
- ● Mulch: Straw or shredded leaves (to retain moisture and suppress weeds)
- ● Drip Irrigation Kit: A small self-watering system (if you’re prone to forgetting watering)
- ● Garden Journal: A notebook or app (to track planting dates, growth, and harvests)
- ● Solar Lights or LED Grow Lights: For early spring/fall extensions or indoor seed starting
Instructions: designing your small-space garden layout
Here's how I map out a thriving garden that fits any compact space—whether it's a balcony, patio, or tiny backyard.
🌱 Step 1: Measure Your Space and Define Zones
Grab a tape measure and sketch your area on paper. I always start by marking fixed elements like windows, doors, or furniture—these create natural boundaries. Measure every inch of available space, including vertical areas like trellises or wall pockets. Note which spots get full sun (6+ hours), partial sun (3-6 hours), or shade (less than 3 hours).
Divide your space into zones: a "sun-lovers" area for tomatoes and peppers, a "partial shade" spot for lettuce and herbs, and a "shade sanctuary" for ferns or delicate flowers. This ensures every plant gets its ideal light conditions. I like to color-code my sketch—yellow for sun, green for partial, and blue for shade—to visualize the layout clearly.
🪴 Step 2: Choose Plants That Thrive Together
Pick plants with similar water and sunlight needs to simplify care. For example, basil, tomatoes, and peppers all love full sun and regular watering, so they belong in the same zone. I group herbs like parsley and cilantro together because they tolerate cooler spots and don’t need as much sun. Avoid pairing heavy feeders (like tomatoes) with light feeders (like carrots)—they’ll compete for nutrients.
Think vertically! Trellises for cucumbers or beans save floor space, and hanging baskets work wonders for strawberries or trailing plants. I always jot down plant heights and spread at maturity to avoid overcrowding. A 3-foot-tall tomato plant in a 1-foot-wide pot is a recipe for disaster—so plan accordingly.
☀️ Step 3: Plan for Seasonal Successions
Extend your harvest by planting cool-season crops (like spinach or kale) in early spring or fall, then swapping them for warm-season plants (like peppers or basil) in summer. I use a simple chart to track planting dates based on your last frost date—usually 2-3 weeks before for cool crops and 2-3 weeks after for warm ones. This keeps your garden productive year-round.
Don’t forget to leave room for quick-growing crops like radishes or lettuce between slower plants. They’ll fill gaps and give you fresh harvests while you wait for bigger plants to mature. I always mark these "filler spots" on my sketch with a star so I remember to plant them first.
✂️ Step 4: Sketch Your Layout and Adjust
Transfer your zones and plant groups to graph paper, using squares to represent inches or feet. Place taller plants to the north or center to avoid shading shorter ones. I like to walk through my sketch with a ruler, adjusting until everything fits harmoniously. Add pathways or decorative edges (like mulch or stones) to define spaces and make maintenance easier.
Test your layout by walking through it with a friend—you’ll spot gaps or overlaps you missed. This is the perfect time to swap plants or resize containers. Once you’re happy, take a photo of your sketch for reference when planting day arrives. Trust me, you’ll thank yourself later!
⏰ Step 5: Prep Your Tools and Materials
Gather your supplies based on your sketch: containers, soil, mulch, and any supports like trellises or stakes. I always double-check that I have enough pots for transplants or seeds for direct sowing. Label everything with plant names and dates—it saves headaches later. If you’re using raised beds, now’s the time to fill them with the right mix of soil and compost.
Set up a small workspace near your garden with gloves, pruners, and a watering can. I like to organize tools by task (planting, pruning, harvesting) so everything’s within reach. This keeps the process smooth and stress-free. Once everything’s ready, you’re just minutes away from planting!
Tips & tricks for perfect small-space garden planning
A few game-changing strategies that'll transform your compact space into a thriving garden oasis.
The Sunlight Secret: In Step 1, when you're measuring sunlight, use a simple trick: place a white plate in your sunniest spot for a few hours. Check how much it's warmed up—the hotter it is, the more sun that area gets. This helps you visualize those 3-6 hour partial sun zones more accurately than guessing. I've caught myself misjudging spots before, and this method saves me from planting sun-lovers in shade!
Vertical Space Hack: Don't overlook your walls! In Step 2, consider adding wall-mounted planters or pockets for herbs like basil or thyme—they thrive vertically and free up floor space. I've turned a bare wall into a mini herb garden using simple plastic pockets, and it's been a total game-changer for my tiny balcony. Just make sure whatever you choose can handle your climate's moisture levels.
Seasonal Successions Made Easy: For Step 3, create a simple chart using your last frost date as your anchor point. Mark 2-3 weeks before for cool crops and 2-3 weeks after for warm crops. I like to use a calendar app with color-coding—green for cool season and yellow for warm season—to visualize my planting timeline at a glance. This visual approach helps me see gaps where I can squeeze in quick growers like radishes.
Layout Testing Trick: When you're walking through your sketch in Step 4, bring a friend who's never seen your garden before. Have them try to navigate your layout—if they get confused, you know you need to simplify! I once had a friend get lost in my own sketch, which led me to add clearer pathways in my final design. It's amazing how much clearer things become when you see them through fresh eyes.
Pro Tips for Planning My Garden
- A few game-changing strategies that'll transform your compact space into a thriving garden oasis.
- The Sunlight Secret: In Step 1, when you're measuring sunlight, use a simple trick: place a white plate in your sunniest spot for a few hours.
- Vertical Space Hack: Don't overlook your walls!
Frequently asked questions
Got questions about planning your dream garden? You’re not alone! Here are answers to the most common concerns—plus a few pro tips to set you up for success.
What’s the best time of year to start planning my garden?
For most regions, late winter (February–March) is ideal—before the growing season kicks off. This gives you time to research plants, test soil, and order seeds. If you’re in a warmer climate (zones 8–10), start as early as January. Pro tip: Use a planting calendar to align your timeline with frost dates!
How do I maximize space in a small garden?
Think vertically with trellises, wall planters, or hanging baskets. Use square-foot gardening to group plants by needs (e.g., herbs together, veggies with similar watering needs). Dwarf or bush varieties (like ‘Patio’ tomatoes) save space too. Pro tip: Rotate crops yearly to prevent soil depletion!
What if my soil is terrible? Can I still garden?
Start with a soil test (kits are cheap and available at garden centers). Amend with compost, organic matter, or raised beds if needed. Containers work too—just use well-draining potting mix. Pro tip: Worm castings are a game-changer for nutrient-poor soil!
How do I keep pests out without chemicals?
Prevention is key: Use row covers, companion planting (e.g., marigolds repel pests), and neem oil spray. Healthy soil = strong plants that resist damage. Pro tip: Plant basil near tomatoes to deter hornworms naturally!
What if I miss the planting window for my favorite veggies?
No worries! Extend the season with cold frames, row covers, or succession planting (sow seeds every 2–3 weeks). Leafy greens (like lettuce) and radishes grow quickly even in cooler weather. Pro tip: Check your local frost dates to plan backup crops!
Wrapping up and next steps
Planning your garden is all about starting small, staying organized, and celebrating every step—whether it’s sketching your layout, selecting the right tools, or picking your first seeds. 🌱 With the right blueprint, even limited space can become a thriving oasis of greenery and fresh flavors.
Now that you’ve got the know-how, take that first shovel in the dirt—your future harvest (and future you) will thank you!
Ready to dive in? Start by sketching your dream garden today! Grab a notebook, grab some inspiration, and let your green thumb guide the way. Happy planting! 🌿