
Vegetables
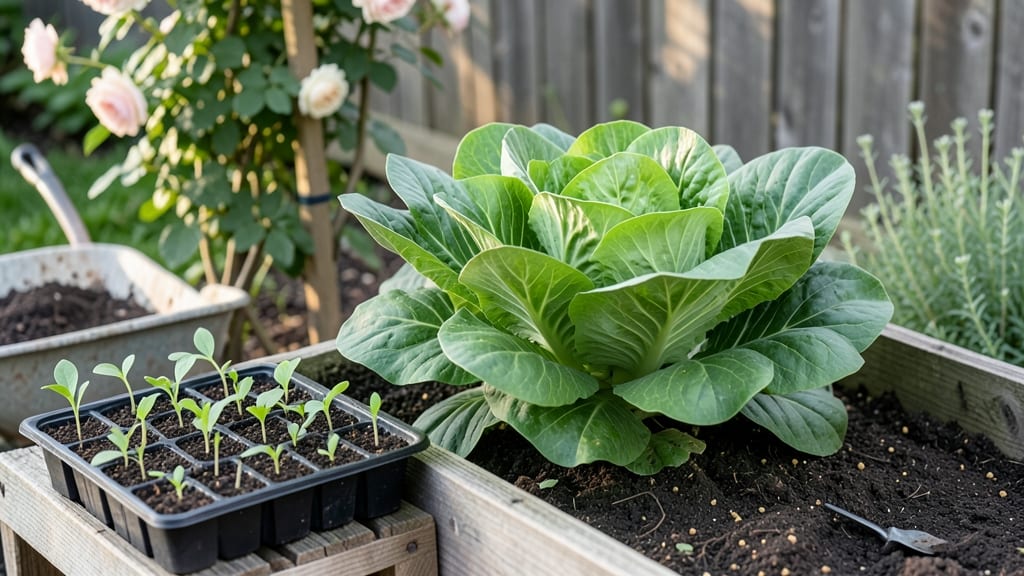
My first vegetable garden was a chaotic mix of seedlings crammed into whatever space I could find—until I discovered starter vegetable gardens designed for beginners like me. The right layout turns a small patch into a productive harvest, even if you're working with limited space or a busy schedule.
I learned that grouping plants by their needs—not just by what you want to eat—keeps everything thriving without the overwhelm.
Start with a 4-foot by 8-foot raised bed or a simple in-ground plot that fits your yard. You’ll need basic tools—a trowel, gloves, and a watering can—and a mix of sun-loving vegetables like tomatoes, peppers, and leafy greens that grow well together.
The key is spacing: give root crops like carrots or beets room to spread, but pack bush beans or lettuce closer for quick harvests. This setup works in backyards, balconies, or even a sunny windowsill with containers.
By summer’s end, you’ll be pulling crisp lettuce, snapping fresh peas, and watching tomatoes blush on the vine—all from a space that fits your life. The best part? No more guessing what to plant where.
I’ve tested these layouts in my own garden, and they cut down on pests, water waste, and the frustration of watching plants struggle. Ready to try it for yourself?
Fair warning: you’ll want to expand after your first harvest. But start small—this method proves you don’t need a big yard to grow real food. The first step is choosing your spot and picking three easy crops to begin. Let’s get those seeds in the ground!
📚 In This Guide
- What you need
- Instructions
- Tips and common mistakes
- Wrapping up and next steps
What you need
- ● Garden space: Container (5–10 gallon) or in-ground plot (at least 12" deep × 12" wide per plant)
- ● Full sun (6+ hours daily) or partial shade (for leafy greens)
- ● Soil: High-quality potting mix (sterilized, 10–15 bags for containers) or garden soil amended with compost (1 part compost to 3 parts soil)
- ● Seeds/seedlings: 3–5 easy starter plants: lettuce, radishes, green beans, cherry tomatoes, or herbs (basil, parsley)
- ● Seed packets or 4–6 healthy seedlings (check local nurseries!)
- ● Tools: Trowel or small hand shovel
- ● Watering can (with a fine rose) or hose with adjustable nozzle
- ○ Gloves (optional but handy!)
- ● Mulch (straw or shredded leaves) to retain moisture
- ● Fertilizer (balanced 10-10-10 or organic options like fish emulsion)
- ● Plant markers (popsicle sticks + labels) for organization
- ● Row covers or netting (to deter pests)
- ● Kneeling pad (for comfort!)
Step-by-Step instructions for creating a compact starter vegetable garden
Here’s how to design a manageable, productive garden in just a few hours—no experience needed.
Choose Your Space and Layout
Pick a 4-foot by 4-foot area in full sun for at least 6 hours daily. A small raised bed or even large containers work well for beginners. I like to sketch a simple grid on paper first—this keeps plants organized and prevents overcrowding. Divide your space into four 2-foot by 2-foot sections (one for each of your starter plants). This ensures each vegetable has enough room to grow without competing for nutrients.
Check your soil drainage by digging a 6-inch hole and filling it with water. If it drains in under 4 hours, your soil is fine. If not, mix in 2 inches of compost to improve drainage. Avoid soggy soil—it suffocates roots and invites disease. A well-draining spot means healthier plants from day one.
Prepare the Soil for Planting
Remove any weeds or grass from your chosen area, then loosen the soil to a depth of 12 inches using a garden fork. This breaks up compacted layers so roots can spread easily. Spread 2 inches of compost evenly over the surface and mix it into the top 6 inches of soil. I like to add a handful of balanced fertilizer (10-10-10) per square foot to give plants a nutrient boost right away.
Rake the soil smooth and level it out. You’ll know it’s ready when it feels crumbly and dark, like cake batter. Avoid working the soil if it’s wet—it clumps and resists mixing. Instead, wait until it’s dry enough to crumble between your fingers. Proper prep now means fewer struggles later.
Plant Your Starter Vegetables
Dig small holes twice as wide as each plant’s root ball and just as deep. Gently remove your starter plants from their containers, tease apart any tangled roots, and place them in the holes. Fill the gaps with soil, pressing lightly to remove air pockets. Water each plant deeply until the soil is 2 inches damp around the base.
Space plants 12-18 inches apart, depending on their mature size. Leafy greens like lettuce can go closer, while tomatoes or peppers need more room. Label each plant with wooden stakes or plant markers—after a few weeks, you won’t remember which is which. A little organization now saves headaches later.
Mulch and Water Consistently
Spread 2 inches of mulch (like straw or shredded leaves) over the soil surface to retain moisture and suppress weeds. Keep mulch 2 inches away from plant stems to prevent rot. Water deeply once a week, aiming for 1 inch of water per week. Use a rain gauge or measure with a tuna can—this ensures even moisture without guesswork.
Water in the early morning so foliage dries quickly, reducing disease risk. Check soil moisture by sticking your finger 1 inch deep—if it feels dry, water again. Overwatering is just as harmful as underwatering, so let the topsoil dry slightly between waterings. Consistent moisture keeps roots healthy and plants thriving.
Monitor and Maintain Growth
Watch for pests like aphids or caterpillars—remove them by hand or spray with soapy water (1 tablespoon mild dish soap per gallon of water). Prune any yellow or damaged leaves immediately to redirect the plant’s energy. Fertilize lightly every 4-6 weeks with a balanced fertilizer to support steady growth.
Rotate plants a quarter turn every 2 weeks so they grow toward the sun evenly. You’ll notice straighter stems and fuller foliage within a month. Harvest leafy greens like lettuce by cutting outer leaves—this encourages new growth. For root vegetables, wait until the soil feels dry around the base before pulling them up.
Tips & tricks for perfect starter vegetable gardens
A few simple tricks will help you create a thriving compact garden that actually produces food—without the common pitfalls of overcrowding or poor drainage.
Layout Planning: When sketching your 4-foot by 4-foot grid, consider the mature size of each plant. For example, place taller plants like tomatoes in the north section of your garden to prevent shading smaller plants in the south. I like to draw my layout to scale on graph paper first—this helps visualize spacing before digging. Remember, those 2-foot by 2-foot sections give each plant enough elbow room to grow without competing for sunlight or nutrients.
Soil Prep Secret: The 12-inch deep soil loosening in Step 2 is crucial, but don't forget to check for hidden rocks or roots that could impede root growth. I use a garden fork to gently break up any compacted layers, working the soil until it crumbles easily between my fingers. That 2 inches of compost you're mixing in should be well-aged—fresh compost can burn young plants. Think of it as creating a fluffy, nutrient-rich bed for your vegetables to thrive in.
Planting Technique: When handling those starter plants in Step 3, gently squeeze the root ball to encourage roots to spread outward before planting. This helps prevent transplant shock later. After placing each plant, press the soil around the base firmly to eliminate air pockets—this ensures immediate root contact with moisture. And that 2 inches of damp soil around the base? It's not just about water; it's about creating a stable environment where roots can establish quickly.
Watering Wisdom: That once-a-week watering schedule in Step 4 works perfectly in most climates, but remember the 1-inch rule is a weekly average. If you get heavy rain one day, you might skip watering that week. I like to use a simple rain gauge or even a tuna can to measure my watering—it's surprising how much difference precise measurement makes. Watering in the early morning also helps prevent fungal diseases by giving foliage plenty of time to dry before evening.
Pro Tips for Starter Vegetable Gardens
- A few simple tricks will help you create a thriving compact garden that actually produces food—without the common pitfalls of overcrowding or poor drainage.
- Layout Planning: When sketching your 4-foot by 4-foot grid, consider the mature size of each plant.
- Soil Prep Secret: The 12-inch deep soil loosening in Step 2 is crucial, but don't forget to check for hidden rocks or roots that could impede root growth.
Frequently asked questions
Got questions about launching your first vegetable garden? You’re not alone! Here are answers to the most common concerns—so you can grow with confidence.
What’s the best time to start a starter vegetable garden?
For most regions, spring (after the last frost) is ideal—typically March to May. In warmer climates, fall (September to November) works too. Check your frost dates and plant heat-loving veggies (like tomatoes) after soil warms to 60°F+. Cool-season crops (spinach, peas) can go in earlier!
How much space do I really need for a starter garden?
A 4’x8’ raised bed or even a 5-gallon container can yield enough for a small family. Focus on vertical space (trellises for beans, peas) and high-yield crops like lettuce, radishes, or herbs. Start small—you can expand later!
Are starter vegetable gardens expensive to begin?
Not at all! You can launch for under $50 with:
- Reused containers (buckets, pallets)
- Seed packets ($1–$3 each) over seedlings
- Compost from yard waste or kitchen scraps
What’s the easiest way to keep pests away in a small garden?
Prevention is key! Use these low-effort tricks:
- Row covers (lightweight fabric) for bugs
- Handpick pests (like squash bugs) early
- Plant repellent companions (basil near tomatoes, marigolds everywhere)
- Avoid overwatering (fungus attracts pests!)
Can I grow a starter garden in winter or indoors?
Try:
- Cold frames or low tunnels to extend outdoor seasons
- South-facing windowsills for microgreens or herbs
- Grow lights (LED bulbs) for leafy greens indoors
Wrapping up and next steps
Starting a small vegetable garden is one of the most rewarding ways to connect with nature and enjoy fresh, homegrown produce—no green thumb required! 🌱 Whether you’re working with a windowsill, balcony, or backyard patch, the key is to start small, stay consistent, and have fun.
With the right layout, tools, and a little patience, you’ll soon be harvesting crisp lettuce, juicy tomatoes, or fragrant herbs in no time.
Ready to take the next step? Pick your favorite starter plants, grab your tools, and dive in—your future self (and taste buds!) will thank you. Happy growing! 🌿