
Pruning
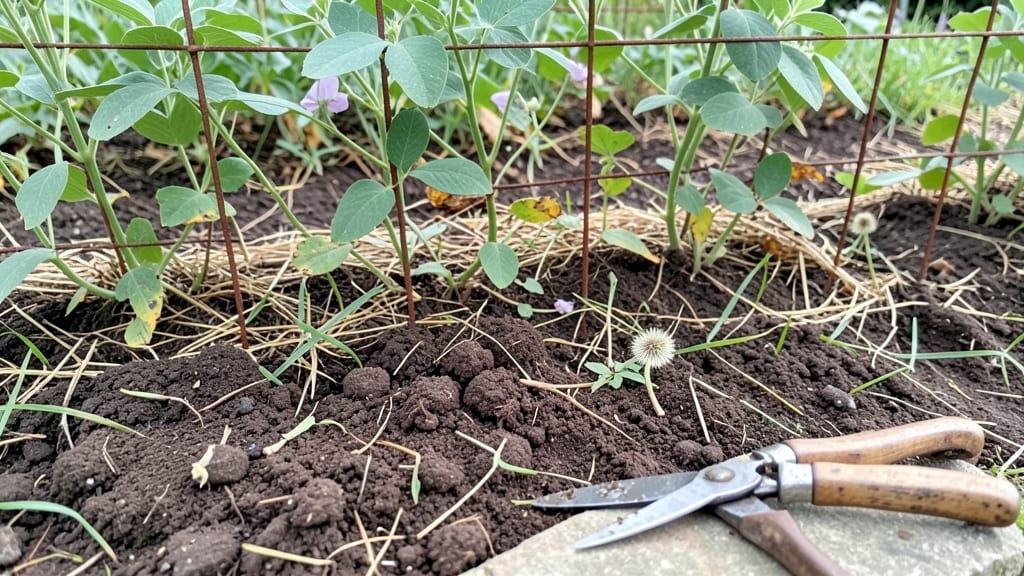
The right garden trimming tools make the difference between healthy plants and stressed ones. ✂️ I’ve spent years learning which pruners cut cleanly, which shears handle thick branches, and how to avoid crushing stems—mistakes that stifle growth or invite disease.
The tools you choose directly impact how your roses bloom, how your fruit trees produce, and even how long your shrubs thrive without looking ragged.
You don’t need a garage full of gadgets—just three core tools cover 90% of jobs: bypass pruners for live stems, anvil pruners for deadwood, and loppers for thicker branches. Sharpness matters more than brand; dull blades tear tissue instead of making clean cuts, and that’s when problems start.
I’ll show you how to test sharpness with a simple coin trick and when to switch to a saw for branches thicker than your wrist.
By the end, you’ll trim with confidence—no more hesitant snips that leave jagged edges or uneven growth. Your plants will reward you with fuller blooms, stronger branches, and fewer pests sneaking in through damaged wood.
Plus, the right technique saves time: a well-sharpened tool cuts through branches in one motion, not three.
Whether you’re pruning roses in spring or cleaning up fruit trees in winter, these tools adapt. The key is matching the tool to the job—just like using a screwdriver instead of a hammer. Let’s get your garden looking effortlessly healthy, not just maintained.
📚 In This Guide
- What you need
- Instructions
- Tips and common mistakes
- Wrapping up and next steps
What you need
- ● Pruning shears: Bypass shears (for clean cuts) or anvil shears (for thicker branches). Choose 6-8" blades for general use.
- ● Loppers: Long-handled (24-36") for reaching higher branches. Opt for ratcheting loppers for extra leverage.
- ● Pruning saw: Curved or bow saw for thick branches (1-3" diameter). Look for a 16-20" blade for versatility.
- ● Garden gloves: Heavy-duty, cut-resistant gloves (e.g., leather or synthetic mesh). Size medium or large for grip.
- ● Disinfectant (70% isopropyl alcohol or bleach solution): 1 part bleach to 9 parts water for sterilizing tools.
- ● Sharpener/file: A dedicated tool sharpener or coarse file to maintain blade edges.
- ● Extension pole: For loppers or shears (12-18" for added reach).
- ● Knee pads: For comfort during ground-level trimming.
- ● Magnifying glass: For precision work on small branches or buds.
- ● Tool belt or organizer: To keep tools handy while you work.
- ● Pruning sealant: For coating cuts on trees/shrubs to prevent disease.
How to select and use garden trimming tools for healthy plants
Here’s my go-to approach for keeping your garden tools sharp and your plants thriving.
🪴 Step 1: Choose the Right Tool for the Job
Not all trimming tools are created equal. For delicate stems like herbs or roses, use bypass pruners—they make clean cuts without crushing. For thicker branches up to ½ inch, anvil pruners work, but avoid them on live wood to prevent damage. Loppers handle ½ to 1½ inch branches, while pruning saws tackle anything thicker.
I always keep a pair of clean, sharp pruners on hand for daily maintenance. Dull tools tear plant tissue, inviting disease. Test sharpness by slicing a piece of paper—if it resists, your blades need honing. For larger jobs, loppers with long handles (24+ inches) give you leverage without straining your back.
✂️ Step 2: Sterilize Tools Before and After Use
Healthy plants start with clean tools. Wipe blades with 70% isopropyl alcohol or a 10:1 water-to-bleach solution before trimming to kill bacteria and fungi. I dip my pruners in rubbing alcohol between cuts on infected plants—this stops the spread of powdery mildew and canker diseases.
After use, rinse tools with water, dry thoroughly, and store in a dry place. Rust is the enemy of sharp edges. If you notice discoloration on blades, scrub with steel wool or a dedicated tool cleaner. A quick wipe-down after each session keeps tools ready for next time.
☀️ Step 3: Trim at the Right Time and Angle
Timing matters—trim dormant plants in late winter or immediately after flowering to encourage new growth. For spring-flowering shrubs like lilacs, wait until right after blooms fade. Always cut just above a bud or outward-facing leaf at a 45-degree angle to prevent water pooling.
I like to make cuts ¼ inch above a bud or branch collar—this ensures the plant heals properly. Avoid leaving stubs, which rot and attract pests. For thick branches, use the three-cut method: undercut first, then top-cut, and finally remove the branch cleanly. This prevents bark tearing.
💧 Step 4: Sharpen and Maintain Tools Regularly
Dull blades do more harm than good. Hone your pruners with a fine-grit whetstone or honing rod every few uses. Hold the blade at a 20-degree angle and stroke evenly—this keeps the edge razor-sharp. For loppers, use a file or dedicated lopper sharpener to maintain the cutting edge.
Oil the pivot points of hinged tools with light machine oil to prevent rust and keep joints smooth. Store tools in a dry, shaded spot—moisture is their worst enemy. I check my tools weekly during growing season and oil them monthly. A little maintenance now saves hours of frustration later.
🌿 Step 5: Dispose of Clippings Properly
Don’t just toss trimmings—how you handle them affects plant health. For diseased plants, bag clippings and dispose of them in the trash (not compost). Healthy trimmings can go into your compost bin, but avoid overloading it with woody debris.
I shred larger branches with a pruning saw before composting to speed decomposition. For firewood, only use disease-free, dry wood** from hardwood trees like oak or maple. Softwoods like willow burn too quickly. Always clean your saw between cuts to prevent cross-contamination.
Tips & tricks for perfect garden trimming tools
Avoiding common mistakes with your garden tools can make all the difference in keeping your plants thriving.
Tool Selection Tip: In Step 1, when choosing bypass pruners for delicate stems, look for tools with a ratcheting mechanism—they provide extra leverage for stubborn branches without crushing stems. For thicker branches, loppers with ergonomic grips (24+ inches) reduce hand fatigue during long pruning sessions. I always opt for tools with stainless steel blades because they resist rust better than carbon steel, especially in humid climates.
Sterilization Strategy: The 10:1 water-to-bleach solution in Step 2 is my go-to for sterilization, but I've learned the hard way that you need to let it sit for at least 30 seconds before rinsing. For infected plants, I double-dip my tools—first in the bleach solution, then in rubbing alcohol. This two-step process gives me confidence that I'm not spreading disease between plants. Always store sterilized tools in a dry, ventilated tool bag to prevent moisture buildup that could lead to rust.
Cutting Technique: When making those 45-degree angle cuts in Step 3, I like to use the "bud face out" method—this ensures new growth emerges in the direction you want. For thicker branches, the three-cut method prevents bark tearing, but I've found that marking the cut line with a permanent marker first helps me visualize where to make each cut. This is especially helpful when working with larger branches where precision matters.
Maintenance Routine: The 20-degree angle for honing in Step 4 might seem tricky, but I use a simple trick: place a piece of masking tape at that angle on my workbench as a guide. For loppers, I've discovered that using a dedicated file designed for pruning tools keeps the edge sharper longer than a regular file. I also keep a small bottle of light machine oil in my toolbox for quick touch-ups between pruning sessions.
Pro Tips for Trimming Tools For Garden
- Avoiding common mistakes with your garden tools can make all the difference in keeping your plants thriving.
- Tool Selection Tip: In Step 1, when choosing bypass pruners for delicate stems, look for tools with a ratcheting mechanism—they provide extra leverage for stubborn branches without crushing stems.
- Sterilization Strategy: The 10:1 water-to-bleach solution in Step 2 is my go-to for sterilization, but I've learned the hard way that you need to let it sit for at least 30 seconds before rinsing.
Frequently asked questions
Got questions about choosing or using the right garden trimming tools? You’re not alone! Here are answers to the most common queries to help you prune like a pro—no guesswork needed.
What’s the best time of year to trim my plants?
The ideal timing depends on your plants! For spring-flowering shrubs (like lilacs), prune right after blooming to encourage new growth. Summer-bloomers (e.g., roses) thrive with light trims after flowering, while evergreens and fruit trees often need late winter/early spring cuts before new buds form. Pro tip: Avoid heavy pruning in fall—it stresses plants before winter.
Can I use the same tool for all types of plants?
Not ideal! Bypass pruners are best for live branches (like roses or shrubs), while anvil pruners work for dead wood or thick stems—but they crush stems, which can invite disease. For hedges or large branches, opt for hedge shears or loppers. Troubleshoot: Dull blades tear stems, so sharpen tools seasonally!
Are expensive trimming tools worth it?
Quality matters! Budget tools ($10–$20) work for light pruning, but rust, dull blades, or weak handles can make work harder. Invest in mid-range ($30–$60) tools (like Felco or Corona) for durability and precision. Savvy tip: Check for ergonomic grips and replaceable blades to cut long-term costs.
How do I clean and store my tools to prevent rust?
Rust ruins tools fast! After use, wipe blades with a damp cloth, then dry thoroughly. Apply a thin layer of mineral oil to metal parts, and store in a dry, shaded spot (a tool bag with silica gel packets helps!). Quick fix: Soak rusty tools in white vinegar for 30 minutes, then scrub with steel wool.
What should I do if my pruners keep jamming?
Jamming usually means dull blades, sap buildup, or misalignment. First, sharpen blades with a file or honing tool. For sticky sap, soak in warm, soapy water, then scrub with a brush. If the tool still jams, check for loose screws—tighten them or take it to a hardware store for adjustment. Preventative tip: Clean tools after every use!
Wrapping up and next steps
Choosing the right garden trimming tools is your first step toward a thriving, well-maintained outdoor space—no matter the season! From sharp shears to versatile pruners, each tool plays a key role in shaping healthy plants and keeping your garden looking its best. 🌿✂️
Now that you’re equipped with the knowledge, roll up your sleeves and get hands-on! Start small—trim a single bush or edge a flower bed—and soon, your confidence (and your garden) will flourish. Happy trimming!