Companion Plants
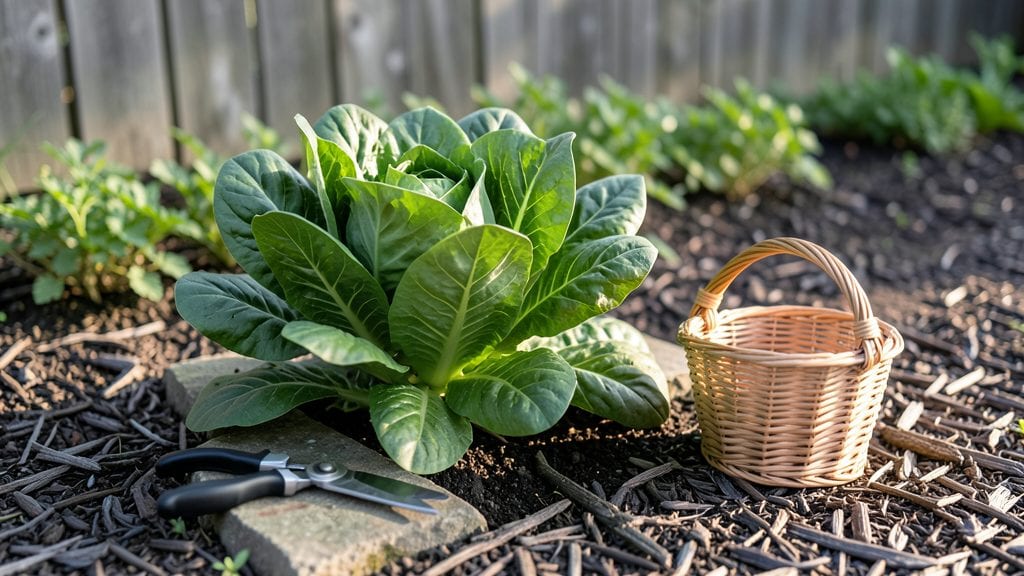
Victory garden plants turned wartime yards into lush, productive spaces—and they can do the same for your modern garden today. 🌱 I still remember the first time I planted a row of heirloom tomatoes alongside marigolds, watching how the flowers repelled pests while the tomatoes thrived.
These weren’t just vegetables; they were a statement, a nod to history, and a feast for both the table and the eyes.
The magic lies in combining practicality with purpose. Think rows of potatoes between fragrant herbs like thyme or rosemary, their leaves brushing against each other to deter pests naturally.
Add in leafy greens like kale or Swiss chard for color and texture, and suddenly, your yard isn’t just a garden—it’s a thriving, edible border that feeds your family and your soul. The best part? You don’t need a sprawling backyard to make it work.
By the end of summer, you’ll have a harvest that rivals any farmers’ market stall, all while creating a space that’s as beautiful as it is bountiful. The key is starting small—maybe a 4-foot-wide bed—and letting the plants guide you.
Every bite you take from your own victory garden is a victory in itself, a reminder of what food can do when you grow it with care.
Whether you’re channeling 1940s charm or crafting a contemporary edible landscape, these plants adapt to any space. Urban balconies, suburban side yards, or rural plots all benefit from the same principles: smart layout, companion planting, and a touch of historical inspiration. Let’s get those seeds in the ground!
📚 In This Guide
- What you need
- Instructions
- Tips and common mistakes
- Wrapping up and next steps
What you need
- ● Seeds or seedlings: Herbs (basil, thyme, rosemary) – 1 packet per variety
- ● Leafy greens (kale, Swiss chard) – 2–3 packets
- ● Edible flowers (nasturtiums, calendula) – 1–2 packets
- ● Low-growing veggies (radishes, lettuce) – 3–4 packets
- ● Soil amendments: Compost – 5–10 gallons (for enriching borders)
- ● Organic mulch (straw, wood chips) – 2–3 bags
- ● Tools: Hand trowel – 1 (for precision planting)
- ● Pruners – 1 pair (for trimming)
- ● Garden gloves – 1 pair (for comfort)
- ● Watering can or hose with spray nozzle – 1
- ● Drip irrigation system – for efficient watering
- ● Decorative edging (stone, metal) – to define borders
- ● Slow-release fertilizer – for nutrient boosts
- ● Companion plant markers – to track varieties
- ● Sun hat & sunscreen – for your gardening comfort!
Step-by-Step guide to designing edible borders in your victory garden
Here's how to create borders that double as food sources and stunning landscapes.
🌱 Step 1: Choose the Right Edible Plants for Your Border
Start with a mix of fast-growing annuals and perennial workhorses that thrive in borders. I like to pair strawberries (for ground cover and fruit) with nasturtiums (edible flowers that deter pests). Add chives or oregano for height and pollinator appeal—both spread gently and handle foot traffic better than most herbs.
For a low-maintenance look, group plants by height: tall back row (like rosemary or thyme), mid-height (parsley, cilantro), and ground-hugging front (lettuce, spinach). This creates natural layers that hide soil while maximizing harvests. Avoid planting anything taller than 2 feet in borders—it blocks sunlight from lower plants.
🪴 Step 2: Prepare the Soil and Plant Layout
Clear the area of weeds and loosen the soil to a depth of 6-8 inches using a garden fork. Work in 2-3 inches of compost (from your materials) to improve drainage and fertility. For a 4-foot-wide border, divide the space into 3 rows: one for tall plants, one for medium, and one for ground cover.
Mark planting spots with sticks or a garden hose outline. Space plants based on their mature size—12-18 inches apart for most herbs, 18-24 inches for strawberries, and 6-12 inches for leafy greens. This prevents overcrowding and makes harvesting easier. I like to stagger plants in a staggered pattern (like brickwork) for a natural, fuller look.
💧 Step 3: Plant and Mulch for Long-Term Success
Dig holes slightly deeper than the root ball and place each plant gently, filling gaps with soil. Water deeply right after planting to settle roots—aim for 1 inch of water per week, either from rain or irrigation. For the first 2 weeks, check soil moisture daily; it should feel damp but not soggy.
Spread 2 inches of mulch (like straw or shredded leaves) over the soil surface, leaving a 2-inch gap around stems to prevent rot. Mulch suppresses weeds, retains moisture, and keeps roots cool in summer. Replenish mulch as it breaks down—usually every 3-4 months. This step is critical for reducing watering needs and keeping borders looking tidy.
☀️ Step 4: Maintain Through the Growing Season
Water borders early in the morning to reduce evaporation and fungal risks. Most edible borders need 1-1.5 inches of water weekly, but adjust for heatwaves—wilting leaves mean it’s time to water. Fertilize lightly every 4-6 weeks with a balanced organic fertilizer (like fish emulsion) to encourage steady growth.
Deadhead spent flowers (like on nasturtiums) to prolong blooming and harvest, and trim herbs back by one-third if they get leggy. Watch for pests—aphids love tender new growth, so spray with soapy water at the first sign. A healthy border thrives with minimal intervention, so focus on consistent watering and occasional pruning.
✂️ Step 5: Harvest and Extend the Season
Harvest leafy greens like spinach or chard by cutting outer leaves, leaving the center to regrow. For strawberries, pick fruit as it ripens to encourage more production. Herbs like chives and oregano can be snipped throughout the season—they’ll keep producing as long as you don’t cut more than one-third at a time.
Extend the season by adding cold-hardy crops like kale or winter lettuce in fall. In late summer, succession-plant fast growers like radishes or arugula in empty spots. This keeps borders productive year-round and minimizes wasted space. With a little planning, your edible borders will feed you and your neighborhood well beyond the harvest season.
Tips & tricks for perfect edible borders in your victory garden
A few simple strategies will help you create borders that are as productive as they are beautiful.
Plant Selection: In Step 1, when choosing your edible plants, consider adding calendula or borage as optional companions—they attract pollinators and add vibrant color while being completely edible. For a more resilient border, include comfrey in the tall back row; its deep roots improve soil fertility over time. Remember to avoid planting anything taller than 2 feet to prevent shading lower plants.
Soil Preparation: When preparing your soil in Step 2, don't skip the compost layer. The 2-3 inches of compost mentioned is non-negotiable for fertility, but you can enhance it further by adding a handful of worm castings for extra nutrients. For clay-heavy soil, mix in sand or perlite to improve drainage. This step sets the foundation for healthy growth throughout the season.
Watering Wisdom: The instructions mention aiming for 1 inch of water per week, but here's the real secret: water deeply but infrequently. In Step 3, when you're establishing your plants, focus on soaking the soil to encourage deep root growth. Use a rain gauge or tuna can to measure water accurately—eyeballing can lead to over- or under-watering. Mulch helps retain this moisture, but don't forget to replenish it every 3-4 months as it breaks down.
Pest Prevention: In Step 4, when maintaining your borders, watch for early signs of pests like aphids. A simple soapy water spray (1 tablespoon mild dish soap per quart of water) is your first line of defense. For a more natural approach, interplant garlic chives or marigolds—they act as natural pest deterrents while being edible themselves. Regularly inspect the undersides of leaves where pests often hide.
Pro Tips for Victory Garden Plants
- A few simple strategies will help you create borders that are as productive as they are beautiful.
- Plant Selection: In Step 1, when choosing your edible plants, consider adding calendula or borage as optional companions—they attract pollinators and add vibrant color while being completely edible.
- Soil Preparation: When preparing your soil in Step 2, don't skip the compost layer.
Frequently asked questions
What are the easiest victory garden plants for beginners?
Start with low-maintenance, fast-growing plants like lettuce, radishes, green beans, or zucchini. These thrive in most climates, require minimal care, and deliver quick rewards. Herbs like basil and mint are also forgiving and perfect for edible borders!
When is the best time to plant victory garden plants?
Timing depends on your climate, but most cool-season crops (like kale or spinach) go in early spring or fall. Warm-season plants (tomatoes, peppers) need to wait until after the last frost (usually late April–June in most regions). Check your local frost dates for precision!
Can I grow victory garden plants in containers or small spaces?
Compact varieties like bush beans, dwarf tomatoes, strawberries, and herbs thrive in pots or raised beds. Even microgreens and leafy greens grow well in shallow containers. Just ensure they get 6+ hours of sunlight and proper drainage.
How do I keep pests away from my victory garden plants?
Use natural deterrents like companion planting (e.g., marigolds repel pests, basil deters flies), neem oil, or row covers. Handpick pests early in the morning, and encourage beneficial insects like ladybugs. Healthy soil = stronger plants that resist pests better!
Which victory garden plants are most versatile for cooking?
Prioritize herbs (cilantro, parsley, thyme), all-purpose veggies (zucchini, tomatoes, peppers), and greens (kale, Swiss chard). These work in salads, soups, stir-fries, and sauces. Bonus: microgreens add flavor and nutrition to any dish!
Wrapping up and next steps
Growing a victory garden with edible borders isn’t just about sustainability—it’s a celebration of beauty, productivity, and self-sufficiency! 🌱 From vibrant herbs to crisp lettuce, these plants prove that your yard can be both a feast for the eyes and the table.
Whether you’re a seasoned gardener or just starting out, every seed planted is a step toward a greener, tastier future.
Ready to take the next step? Start small—pick 1-2 plants from this guide, sketch a simple layout, and dive in! Share your progress with fellow gardeners or tag us—we’d love to see your edible masterpiece bloom. 🌟