Watering
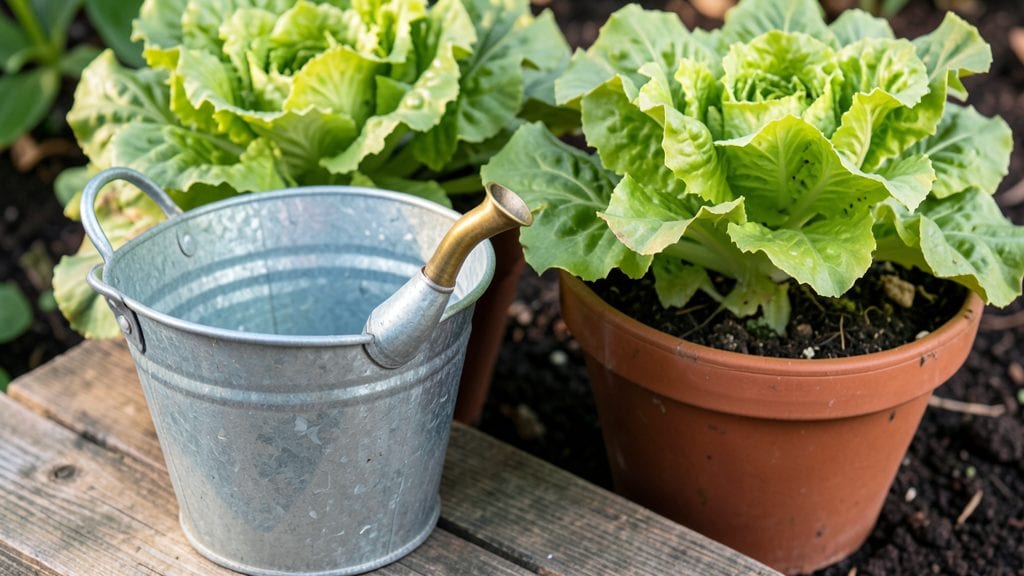
A self-watering bucket garden transforms a simple 5-gallon container into a thriving micro-garden that needs less attention than traditional pots. I first tried this system after struggling with wilting herbs on my tiny balcony—now my basil and lettuce grow lush and consistent, even when I forget to water for days.
The secret lies in the reservoir design, where roots draw exactly what they need without drowning.
You’ll need just five supplies: a 5-gallon bucket with a lid, a smaller planting container (like a 1-gallon pot), a wicking material (old towels or burlap work), your chosen plants, and a balanced liquid fertilizer.
The setup takes under 30 minutes, and the system works for herbs, leafy greens, and even dwarf tomatoes. No fancy tools or hydroponic expertise required—just patience and the right plant choices.
What you’ll get is low-maintenance growth with vibrant green foliage and steady harvests. My Swiss chard reaches 18 inches tall in just 6 weeks, and the cilantro stays fresh for months instead of bolting after two.
The best part? You’ll use 60% less water than traditional container gardening, and the compact design fits anywhere—a windowsill, patio, or even a kitchen counter.
This method adapts to all climates and seasons, though winter may require moving buckets indoors near a sunny window. The key to long-term success is monitoring water levels weekly and choosing plants with shallow roots. Let’s build one that works for your space and keeps producing all season.
📚 In This Guide
- What you need
- Instructions
- Tips and common mistakes
- Wrapping up and next steps
What you need
- ● 5-gallon bucket (with lid, if possible) – Look for food-grade plastic or metal buckets (avoid treated wood).
- ● Drill or screwdriver – For creating drainage holes (¼-inch diameter).
- ● Spray bottle or hose – For initial watering and setup.
- ● Potting soil – Lightweight, well-draining mix (e.g., 50% coco coir, 50% perlite or vermiculite). 1–2 gallons per bucket.
- ○ Wick material – Optional but recommended: Cotton rope or jute twine (½-inch thick, 12–18 inches long).
- ● OR a wicking fabric strip (like felt or burlap).
- ● Seedlings or herb seeds – Choose compact varieties like: Basil, thyme, or parsley (slow-growing, shallow roots).
- ● Leafy greens (lettuce, spinach, kale).
- ● Water reservoir bucket – A larger bucket (10+ gallons) to hold water for the wick system (or a separate watering can).
- ● 🔥 Bucket hack: Use a food-safe bucket (like those from olive oil or honey) to avoid chemical leaching.
- ● 🌡️ Climate prep: In hot climates, add 1–2 inches of gravel at the bottom for extra drainage.
- ● ✨ DIY wick: Braid 3–4 strands of cotton rope for a stronger, longer-lasting wick.
Step-by-step instructions for building a self-watering water bucket garden
Here's how to create a foolproof, low-maintenance system that keeps herbs and greens thriving with minimal effort.
Select and Prepare Your Buckets
Choose 5-gallon food-grade buckets (cleaned thoroughly) for your garden—each will support one plant. Drill two drainage holes near the base of each bucket using a ¼-inch drill bit. Place a plastic mesh screen over the holes to prevent soil from washing out while allowing excess water to escape. I recommend using buckets with smooth sides for easier planting and maintenance.
Next, cut a 4-inch diameter hole in the center of the bucket lid using a hole saw. This will serve as your planting hole. Sand any rough edges to prevent snagging your plants. If you're using buckets without lids, simply mark a 4-inch diameter planting circle on the top edge and work around that instead.
Assemble the Self-Watering Reservoir
Place a 3-inch diameter PVC pipe vertically through the lid hole, ensuring it extends at least 2 inches above the lid and 1 inch below it into the bucket. Seal the gap around the pipe with silicone caulk to create a watertight reservoir. This pipe will act as your water reservoir, supplying moisture directly to the roots.
Fill each bucket with 2 gallons of high-quality potting mix, leaving about 1 inch of space between the soil surface and the bottom of the planting hole. Gently press the soil down to remove air pockets, but avoid compacting it too firmly. You'll want the mix to stay loose enough for roots to penetrate easily.
Plant Your Herbs or Greens
Remove your herb or green plant from its nursery pot and loosen the roots if they appear tightly bound. Place the plant through the 4-inch planting hole in the lid, ensuring the soil level matches the original planting depth. Fill the hole with additional potting mix, pressing lightly to secure the plant without disturbing the roots.
Water the plant thoroughly until water begins to drain from the PVC pipe reservoir. This ensures the self-watering system is primed and ready to supply moisture as needed. I like to add a slow-release fertilizer to the top inch of soil at this stage to provide nutrients over time without overloading the system.
Set Up the Watering System
Fill the PVC pipe reservoir in each bucket with 2 cups of water. The wicking action of the potting mix will draw moisture upward, keeping the roots consistently hydrated. Place the buckets in a location with at least 6 hours of sunlight daily, as herbs and greens require bright light to thrive.
To maintain the system, simply refill the PVC reservoirs every 3-5 days, depending on your climate and the plants' thirst. You'll know it's time to add water when the soil surface feels dry to the touch. This method eliminates the guesswork of traditional watering and prevents both underwatering and root rot.
Monitor and Maintain for Long-Term Success
Check your plants weekly for signs of nutrient deficiency (yellowing leaves) or overwatering (mushy stems). If leaves begin to yellow, add a balanced liquid fertilizer to the reservoir water to replenish nutrients. I've found that every 4-6 weeks is sufficient for most herbs and greens in this system.
Rotate the buckets quarter-turn weekly to ensure even light exposure and prevent plants from leaning toward the sun. Prune any leggy growth or spent leaves to encourage bushier, healthier plants. With this setup, you'll enjoy a continuous harvest of fresh herbs and greens with minimal daily effort.
Tips & tricks for perfect water bucket gardens
A few strategic adjustments can transform your self-watering bucket garden from good to exceptional. These insights will help you avoid common pitfalls and maximize your plants' potential.
Bucket Selection Matters: While any 5-gallon bucket will work, opt for those with smooth sides and minimal seams to prevent soil from sticking during maintenance. I've found that food-grade plastic buckets with ribbed sides actually work better—the ridges provide additional grip when rotating the buckets weekly. For a more polished look, consider using buckets with snap-on lids, which eliminate the need for caulking around the PVC pipe.
PVC Pipe Placement: When inserting your 3-inch diameter PVC pipe through the lid, ensure it extends at least 2 inches above the lid to create a proper water reservoir. This vertical space prevents spillage when refilling. I also recommend sanding the edges of the pipe before insertion to create a smoother seal with the silicone caulk. This small step prevents leaks that can waste water and create soggy conditions at the base of your plants.
Soil Preparation Technique: The 2 gallons of high-quality potting mix should be fluffy yet stable—think of it as "aerated soil." I like to mix in a handful of perlite or vermiculite to improve drainage while maintaining moisture retention. When pressing the soil down in Step 2, use your fingers rather than a tool to avoid compacting it too firmly. The goal is to eliminate air pockets without creating a dense, water-resistant layer that would hinder root growth.
Watering System Optimization: Those 2 cups of initial water in your PVC reservoir might seem like a lot, but it's crucial for establishing the wicking action. I've found that adding a small piece of landscape fabric or a coffee filter to the bottom of the reservoir before filling helps filter out any debris that might clog the wicking process. Also, consider adding a few drops of dish soap to the reservoir water—it reduces surface tension, allowing the soil to absorb moisture more efficiently without forming a crust.
Pro Tips for Water Bucket Garden
- A few strategic adjustments can transform your self-watering bucket garden from good to exceptional.
- Bucket Selection Matters: While any 5-gallon bucket will work, opt for those with smooth sides and minimal seams to prevent soil from sticking during maintenance.
- PVC Pipe Placement: When inserting your 3-inch diameter PVC pipe through the lid, ensure it extends at least 2 inches above the lid to create a proper water reservoir.
Frequently asked questions
Got questions about your water bucket garden?
Here are the most common ones—plus quick, easy answers to keep your greens thriving!
How often should I refill the water bucket?
Check the water level every 2–3 days in hot weather or 4–5 days in cooler climates. If the soil feels dry 1 inch down, it’s time to top off the bucket. Pro tip: Use a clear container to monitor water visually—no guesswork!
What if my plants look wilted or yellow?
Wilting often means root rot (too much water) or underwatering. Drain excess water immediately, then adjust your bucket’s wick or holes. Yellow leaves? Check for nutrient depletion—fertilize lightly with seaweed tea or compost tea every 2–3 weeks.
Can I use any bucket, or are there better options?
Any 5-gallon+ bucket works, but opt for food-grade plastic (no cracks) or ceramic for durability. Avoid metal—it can rust and contaminate water. Bonus: Drill holes 2–3 inches from the bottom for even moisture distribution.
What herbs/greens grow best in a water bucket garden?
Start with fast-growing, shallow-rooted plants like:
- Basil
- Lettuce (leaf varieties)
- Green onions
- Mint (contained in its own bucket!)
- Spinach
Will this work in winter or cold climates?
Yes! Just insulate the bucket with bubble wrap or a thick towel to prevent freezing. Move it indoors near a sunny window if temps drop below 40°F (4°C). Warning: Ice can clog wicks—drain water before winter if storing outside.
Still stuck? Drop your question in the comments—we’re happy to help your bucket garden bloom!
Wrapping up and next steps
Creating a water bucket garden is a game-changer for urban gardeners—it’s simple, sustainable, and perfect for growing fresh herbs and greens with minimal effort! 🌱 With just a few supplies and a little creativity, you can enjoy a thriving, self-watering system that saves time and water.
The best part? You’ll harvest homegrown goodness in no time.
Ready to take the next step? Start small—pick your favorite herbs or greens, gather your materials, and build your bucket garden today! Once you see your plants flourish, you’ll be hooked on this low-maintenance, high-reward gardening method.