Tools
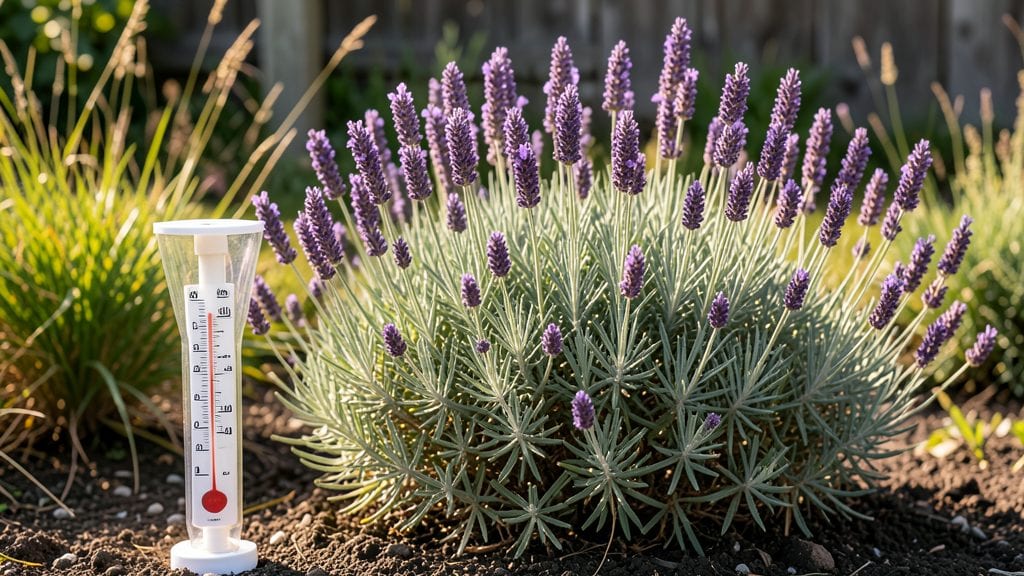
Understanding weather and gardening is the difference between a thriving garden and one that struggles through every season. 🌿 I’ve learned that temperature swings, unexpected frost, or too much rain can turn a promising planting day into a disaster—unless you plan ahead.
The key isn’t fighting the weather but working with it, adjusting when to plant, what to grow, and how to protect your plants.
Start with your local climate zone and average frost dates—these dictate when to sow seeds, transplant seedlings, and harvest. For example, in Zone 6, I wait until soil warms to 50°F before planting tomatoes, but in Zone 9, I might start them in late winter.
Humidity and rainfall also matter: drought-tolerant plants like lavender thrive in dry climates, while ferns need consistent moisture. A simple rain gauge and thermometer are your best tools.
You’ll save time, money, and frustration by choosing plants that match your region’s natural conditions. Mulch helps retain moisture in dry spells, and row covers shield tender greens from late frosts.
Even in extreme heat, shade cloth keeps roots cool. The payoff? A garden that produces reliably, year after year, no matter what Mother Nature throws at it.
This approach works for any garden size—from a small balcony container to a half-acre plot. The secret is flexibility: adjust as conditions change, and your garden will reward you with lush growth and bountiful harvests. Let’s dive into the specifics that make it happen.
📚 In This Guide
- What you need
- Instructions
- Tips and common mistakes
- Wrapping up and next steps
What you need
- ● Weather Monitoring Tools: Digital thermometer/hygrometer (for soil & air temp/humidity)
- ● Rain gauge (measures precipitation accurately)
- ○ Anemometer (optional, for wind-sensitive plants)
- ● Soil & Plant Prep: pH test kit (to adjust soil acidity/alkalinity)
- ● Organic mulch (2–3 inches, e.g., straw or wood chips)
- ● Drip irrigation kit (with adjustable emitters for water efficiency)
- ● Shade cloth (30–50% coverage for heat protection)
- ● Seasonal Protective Gear: Frost blankets (lightweight, breathable fabric)
- ● Row covers (for early/late-season planting)
- ● Windbreaks (burlap screens or plant barriers for windy areas)
- ● Plant Selection: Drought-tolerant seeds/seedlings (e.g., lavender, succulents)
- ● Cold-hardy varieties (e.g., kale, spinach, broccoli)
- ● Heat-resistant tomatoes/peppers (check local climate zones!)
- ● Smart irrigation controller (automates watering based on weather forecasts)
- ● Soil moisture sensors (prevents over/under-watering)
- ● Greenhouse or cold frame (extends growing seasons)
- ● Weatherproof journal (to track plant performance by season)
Instructions for climate-smart season-long gardening
Here's how to make weather work for you—not against you—all season long.
☀️ Step 1: Plan Around Your Microclimate
Start by observing your garden's unique conditions for at least 2 weeks before planting. Note where morning sun lingers, where afternoon shade settles, and which spots stay damp longest. I always mark these zones with stakes—this helps me match plants to their ideal conditions.
Check your local USDA hardiness zone and average frost dates, but don't stop there. Your microclimate might be 5°F warmer or cooler than the general zone due to local topography. For example, a south-facing slope warms up faster in spring, while a low-lying area stays cooler and wetter longer.
🌱 Step 2: Adjust Planting Timing for Weather Shifts
Use a planting calendar that accounts for your region's average last frost date, but also track real-time conditions. I wait until soil temperatures hit 60°F (measured with a soil thermometer) before planting warm-season crops like tomatoes or peppers—cold soil delays germination and stunts roots.
For cool-season crops, plant 6-8 weeks before your first frost date, but adjust if your spring is unusually wet or dry. If your area gets unpredictable late frosts, use floating row covers to extend the season by 2-4 weeks. These lightweight fabrics trap heat during the day and protect tender plants from chilly nights.
💧 Step 3: Manage Water Like a Pro During Weather Extremes
Drought or downpours can ruin a garden fast. I water deeply once a week during normal conditions, but switch to every other day when temperatures hit 90°F+. Use a rain gauge to track precipitation—if you get 1 inch of rain, skip watering that day to avoid over-saturation.
For heavy rains, prioritize plants with shallow roots (like lettuce) and let them handle the moisture. For deep-rooted plants (like carrots or tomatoes), water deeply afterward to replenish soil that drains away. Mulch with 2-3 inches of straw or wood chips to retain moisture and regulate soil temperature—this makes all the difference in hot or cold snaps.
✂️ Step 4: Protect Plants During Sudden Weather Shifts
Watch for 3-day forecasts and prepare for extreme shifts. If a heatwave over 95°F is coming, shade tender plants with 50% shade cloth or move containers to dappled sunlight. For cold snaps below 32°F, cover frost-sensitive plants with lightweight blankets or row covers at dusk and remove them the next morning.
I also keep a stash of cloche bells or plastic domes for individual plants. These create microclimates that can add 5-10°F of warmth around delicate seedlings or young transplants. Just remember to vent them on warm days to prevent overheating.
⏰ Step 5: Harvest and Store Based on Seasonal Cues
Don't wait for a calendar to tell you when to harvest. Pick vegetables when they're at peak flavor and texture—this often aligns with weather patterns. For example, tomatoes ripen faster in 80-85°F weather, so I harvest them before the first frost when temperatures drop below 50°F at night.
For storage, adjust based on incoming weather. If a hard freeze is coming, harvest all leafy greens and store them in the fridge. Root crops like carrots or beets can stay in the ground until soil freezes, but bring in tender crops like basil or peas before the first frost. I always leave a few plants to bolt—some herbs and greens develop sweeter flavors when exposed to cooler temperatures.
Tips & tricks for climate-smart gardening success
A few simple strategies can transform your garden from weather-dependent to weather-proof. Here's what I've learned after years of adapting to unpredictable conditions.
Microclimate Mapping: Don't rely solely on your USDA zone—your actual garden might be 5°F warmer or cooler in specific spots. I use a simple method: place a thermometer in different zones for 24 hours to identify hot spots (like south-facing walls) and cool pockets (like shaded corners). This helps me place heat-loving plants like peppers where they'll thrive, while protecting frost-sensitive basil from early chills. The 5°F difference can mean the difference between a thriving plant and a failed crop.
Soil Temperature Secret: That 60°F soil temperature isn't just a number—it's the magic threshold for warm-season crops. I test soil temp with a simple probe thermometer in the morning (soil warms up during the day). If it's below 60°F, even if air temps are warm, your seeds will sit there waiting to germinate. For cool crops, I actually prefer 50°F soil—too warm and they bolt prematurely. Pro tip: Black plastic mulch can raise soil temps by 5-10°F on sunny days.
Watering Wisdom: The once-a-week rule only works in 70-80°F weather. When temps hit 90°F+, I switch to every other day watering in the morning to prevent evaporation. Here's my trick: water when the top inch of soil feels dry—stick your finger in! For containers, I weigh them—if they're light, it's time to water. That 1 inch of rain guideline? I double-check with a rain gauge to avoid overwatering shallow-rooted plants.
Extreme Weather Prep: When that 95°F heatwave hits, I don't just water more—I create shade. String up shade cloth at 50% coverage over tender plants and move containers to dappled sunlight. For cold snaps below 32°F, I cover plants at dusk with lightweight row covers (they trap heat without smothering). My cloche bells? They're worth every penny—they can add 10°F of warmth around seedlings, but I always remember to vent them during the day to prevent overheating.
Pro Tips for Weather And Gardening
- A few simple strategies can transform your garden from weather-dependent to weather-proof.
- Microclimate Mapping: Don't rely solely on your USDA zone—your actual garden might be 5°F warmer or cooler in specific spots.
- Soil Temperature Secret: That 60°F soil temperature isn't just a number—it's the magic threshold for warm-season crops.
Frequently asked questions
Got questions about how weather impacts your garden? You’re not alone! Here are some of the most common queries—and practical answers—to keep your green space thriving, no matter the forecast.
How do I adjust my planting schedule for extreme heat or cold?
Extreme weather calls for smart timing. For heat, opt for heat-tolerant varieties (like okra or Swiss chard) and plant in early morning or late afternoon to avoid stress. In cold, use row covers or wait until soil temps hit 60°F+ for warm-season crops. Check your USDA Hardiness Zone for local guidance!
What’s the best way to protect plants from heavy rain or hail?
Rain is essential, but too much can drown roots or spread disease. Use raised beds with drainage and mulch to prevent soil erosion. For hail, shield tender plants with frost cloth or cardboard boxes (secured with stakes). After storms, inspect leaves for damage and trim broken stems to redirect energy.
Can I still garden if I live in a drought-prone area?
Focus on drought-resistant plants (e.g., succulents, lavender, or native grasses) and deep-watering techniques (2–3 times/week, early morning). Mulch heavily (3–4 inches) to retain moisture, and consider drip irrigation for efficiency. Rain barrels can also stretch water supplies.
How do I revive a garden after a late frost or freeze?
Don’t panic! Cover remaining plants with frost blankets or old towels to trap heat. For damaged foliage, prune dead leaves but leave stems intact—new growth often emerges. Boost recovery with compost or slow-release fertilizer and monitor for pests (cold stress weakens plants). Patience is key!
What’s the quickest way to tell if my plants are getting too much or too little sun?
Watch for visual clues:
- Too much sun: Wilting, brown crispy edges (scorch), or bleached leaves.
- Too little sun: Leggy stems, pale yellow leaves, or slow growth.
Wrapping up and next steps
Weather doesn’t have to be a gardener’s nemesis—it can be your greatest ally with the right climate-smart strategies! By tuning into seasonal shifts, protecting your plants from extremes, and leveraging tools like weather apps and soil sensors, you’ll build a resilient garden that thrives year-round. 🌱✨
Ready to put your plan into action? Start small—pick one weather-related tweak this week, whether it’s adjusting watering schedules or prepping for frost. Every step forward grows your green thumb and your garden’s success!