
Tools
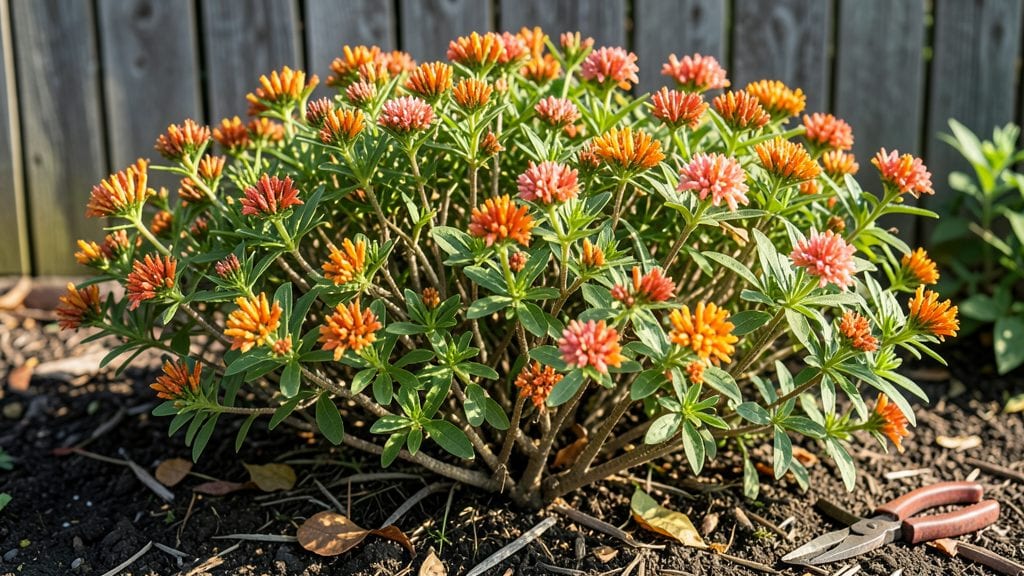
Willy nilly gardening is where creativity meets chaos—and somehow, it works. 🌿 I stumbled onto this style when my carefully planned rows turned into a tangled mess, yet everything still thrived. The beauty? No grid, no rules—just plants where they want to be, growing wild yet harmonious.
Think cottage gardens, wildflower patches, or layered borders where hostas spill over peonies, and coneflowers nod beside lavender. The materials? Whatever you have—old pots, broken slates, or even bare soil. The key is mixing heights, colors, and textures so the eye never lands in one spot.
You’ll end up with a garden that feels alive, not manicured. Bees buzz between clumps of catmint and black-eyed Susans, and every corner hides a surprise—maybe a stray daylily or a volunteer tomato plant. It’s gardening that adapts to you, not the other way around.
Perfect for small spaces, urban balconies, or any plot where strict lines feel stifling. Here’s how to let go of the plan—and watch nature take over.
📚 In This Guide
- What you need
- Instructions
- Tips and common mistakes
- Wrapping up and next steps
What you need
- ● Seeds or seedlings: Choose easy-to-grow plants like sunflowers, marigolds, basil, or zucchini (3–5 plants per section). Opt for heirloom or native varieties for resilience!
- ● Soil: A 4–6 inch layer of well-draining garden soil or compost (1–2 cubic yards for a 10’x10’ area). Mix in organic matter (like compost or aged manure) for fertility.
- ○ Water: A hose with a spray nozzle or watering can (5+ gallons capacity). Drip irrigation is optional but highly recommended for lazy gardeners!
- ● Hand trowel: A sturdy stainless-steel or ergonomic trowel (for digging, planting, and weeding).
- ○ Garden gloves: A pair of durable, breathable gloves (optional but highly suggested—blisters are the enemy of willy nilly fun!).
- ● Pruners: Bypass pruners (for snipping herbs, deadheading, or trimming overgrown friends).
- ● Rake: A small leaf rake (for leveling soil or clearing debris—because nobody likes a messy garden or a messy life).
- ● Mulch: Straw, wood chips, or shredded leaves (2–3 inches) to retain moisture and suppress weeds.
- ● Trellis or stakes: For vining plants like cucumbers or beans (DIY with bamboo or buy pre-made).
- ● Compost bin: Turn kitchen scraps into gold with a small countertop or outdoor bin.
- ● Notebook/journal: To jot down what thrives, what flops, and your “I tried this weird thing” experiments.
Instructions for creating a willy nilly garden layout
Here's how to craft a thriving garden that feels spontaneous but stays balanced.
🌱 Step 1: Gather Plants with Varied Heights and Habits
Start with a mix of plants that naturally layer the space—tall backdrops, mid-height fillers, and low-spreading ground covers. I like to group plants by their mature size rather than by type, which creates organic texture. For example, place a 3-foot tall ornamental grass behind a 2-foot bush and tuck in a 6-inch trailing plant in front. This creates depth without rigid planning.
Don’t stress about symmetry—willy nilly gardens thrive on asymmetry. Let some plants spill over edges while others stay contained. The key is to avoid overcrowding; give each plant enough room to grow without competing for light or nutrients. If you're unsure, space them 12-18 inches apart to start and adjust as they fill out.
☀️ Step 2: Place Plants Based on Sun and Soil Needs
Scan your space for sun patterns—some areas get full sun (6+ hours), others partial shade (3-6 hours), and a few might be shady (less than 3 hours). Group plants with similar light requirements together, but don’t worry about perfect alignment. A sun-loving succulent can sit next to a shade-tolerant fern as long as they’re in their preferred zones.
Soil preferences matter less in willy nilly gardens because you’re not creating a formal design. Still, avoid pairing a drought-tolerant cactus next to a moisture-loving hosta unless you’re willing to adjust watering habits. Most perennials and shrubs adapt well, so focus on the basics: well-draining soil for succulents, richer soil for leafy greens, and average soil for everything else.
💧 Step 3: Add Mulch and Let Nature Fill the Gaps
Spread 2-3 inches of mulch over the entire area to suppress weeds, retain moisture, and give the garden a finished look. I use shredded bark or straw because they break down slowly and improve soil over time. Leave a 2-inch gap around plant stems to prevent rot and pests from nesting too close.
Willy nilly gardens shine when you let them evolve naturally. After planting, step back and observe. You’ll notice some plants grow faster or fill gaps unexpectedly—let them! Over time, fill in empty spots with self-seeding annuals or spreading perennials like creeping thyme or ajuga. The goal is a garden that feels alive and unplanned.
✂️ Step 4: Prune and Maintain with Minimal Rules
Prune only when it’s necessary—deadhead spent blooms to encourage more flowers, trim leggy growth to keep plants compact, and remove any plants that clearly aren’t thriving. I avoid strict pruning schedules; instead, I check plants once a month and make adjustments as needed. The idea is to keep the garden looking intentional without over-managing it.
Water deeply but infrequently—1-2 times a week—unless you’re dealing with drought-sensitive plants. Let the soil dry out between waterings to encourage deeper root growth. If a plant wilts or looks stressed, give it a drink and see how it recovers. Willy nilly gardens are forgiving, so don’t stress over perfection.
🌿 Step 5: Enjoy the Process and Adapt as You Go
Step back and admire your work! Willy nilly gardens are meant to be enjoyed, not micromanaged. Over time, you’ll notice which plants thrive and which ones struggle. Swap out underperformers for something new, or let them go if they’re not adding to the vibe. The beauty of this approach is that it evolves with you—no rigid rules, just a space that feels alive and welcoming.
Watch for opportunities to add seasonal interest. Tuck in spring bulbs, summer annuals, or fall foliage plants as the year progresses. The garden will naturally fill in, and you’ll spend less time fussing over layout and more time enjoying the results. That’s the magic of willy nilly gardening!
Tips & tricks for perfect willy nilly gardening
These simple strategies will help you create a garden that looks effortless while thriving with minimal fuss.
Layering Like a Pro: Think of your garden as a three-dimensional painting. In Step 1, when placing your 3-foot ornamental grass behind the 2-foot bush and tucking in the 6-inch trailing plant, remember that the tallest plants should go at the back, mid-height plants in the middle, and low growers at the front. This creates natural depth without needing a formal plan. I like to sketch a rough outline on paper first—just enough to visualize the layers before digging in.
Sunlight Strategy: In Step 2, when assessing your space, don't get stuck overanalyzing the exact hours of sun. Instead, observe how light moves through your garden at different times of day. Place sun-loving plants where they get the most light, but don't stress about perfect alignment—just group similar light needs together. A sun-loving succulent next to a shade-tolerant fern might seem odd, but as long as they're in their preferred zones, they'll both thrive. The key is flexibility!
Mulch Magic: When you spread that 2-3 inches of mulch in Step 3, choose organic options like shredded bark or straw—they break down over time and improve your soil. Pro tip: leave that 2-inch gap around stems to prevent rot, but don't worry about perfect edges. Mulch serves multiple purposes here: it suppresses weeds, retains moisture, and gives your garden a polished look without requiring perfect lines. Think of it as the "invisible framework" that holds your willy nilly design together.
Seasonal Swaps: In Step 5, when adding seasonal interest, think beyond just flowers. Consider adding spring bulbs like daffodils for early color, summer annuals for continuous blooms, and fall foliage plants like ornamental grasses for texture. These seasonal additions will naturally fill gaps as the year progresses, keeping your garden looking fresh and intentional without requiring rigid planning. The beauty of willy nilly gardening is that it evolves with the seasons!
Pro Tips for Willy Nilly Gardening
- These simple strategies will help you create a garden that looks effortless while thriving with minimal fuss.
- Layering Like a Pro: Think of your garden as a three-dimensional painting.
- Sunlight Strategy: In Step 2, when assessing your space, don't get stuck overanalyzing the exact hours of sun.
Frequently asked questions
Got questions about willy nilly gardening?
You’re not alone! This laid-back approach to gardening is all about flexibility, but even the most spontaneous layouts need a little guidance. Here are some of the most common queries—and how to tackle them like a pro.
What exactly is "willy nilly gardening," and how is it different from traditional gardening?
Willy nilly gardening ditches rigid rows and strict spacing in favor of organic, free-flowing plant arrangements. Think of it as gardening by instinct—letting plants mingle naturally, fill gaps, and grow where they want. Unlike traditional gardening, which relies on symmetry and precision, this method embraces chaos (in the best way possible!) for low-maintenance, high-reward results.
When is the best time to start a willy nilly garden?
You can start anytime! Unlike structured gardens, willy nilly thrives on spontaneity—so spring, summer, or even fall works. For best results, plant in mild weather (avoid extreme heat or frost) and choose fast-growing, adaptable plants like herbs, succulents, or wildflowers. Pro tip: If starting from scratch, prep soil loosely and let nature do the rest!
Do I still need to plan anything, or is it truly "no rules"?
While willy nilly gardening is rule-free, a little strategy helps avoid overcrowding or invasive plants. Group plants with similar water needs, add mulch to retain moisture, and let perennials or self-seeding plants (like cosmos or borage) fill in over time. Think of it as guided chaos—not total anarchy!
How do I handle pests or weeds in a willy nilly garden?
Pests and weeds are part of the game, but willy nilly gardens often outsmart them naturally. Use companion planting (e.g., marigolds to deter pests) and let ground covers like clover suppress weeds. Hand-pull invasives when young, and embrace "good" bugs like ladybugs. Remember: A little mess = more biodiversity!
Can I mix edible and ornamental plants in a willy nilly garden?
In fact, mixing edibles with flowers (like tomatoes with basil or nasturtiums) boosts pollinators and flavors. Just avoid overcrowding root veggies (they need space to sprawl). Herbs, lettuce, and trailing plants thrive in this style—just let them wander. Your garden will taste (and look) even better!
What tools do I really need for willy nilly gardening?
Keep it simple! You’ll need:
- A trowel or small shovel for planting
- A watering can or hose with a gentle spray
- Gloves (optional, but handy for thorny plants)
- Mulch or compost to feed soil
Wrapping up and next steps
Willy Nilly gardening isn’t just about breaking the rules—it’s about embracing the joy of growing on your own terms. Whether you’re working with limited space, a wild plot, or just a love for spontaneity, this approach proves that intentional imperfection can yield beautiful, thriving gardens. 🌱
Ready to dive in? Start small—pick one corner of your yard (or a container!) and let your creativity bloom. No blueprints needed; just plants, patience, and a little playful chaos. Your garden’s masterpiece is waiting—go make it yours!