Tools
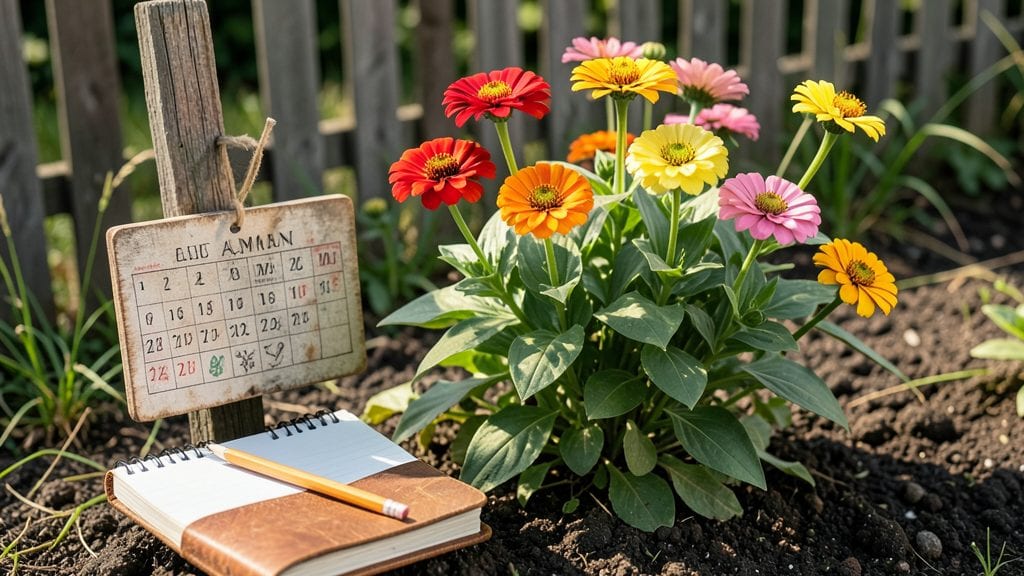
My almanac garden calendar became the secret weapon after I wasted three seasons planting at the wrong time.
The first year, I missed the frost date by two weeks and lost my entire tomato crop—something that never happens again once you sync your planting with the moon phases and your local climate.
This isn’t about memorizing complex rules—it’s about matching your garden tasks to nature’s rhythm. You’ll start by marking frost dates, moon phases for sowing, and key seasonal milestones like pruning fruit trees in late winter or harvesting squash before the first frost.
Most almanacs include regional adjustments, so whether you’re in Zone 5 or Zone 9, you’ll know exactly when to plant.
By following the calendar, you’ll harvest crisp, flavorful vegetables at their peak and avoid common mistakes like overcrowding or under-watering. Imagine pulling fresh peas in May instead of July, or enjoying homegrown tomatoes that ripen before the heat sets in. The calendar turns guesswork into a foolproof system.
Works for any garden size, from a tiny balcony to a half-acre plot. Once you see how much more productive your garden becomes, you’ll wonder how you ever gardened without it.
📚 In This Guide
- What you need
- Instructions
- Tips and common mistakes
- Wrapping up and next steps
What you need
- ● Almanac Garden Planner (or blank calendar) – A physical or digital version (e.g., The Old Farmer’s Almanac Garden Planner or a printable PDF).
- ● Pens or markers – At least 2 colors (e.g., green for planting, red for harvesting) + a fine-tip for details.
- ● Ruler or measuring tape – For spacing tasks evenly across months.
- ● Highlighters or sticky notes – To mark deadlines, notes, or special tasks.
- ○ Printed seed/planting charts – Optional but helpful (download free ones from blank">Almanac resources).
- ● Stapler or binder clips – If using loose pages or inserts.
- ○ Laminator + laminating sheets – For durability (optional but highly recommended for outdoor use!).
- ● Clipboard or binder – To keep your calendar portable and protected.
- ● Digital tablet + stylus – If creating a digital version (e.g., GoodNotes or Procreate).
- ● Basic knowledge of your USDA Hardiness Zone (find yours blank">here).
- ● Access to a local planting guide (Almanac’s zone-specific recommendations work great!).
- ● Time to block 1–2 hours for initial setup (or break it into smaller sessions!).
Step-by-Step instructions for creating your almanac garden calendar
Here's how to build a seasonal planting guide tailored to your region's climate and your garden's unique needs.
Determine Your Hardiness Zone and Last Frost Dates
Start by identifying your USDA hardiness zone—this determines which plants thrive in your area. You can find this by entering your ZIP code into the USDA Plant Hardiness Zone Map online. I always double-check with my local cooperative extension service for any microclimate nuances, like urban heat islands or valley frost pockets. Note both your average last frost date in spring and first frost date in fall, as these mark critical planting windows.
Write these dates in your calendar. For example, if your last frost is April 15 and first frost is October 30, you'll have roughly 195 days for warm-season crops. This gives you a clear framework for planning your entire growing season. Don't skip this step—it's the foundation for everything else.
Organize Your Calendar by Seasonal Phases
Break your calendar into four main phases: early spring, late spring, summer, and fall. Each phase has distinct planting, maintenance, and harvest activities. For early spring, focus on cold-hardy crops like peas, spinach, and lettuce that can tolerate cooler temperatures. Late spring is when you'll transition to warm-season plants like tomatoes and peppers after the last frost.
Summer is all about heat-loving crops and regular maintenance like weeding, mulching, and watering. Fall is your second planting season for crops like kale, carrots, and radishes that thrive in cooler weather. I like to use color-coding for each season—green for spring, yellow for summer, orange for fall—to make it visually clear at a glance.
Map Out Planting and Harvest Windows for Each Crop
Now, research the specific planting and harvest times for each crop you want to grow. Most seed packets include this information, but I also cross-reference with my local almanac or gardening guides for regional accuracy. For example, tomatoes need to be planted after the last frost and typically take 70-85 days to mature. If your last frost is April 15, you'll need to plant them by early July to harvest before the first frost.
Write these dates directly on your calendar. Group crops by their planting windows—this helps you see gaps where you can add succession plantings. For instance, after harvesting early peas in May, you can plant beans or cucumbers in the same space. This maximizes your garden's productivity throughout the season.
Schedule Maintenance Tasks by Month
Gardening isn't just about planting—it's also about ongoing care. Schedule monthly tasks like soil testing, compost application, and pest monitoring. For example, I mark March for soil testing to ensure nutrients are adequate before planting. May is a good time for mulching to retain moisture and suppress weeds. August is when I start planning fall plantings and preparing the soil for cool-season crops.
Include reminders for seasonal chores like pruning, fertilizing, and harvesting. I find it helpful to break these down by week within each month. For instance, in June, I'll note "week 1: fertilize tomatoes, week 3: thin carrots, week 4: harvest early peas." This keeps me on track without feeling overwhelmed by a long to-do list.
Add Notes for Regional Adjustments and Personal Observations
No two gardens are exactly alike, so customize your calendar with notes about your specific conditions. If your garden gets afternoon shade, mark which crops will struggle in those spots. If you've had issues with pests in the past, note which crops need extra protection. I always include observations from previous years—like how my tomatoes ripened faster in 2023 because of the extra heat wave in August—to adjust my expectations for the current year.
Leave space for notes on what worked and what didn't. For example, if your zucchini plants produced too much at once, you might plan to harvest more frequently next year or thin the plants earlier. This personal touch turns a generic calendar into a living document that evolves with your garden's success.
Tips & tricks for perfect almanac garden calendar organization
Building a garden calendar that truly works for your space takes more than just dates—it requires smart planning and personalization. Here are the strategies that have saved me from last-minute planting chaos and wasted garden space.
Seasonal Color-Coding: Use distinct colors for each season to instantly visualize planting windows. I've found that green for spring, yellow for summer, and orange for fall creates an intuitive visual guide. Label your color key clearly so you can quickly reference it throughout the year. This system helps prevent planting warm-season crops too early or missing cool-season opportunities.
Regional Cross-Referencing: While seed packets provide general guidelines, always verify with your local cooperative extension service or almanac for regional adjustments. For example, I discovered my urban garden experiences microclimates where tomatoes ripen two weeks earlier in the southern exposure than in the shaded northern side. Document these observations in your calendar to refine future years.
Succession Planting Visualization: When mapping out planting windows in Step 3, leave blank spaces between crops to visualize succession planting opportunities. I draw arrows between harvest dates and subsequent planting windows to show the natural flow. This reveals gaps where you can add quick-growing crops like radishes or lettuce between slower maturing vegetables.
Maintenance Task Prioritization: For Step 4, organize monthly tasks by urgency rather than just chronology. I mark soil testing and pest monitoring in bold since these affect the entire season's success, while routine weeding can be scheduled more flexibly. This helps me allocate time efficiently when garden demands peak during summer.
Pro Tips for Almanac Garden Calendar
- Building a garden calendar that truly works for your space takes more than just dates—it requires smart planning and personalization.
- Seasonal Color-Coding: Use distinct colors for each season to instantly visualize planting windows.
- Regional Cross-Referencing: While seed packets provide general guidelines, always verify with your local cooperative extension service or almanac for regional adjustments.
Frequently asked questions
Got questions about using an almanac garden calendar? Here are some of the most common ones—and their answers—to help you get the most out of your seasonal planting and harvest planning!
What’s the best time to start using an almanac garden calendar?
You can start anytime, but the best time is before planting season—ideally in late winter or early spring. This gives you a full season to plan, adjust, and track your progress. Even if you’re mid-season, it’s never too late to begin!
How do I adjust the calendar for my specific climate or region?
Most almanac garden calendars include regional guides or frost date adjustments. Check the last frost date for your area and shift planting/harvest windows accordingly. For extreme climates, cross-reference with local agricultural extensions or gardening forums for tailored advice.
Can I use a digital almanac garden calendar, or do I need a physical one?
Both work! Digital calendars (apps or printables) are great for flexibility and reminders, while physical copies (like the Old Farmer’s Almanac) offer tactile planning. Many gardeners use a hybrid approach—digital for tracking and physical for visual reference.
What if my plants don’t align with the suggested timeline?
Don’t stress! Factors like soil temperature, weather, or pests can shift timelines. Use the almanac as a guide, not a rulebook. Adjust based on your garden’s real-time conditions and note changes for next year.
How often should I update my almanac garden calendar?
Review it seasonally (spring, summer, fall) and update after each harvest. Mark what worked (or didn’t) and tweak planting dates, varieties, or spacing. A well-maintained calendar becomes more accurate—and useful—over time!
Wrapping up and next steps
An almanac garden calendar is your secret weapon for a thriving garden—no guesswork, just timely planting, nurturing, and harvesting! By aligning your efforts with nature’s rhythm, you’ll enjoy bountiful yields, fewer pests, and a garden that feels like a well-orchestrated symphony. 🌱✨
Ready to transform your green space? Start by downloading a trusted almanac calendar (like the Old Farmer’s Almanac) or creating your own based on your local frost dates. Then, grab your gloves and get planting—your future harvest is waiting!