
Tools
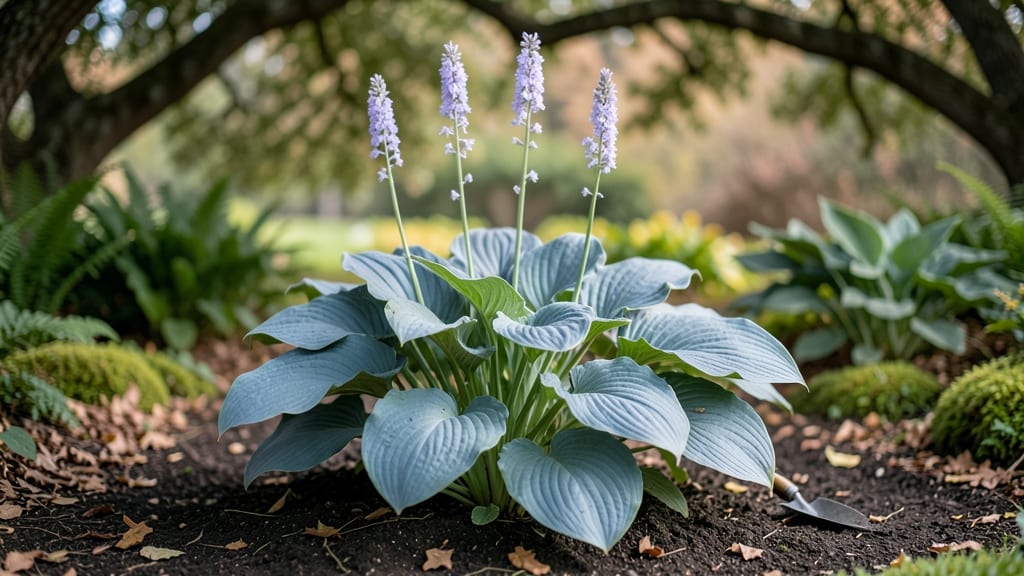
A circle garden bed transforms awkward corners into lush, productive spaces where every inch counts. I built my first one last spring after struggling with straight-edged beds that wasted precious yard space—now it’s the most efficient 4-foot plot in my garden, packed with herbs, greens, and a few tomato plants.
The curved edges make weeding easier, and the design naturally guides visitors around the garden like a quiet invitation to explore.
You’ll need a few simple supplies: cedar boards for the frame, landscape fabric to block weeds, and a sturdy edging material like brick or stone to keep the soil contained. My first attempt used untreated wood, but now I recommend cedar for its natural rot resistance and clean look.
The key is marking a perfect circle first—use a garden hose or a length of rope tied to a stake at the center. Most circle beds fit 10–15 plants comfortably, depending on their size, so plan for a mix of sun-loving and shade-tolerant varieties.
What you end up with is a garden that feels intentional, not just functional. The symmetry draws the eye, but the real magic happens when you arrange plants in zones—tall ones like sunflowers on the outer edge, mid-height herbs in the middle, and shallow-rooted lettuce near the center.
By midsummer, you’ll have a thriving micro-ecosystem that produces more in less space than any straight-edged bed ever did. Plus, the curved shape makes it impossible to trip over the edges when you’re harvesting.
Works equally well in urban backyards, rural homesteads, or even as a decorative centerpiece for a patio. The same principles apply whether you’re growing vegetables, flowers, or a pollinator-friendly meadow.
Start small—my first circle was just 3 feet wide—and expand as you gain confidence. The only limit is your imagination (and how much mulch you’re willing to haul).
📚 In This Guide
- What you need
- Instructions
- Tips and common mistakes
- Wrapping up and next steps
What you need
- ● Circular Raised Bed Frame: Pre-cut wooden planks (cedar or redwood recommended for durability) – 4-6 pieces, 8-12 ft long
- ● OR a pre-made circular kit (diameter: 4-8 ft, height: 6-12 inches)
- ● Hardware: Galvanized screws or decking screws – 1.5-2 inches long, ~20-30 screws
- ○ Corner brackets (optional but recommended for stability) – 4 pieces
- ● Landscape Fabric: 1 piece, slightly larger than your bed’s base (to suppress weeds)
- ● Soil & Amendments: High-quality garden soil – ~2-3 cubic feet (depends on bed size)
- ● Compost or aged manure – 1-2 bags (for nutrient boost)
- ● Perlite or vermiculite – small bag (for drainage)
- ● Basic Tools: Drill or screw gun
- ● Measuring tape
- ● Level (to ensure even placement)
- ● Garden gloves & safety glasses
- ● Waterproof liner (if using in wet climates)
- ● Drip irrigation kit or soaker hoses (for easy watering)
- ● Mulch (straw, wood chips, or shredded leaves)
- ● Decorative edging (stones, bricks, or metal trim)
- ● Plant markers (stakes or labels for your garden layout)
Instructions for building a space-saving circle garden bed
Let’s create a functional, beautiful circle bed that maximizes space and harvests—perfect for small yards or urban gardens.
Mark and Measure the Circle Layout
Use a garden hose or rope to outline a circle with a 4-foot diameter—this size accommodates four plants comfortably while leaving room for paths. Drive a stake at the center to anchor the rope, then adjust until the circle feels balanced. I like to step inside to test if I can reach all edges without stretching.
Check the circle’s symmetry by measuring from the center stake to the edge at four points (north, south, east, west). All measurements should match within ½ inch—any variation will make planting uneven. If needed, adjust the rope until the circle is perfectly round.
Prepare the Base for Stability
Clear all grass, weeds, or debris from the marked area. Use a shovel to dig out 4 inches of soil along the circle’s edge, creating a shallow trench. This prevents the bed from sinking over time and helps with drainage. I press the edges of the trench lightly with my boot to firm the soil—just enough to hold the bed’s weight.
For extra stability, especially in clay soil, lay down 2 inches of coarse sand in the trench before proceeding. This layer prevents roots from binding to compacted earth and keeps the bed level. Water the sand lightly to settle it before moving on.
Build the Raised Bed Frame
Arrange the four 4-foot-long untreated cedar boards in a circle, overlapping the ends by 6 inches to create a continuous ring. Secure the corners with 2-inch deck screws driven at a 45-degree angle into pre-drilled holes—this ensures the frame stays square and sturdy. I pre-drill holes to prevent splitting the wood, which happens when screws hit knots.
Check the frame’s level by placing a 2-foot level across the top at multiple points. Adjust the boards by tapping them gently with a mallet until the frame sits perfectly flat. If the ground isn’t level, add or remove small amounts of soil beneath the frame until it’s even. This step is critical—an unlevel bed will collect water in low spots and rot over time.
Fill and Layer the Garden Bed
Line the frame with landscape fabric to block weeds while allowing water to drain. Cut the fabric to fit snugly, then fold the edges up the sides of the frame. Fill the bed ¾ full with a mix of 2 parts topsoil, 1 part compost, and 1 part perlite. I use my hands to spread the layers evenly, breaking up any clumps in the soil to ensure good root penetration.
Top the bed with 2 inches of mulch, leaving a 1-inch border along the inside edge. This keeps moisture in and weeds out while giving the soil time to settle. Water the bed deeply after filling—this helps the layers compact slightly and removes air pockets that could stunt root growth. Let it sit for 24 hours before planting to allow the soil to stabilize.
Plant and Arrange for Optimal Growth
Divide the circle into four equal sections by drawing two perpendicular lines from the center stake to the edge. Plant one variety per quadrant, spacing plants 12 inches apart to allow airflow and prevent disease. I always place taller plants (like tomatoes) on the outer edge and shorter ones (like lettuce) toward the center—this ensures sunlight reaches everything.
Water each plant immediately after setting it in the soil to eliminate air gaps around the roots. Use a 1-gallon watering can to deliver moisture slowly, soaking the root zone without disturbing the surrounding soil. Avoid wetting the leaves, especially for plants like basil or peppers, which are prone to fungal issues when damp.
Tips & tricks for perfect circle garden beds
These simple strategies will help you create a sturdy, productive circle bed that thrives for years.
Precision Matters in Step 1: When measuring your 4-foot diameter circle, use a tape measure for accuracy rather than eyeballing it. The ½-inch tolerance is crucial—even small deviations can create uneven planting zones. I like to use a garden hose with a measuring tape wrapped around it to visualize the perfect circle before staking it down.
Soil Preparation Tip: In Step 2, if your soil is particularly dense or clay-heavy, consider adding an extra 1 inch of coarse sand to the trench. This prevents root binding and improves drainage without compromising stability. For sandy soils, you can skip the sand layer entirely and focus on adding more compost to the soil mix.
Frame Assembly Secret: When building your frame in Step 3, pre-drilling holes for the 2-inch deck screws prevents wood splitting and makes assembly much easier. I recommend using a drill bit slightly smaller than your screw size—this creates a snug fit that holds better over time. The 45-degree angle ensures the frame stays square and sturdy against wind or foot traffic.
Soil Stabilization Strategy: The 24-hour waiting period in Step 4 is worth it—this allows the soil layers to properly settle and eliminates air pockets that could stunt root growth. If you're short on time, you can reduce this to 12 hours, but be prepared to water more frequently to compensate for the unsettled soil structure.
Pro Tips for Circle Garden Bed
- These simple strategies will help you create a sturdy, productive circle bed that thrives for years.
- Precision Matters in Step 1: When measuring your 4-foot diameter circle, use a tape measure for accuracy rather than eyeballing it.
- Soil Preparation Tip: In Step 2, if your soil is particularly dense or clay-heavy, consider adding an extra 1 inch of coarse sand to the trench.
Frequently asked questions
Got questions about circle garden beds?
You’re not alone! Here are some of the most common queries—plus quick, practical answers to help you grow with confidence.
What’s the best time of year to build a circle garden bed?
Circle garden beds can be built anytime—just adjust your planting schedule. Spring (after the last frost) or early fall are ideal for most climates. If you’re in a mild zone, you can even start in late winter for early harvests! Pro tip: Prep the soil 4–6 weeks before planting to ensure nutrients are ready.
How do I determine the right size for my circle garden?
Standard circle beds range from 3–8 feet in diameter, but size depends on your space and goals. A 4-foot circle fits 16 plants (perfect for herbs or greens), while a 6-foot circle accommodates 24+ plants (ideal for veggies). Rule of thumb: Leave 18–24 inches between beds for easy access and airflow.
Are circle garden beds more expensive than traditional raised beds?
Not necessarily! Circle beds use less material (30–50% fewer boards than rectangular beds) and often require simpler tools. However, costs vary based on materials—cedar or redwood (rot-resistant) will be pricier than pine. Budget hack: Repurpose old pallets or cinder blocks for the base to cut costs.
How do I keep pests out of a circle garden bed?
Circle beds naturally deter pests with their compact, layered design, but you can boost defenses further. Use companion planting (e.g., marigolds + tomatoes), apply organic neem oil, or install a fine mesh barrier at the base. Quick fix: Interplant pest-repelling herbs like basil or thyme between crops.
Can I convert a square or rectangular raised bed into a circle?
Start by measuring your bed’s center, then use a string and stake to mark a circular outline. Cut the excess wood (with a handsaw or circular saw) and smooth edges. Safety tip: Wear gloves and goggles—wood chips fly! For a seamless look, stain or paint the new edges to match.
Wrapping up and next steps
Creating a circle garden bed is more than just a smart way to maximize small spaces—it’s a game-changer for productivity, aesthetics, and sustainability. Whether you’re a seasoned gardener or just starting out, these space-saving layouts make growing fresh produce easier and more enjoyable. 🌱
Ready to transform your garden? Start small—pick a sunny spot, gather your materials, and sketch your design. Then, roll up your sleeves and get planting! Your future harvests (and neighbors) will thank you.