Landscaping
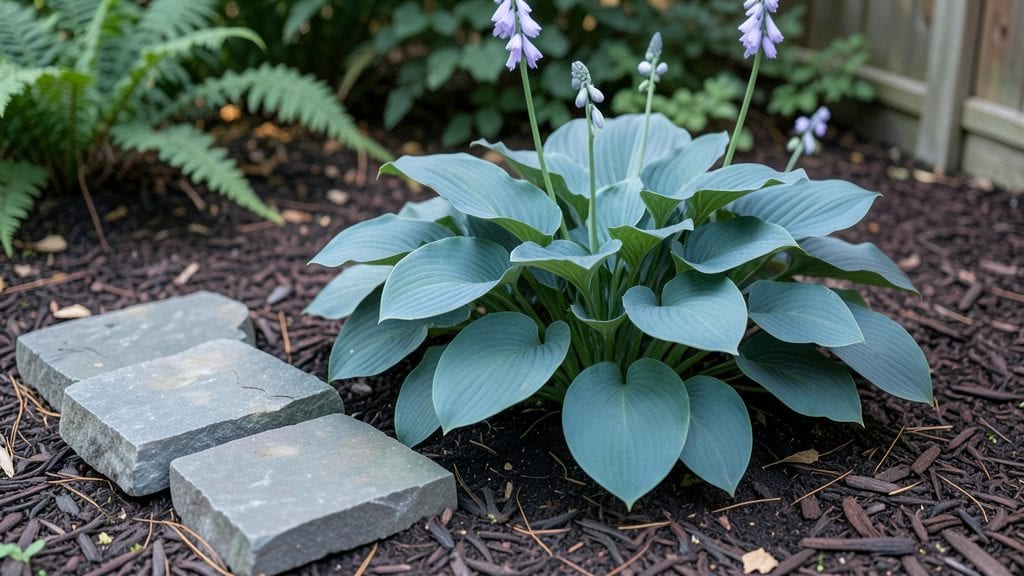
A circle garden design transforms any yard into a living work of art—where every layer tells a story and every season reveals new beauty. 🌿 I stumbled upon this layout after struggling with a cluttered, overcrowded garden bed that looked chaotic no matter how I arranged it.
The moment I drew my first perfect circle in the dirt, everything clicked: plants found their place, pathways emerged naturally, and the whole space felt intentional.
The magic happens in the layers: start with a 3-foot central focal point—a small tree, decorative stone, or even a birdbath—then build outward with concentric rings of plants. Herbs thrive in the inner ring, flowers in the middle, and vegetables or shrubs in the outer layer.
You’ll spend less time weeding and more time admiring how the colors and textures shift with the seasons. The best part? This design works in any size space, from a tiny urban patio to a sprawling backyard.
By summer, you’ll have a garden that feels like a masterpiece—vibrant blooms framing the centerpiece, fragrant herbs within easy reach, and vegetables producing like never before. The symmetry isn’t just pretty; it’s functional too.
Rainwater pools in the center instead of washing away, and you can customize each ring for your family’s favorite plants. Imagine sipping morning coffee surrounded by a garden that looks like it belongs in a storybook.
Whether you’re drawn to a herb spiral, a pollinator-friendly flower circle, or a productive veggie ring, the principles stay the same. The key is starting small—sketch your design first, then dig one ring at a time.
You’ll see how effortlessly the layers come together, and before you know it, your garden will be the envy of the neighborhood. Let’s get those circles planted!
📚 In This Guide
- What you need
- Instructions
- Tips and common mistakes
- Wrapping up and next steps
What you need
- ● Garden beds or raised planters: 1-3 circular or semi-circular beds (diameter: 4–12 ft, depending on space). Use cedar, composite wood, or metal for durability.
- ● Soil: 2–3 cubic yards of high-quality garden soil or a mix of topsoil + compost (60/40 ratio) for nutrient-rich beds.
- ● Mulch: 2–4 bags of organic mulch (cedar or pine) to retain moisture and suppress weeds.
- ● Plants: Centerpiece (1–3 plants): A focal tree (e.g., dwarf Japanese maple) or shrub (e.g., boxwood or hydrangea).
- ● Mid-layer (5–7 plants): Medium-height perennials like lavender, salvia, or ornamental grasses.
- ● Edge layer (10–15 plants): Low-growing annuals (e.g., pansies, creeping thyme) or ground covers (e.g., ajuga or sedum).
- ● Garden stakes or labels: 10–20 biodegradable stakes to mark plant placements.
- ● Garden trowel, pruners, and gloves (for planting and maintenance).
- ● Wheelbarrow or garden cart (to haul soil/mulch).
- ● Measuring tape + string (to outline circular beds accurately).
- ● Shovel and rake (for bed prep).
- ○ Optional: String lights (for ambiance), decorative stones (for borders), or a small fountain (for a serene vibe).
- ● Sunlight assessment: Note your garden’s light conditions (full sun, partial shade, or full shade) to pick the right plants.
- ● Water source: Ensure a hose or irrigation system is nearby for easy watering.
- ● Design sketch: Roughly map out your layers (center, mid, edge) for a balanced look.
Instructions for creating a stunning circle garden
Here's how to craft a balanced, eye-catching circle garden that thrives all year.
🪴 Step 1: Mark and Prepare the Central Circle
Use a 12-foot diameter measuring tape to mark your garden's outer edge. I start by staking the center point with a 4-foot wooden stake—this becomes your focal anchor. For a 4-foot central circle, use a 2-foot garden hose to create a perfect ring around the stake. This inner circle holds your tallest plants like ornamental grasses or small shrubs.
Dig the central circle 6 inches deep and loosen the soil with a garden fork. Mix in 2 gallons of compost to enrich the soil before planting. The goal is to create a nutrient-rich foundation that supports your anchor plants. I always add a 1-inch layer of mulch after planting to retain moisture and suppress weeds.
🌿 Step 2: Plant the Outer Layers in Symmetrical Groups
Divide your garden into four equal quadrants using the central stake as your reference. In each quadrant, plant 3-5 medium-height perennials like coneflowers or black-eyed Susans, spaced 12 inches apart. These form the second layer, creating a natural transition from the center outward. I like to use odd-numbered groupings—it looks more organic and balanced.
For the outer ring, select low-growing plants like creeping thyme or ajuga, spaced 8 inches apart. These should spill slightly over the edge of your circle, softening the design's shape. Water each plant deeply after planting to help roots establish. You'll see new growth within 2-3 weeks—that's your sign everything is settling in.
☀️ Step 3: Add Seasonal Accents for Year-Round Interest
In spring, tuck in bulbs like daffodils around the outer edge for early color. For summer, plant annuals like marigolds in the gaps between perennials to fill empty spaces. In fall, add mums or asters for late-season blooms. I always choose plants with varying heights—this creates depth and keeps the design dynamic.
Place a small decorative stone or solar light in the center to draw the eye. This adds a finishing touch while keeping the space functional. Mulch the entire garden with 2 inches of shredded bark to maintain moisture and prevent weeds. You'll notice the garden looks fuller within 4-6 weeks as plants fill in.
✂️ Step 4: Maintain Balance Through Pruning and Deadheading
Trim back overgrown foliage in early spring to encourage new growth. Deadhead spent blooms regularly to prolong flowering and keep the garden tidy. I prune once every 2 weeks during the growing season—this prevents leggy growth and maintains the circle's shape.
Fertilize lightly in early spring with a balanced 10-10-10 formula, using ½ cup per plant. Water deeply once a week during dry spells, aiming for 1 inch of water per week. You'll see healthier foliage and more blooms as a result. The key is consistency—circle gardens thrive on routine care.
Tips & tricks for perfect circle garden design
Creating a balanced circle garden takes a little planning, but these simple tricks will help you achieve a stunning, harmonious design that thrives all season long.
Precision in Plant Spacing: When planting your 3-5 medium-height perennials in Step 2, measure from the center stake to the outer edge of each plant—not just the base. This ensures even spacing and prevents overcrowding as plants mature. I use a 12-inch measuring tape and mark each spot with a small stake before digging. This method keeps your quadrants perfectly symmetrical while allowing room for growth.
Layered Plant Height Strategy: The magic of a circle garden lies in its vertical layers. In Step 3, when adding seasonal accents, choose plants that grow to different heights—tall center plants, medium-height perennials, and low-spreading ground covers. For example, pair 4-foot ornamental grasses in the center with 2-foot coneflowers and 8-inch creeping thyme on the outer edge. This creates visual depth and prevents the design from looking flat.
Mulch Application Technique: After planting, spread your 2 inches of shredded bark mulch evenly across the entire garden, leaving a 1-inch gap around plant stems. This prevents mulch from touching foliage, which can cause rot. I use a garden rake to spread it uniformly and create a neat, finished look. The mulch will also help maintain that clean circle shape as the garden matures.
Seasonal Color Planning: To ensure year-round interest, plan your color palette in advance. In spring, use white daffodils for contrast against green foliage. In summer, add bright yellow marigolds for warmth. In fall, incorporate deep purple asters for rich tones. I like to sketch a simple color wheel before planting to ensure complementary colors that change with the seasons.
Pro Tips for Circle Garden Design
- Creating a balanced circle garden takes a little planning, but these simple tricks will help you achieve a stunning, harmonious design that thrives all season long.
- Precision in Plant Spacing: When planting your 3-5 medium-height perennials in Step 2, measure from the center stake to the outer edge of each plant—not just the base.
- Layered Plant Height Strategy: The magic of a circle garden lies in its vertical layers.
Frequently asked questions
Got questions about creating a stunning circle garden? You’re not alone!
Here are some of the most common concerns—and their answers—to help you design with confidence.
What’s the best time of year to plant a circle garden?
The ideal time depends on your climate, but spring (after the last frost) or early fall are the sweet spots. In warmer zones, winter planting can work too! Start with perennials first—they’ll anchor your design, while annuals or seasonal blooms can fill gaps later. Pro tip: Test your soil 4–6 weeks before planting to prep for success!
How do I keep my circle garden symmetrical without it looking stiff?
Symmetry doesn’t mean rigidity—think of it as a balanced canvas. Use odd-numbered groupings (3, 5, or 7 plants) for natural flow, and vary heights/textures (e.g., tall grasses + low shrubs). Design hack: Place a central focal point (like a small tree or sculpture) to guide the eye and break up uniformity.
Are circle gardens more expensive than traditional beds?
Not necessarily! Costs depend on materials and size, but circle gardens often save money by reducing edge materials (like mulch or pavers) and maximizing space efficiency. Start small (5–6 feet in diameter) to test designs, or repurpose existing materials (e.g., recycled bricks or gravel). Budget tip: Buy perennials in early spring for discounts, and propagate cuttings to expand later.
How do I prevent pests from ruining my symmetrical layers?
Pests love neat, uniform gardens—so disrupt their patterns! Interplant herbs (like lavender or basil) to repel insects, and add native plants that attract beneficial predators (ladybugs, lacewings). Prevention pro move: Use organic mulch (cedar or straw) to deter burrowing pests, and rotate plant families yearly to avoid soil-borne issues.
Can I turn a circle garden into a raised bed later?
Many circle gardens start as in-ground designs and transition to raised beds for better drainage or soil control. If you’re planning ahead, design tip: leave 6–12 inches of space between the circle’s edge and any permanent structures (like paths) to accommodate future raised frames. For existing gardens, dig out the center and build upward—just ensure the base is sturdy!
How long until my circle garden looks “finished”?
Patience is key! First year: Focus on establishing perennials and structural plants. Second year: You’ll see fuller growth and seasonal blooms. Third year+: With pruning and layering, your design will hit its peak. Hot tip: Take progress photos—watching layers fill in is oddly satisfying!
Wrapping up and next steps
A circle garden design isn’t just a stunning visual—it’s a harmonious blend of symmetry, functionality, and year-round charm. By layering plants, pathways, and hardscapes thoughtfully, you create a space that thrives with minimal effort while delighting the senses.
Whether you’re a seasoned gardener or a beginner, this design offers endless creativity and tranquility.
Ready to transform your outdoor space? Sketch your vision, gather your materials, and start small! Every circle begins with a single step—so grab your tools and let your garden bloom in perfect harmony. 🌿✨