
Landscaping
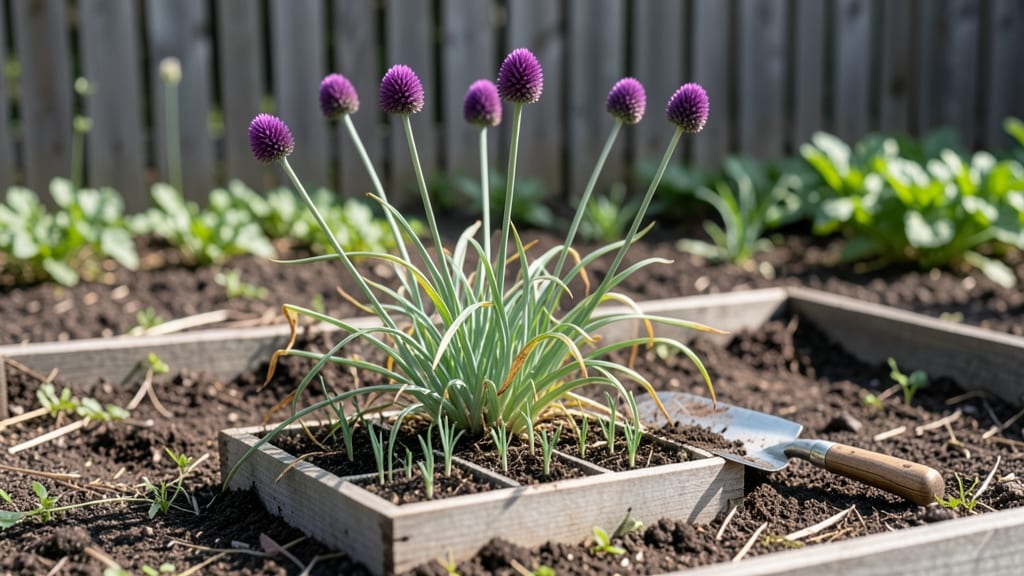
Designing a community garden that thrives isn’t just about planting—it’s about creating a space where people and plants grow together. 🌱 Last summer, I watched a local garden go from a patch of weeds to a vibrant hub where neighbors swapped tomatoes and stories, all thanks to a thoughtful layout that balanced sun, shade, and shared resources.
The key lies in permaculture principles: raised beds for accessibility, winding paths for easy movement, and zones that group plants by their needs. You’ll need basic tools like a tape measure, stakes for marking beds, and materials for pathways—think crushed gravel or mulch.
The best part? This design works for any size group, whether it’s a dozen families or a single block.
Imagine rows of heirloom tomatoes bursting with color, a central compost station where scraps turn into black gold, and a shaded seating area where kids can dig in the dirt.
By the end of the season, you’ll have a garden that feeds bodies and builds community—one that even beginners can’t mess up.
From water-sharing systems to tool libraries, the details make all the difference. Let’s break down how to plan it so every gardener, from seniors to kids, can thrive—and so can your harvest.
📚 In This Guide
- What you need
- Instructions
- Tips and common mistakes
- Wrapping up and next steps
What you need
- ● Soil & Amendments: Topsoil (2–3 cubic yards per 100 sq. ft.)
- ● Compost (1–2 cubic yards per 100 sq. ft.)
- ● Organic matter (leaf mold, straw, or wood chips)
- ● Fencing & Barriers: Chicken wire or livestock fencing (10–15 ft. rolls for perimeter protection)
- ● T-posts or stakes (spaced 6–8 ft. apart)
- ● Irrigation: Drip irrigation kit (with emitters, tubing, and connectors)
- ● Soaker hoses (100–200 ft. for larger plots)
- ○ Water timer or smart valve (optional but recommended)
- ● Planting Supplies: Biodegradable pots or seedling trays
- ● Organic mulch (straw, wood chips, or grass clippings)
- ● Plant markers (wooden stakes or labels)
- ● Tools: Shovel & spade (heavy-duty for digging)
- ● Wheelbarrow (for hauling soil)
- ● Pruners & shears (for maintenance)
- ● Rake & hoe (for bed prep)
- ● Swales or berms (for water retention—great for permaculture!)
- ● Compost bins (for on-site nutrient recycling)
- ● Benches or trellises (for seating and vertical gardening)
- ● Solar-powered lights (for evening access)
- ● Tool shed or storage bench (to keep gear organized)
Step-by-Step instructions for designing a permaculture community garden
Here's how to create a thriving, low-maintenance garden that yields food while nurturing community connections.
🌱 Step 1: Observe and Map Your Garden Space
Start by spending a full day observing your garden site. Note sunlight patterns—track where the sun rises and sets, and mark areas that receive full sun (6+ hours daily), partial sun (3-6 hours), and shade (less than 3 hours). I use a simple sketch or even my phone to snap photos of different areas at various times of day.
Next, identify existing features like slopes, water sources, or wind patterns. For example, if your garden has a gentle slope, you can use that to create natural water flow and terraces. I've found that even small variations in elevation can be used to direct water toward plants that need it most, like root crops or berries.
🌿 Step 2: Plan Zones Based on Frequency of Use
Permaculture design relies on organizing your garden into zones based on how often you'll need to access them. Zone 1 is the most frequently used area, typically right next to your gathering space or kitchen, while Zone 5 is the least accessed, often the edges of your garden or wild areas. For a community garden, Zone 1 might include herbs, salad greens, and quick-growing crops like radishes or lettuce.
Use the 3-foot rule for Zone 1: anything you'll pick daily should be within arm's reach. I like to place a small compost bin and tool station here too, so it's easy to maintain. Zones 2 and 3 can include fruit trees, berries, and perennial vegetables like asparagus or rhubarb, while Zones 4 and 5 are perfect for larger plants like nut trees or wildflower meadows that support pollinators.
☀️ Step 3: Design Plant Guilds for Natural Synergy
Instead of planting in straight rows, create plant guilds—groups of plants that support each other's growth. A classic guild might include a nitrogen-fixing plant like clover or beans, a tall plant for shade like sunflowers or corn, a low-growing ground cover like thyme or creeping charlie, and a fruit or vegetable like tomatoes or squash. This setup mimics natural ecosystems and reduces the need for external inputs.
I always start with the largest plants, like fruit trees or large shrubs, and build around them. For example, plant comfrey near fruit trees because its deep roots bring up nutrients, while its leaves make excellent mulch or compost tea. Add herbs like chives or garlic around the base to deter pests naturally. This layered approach maximizes space and creates a self-sustaining system.
💧 Step 4: Implement Water Management Systems
Permaculture gardens prioritize water conservation and efficient use. Start by identifying natural water sources, like rainwater runoff or nearby streams, and design your garden to capture and use that water. Swales—shallow trenches dug along the contour of the land—are a great way to slow and spread water, allowing it to soak into the soil rather than running off.
Install a simple rainwater collection system using barrels or cisterns, and place them near Zone 1 so you can easily water your most frequently used plants. I like to use drip irrigation or soaker hoses to deliver water directly to the roots, reducing waste and encouraging deep root growth. Mulch all garden beds with 3-4 inches of straw or wood chips to retain moisture and suppress weeds.
✂️ Step 5: Build Pathways and Community Features
Design pathways that are wide enough for wheelbarrows or community gatherings but narrow enough to minimize the amount of land taken up by non-growing space. Use gravel, wood chips, or stepping stones for durability and easy maintenance. I've seen gardens use recycled materials like bricks or old railroad ties to create paths that also double as seating or planting areas.
Incorporate community features like a central gathering area with tables and benches, a tool-sharing station, or a small greenhouse for seedlings. Add a few native plants or pollinator-friendly flowers around the edges to create a welcoming atmosphere. These elements encourage people to spend time in the garden, fostering a sense of ownership and connection to the space.
Tips & tricks for perfect community garden design
Creating a functional permaculture garden takes more than just planting—it's about working with nature's patterns. Here are the insights I've gathered from years of designing community gardens that thrive.
Sunlight Mapping: In Step 1, when you're tracking sunlight, don't just guess—use a simple app or even a whiteboard to track sun movement throughout the day. I've seen gardens fail because they assumed full sun areas were actually partial shade. Mark your garden with stakes and string at noon to create a visual reference that lasts the season. This visual guide becomes your blueprint for all future plant placement decisions.
Zone 1 Optimization: The 3-foot rule in Zone 1 is non-negotiable, but here's what nobody tells you: place your most frequently harvested plants—like herbs or salad greens—along the sunniest edge of Zone 1. This creates natural shade for heat-sensitive plants as the sun moves across the sky. I've found that adding a small trellis with morning glory or cucumbers along this edge provides both shade and edible beauty.
Guild Design Secret: When designing plant guilds in Step 3, start with your largest plants first, then work your way down. I always place comfrey near fruit trees because its deep roots bring up nutrients, but here's my game-changer: add a ring of clover around the base. The clover fixes nitrogen while its dense growth suppresses weeds—it's the ultimate workhorse plant that most gardeners overlook. This layered approach turns maintenance from a chore into a self-sustaining ecosystem.
Water Management Pro Tip: For Step 4's mulching, don't just use any straw—look for "straw mulch" specifically labeled for gardening, not animal bedding. I've seen gardens use hay that contained weed seeds, turning their mulch into an invasive plant problem. Spread your 3-4 inches of mulch evenly and leave a small gap around plant stems to prevent rot. This simple step can cut your watering needs by up to 40% while keeping weeds at bay.
Pro Tips for Community Garden Design
- Creating a functional permaculture garden takes more than just planting—it's about working with nature's patterns.
- Sunlight Mapping: In Step 1, when you're tracking sunlight, don't just guess—use a simple app or even a whiteboard to track sun movement throughout the day.
- Zone 1 Optimization: The 3-foot rule in Zone 1 is non-negotiable, but here's what nobody tells you: place your most frequently harvested plants—like herbs or salad greens—along the sunniest edge of Zone 1.
Frequently asked questions
Got questions about bringing your community garden design to life? Here are some answers to help you plan with confidence!
What’s the best layout for a permaculture community garden?
A permaculture layout prioritizes functional zones—place high-maintenance crops (like herbs) near paths, while fruit trees and perennials form the garden’s backbone. Use swales for water retention, guild planting (companion plants that support each other), and spiral designs for microclimates. Start small: a 10’x10’ bed can yield big results!
How long does it take to see results in a permaculture garden?
Fast crops like lettuce or radishes sprout in 3–6 weeks, while perennials (asparagus, rhubarb) take 2–3 years to mature. Soil health—key to permaculture—improves in 6–12 months with compost and mulch. Patience pays off: a well-designed garden builds resilience over time!
Are there low-cost alternatives to expensive permaculture materials?
Use cardboard + wood chips for mulch, pallets or cinder blocks for raised beds, and local rocks/bricks for swales. Partner with schools or nurseries for free plants/seeds. Repurpose materials like old tires (for planters) or scrap metal (for trellises)—creativity cuts costs!
How do I keep pests out without chemicals in a shared garden?
Permaculture relies on prevention: plant diverse, native species (pests target monocultures), use row covers, and introduce beneficial insects (ladybugs, praying mantises). Neem oil or chili spray are gentle deterrents. Healthy soil = healthy plants—compost and crop rotation work wonders!
How can we involve the whole community in maintaining the garden?
Assign themed workdays (e.g., "Mulch Mondays," "Weeding Wednesdays") and create a shared calendar (Google Sheets or a whiteboard). Host workshops on permaculture basics, and rotate plot stewards to build ownership. Celebrate harvests with potlucks—food brings people together!
Wrapping up and next steps
Designing a permaculture-inspired community garden isn’t just about growing plants—it’s about nurturing connections, sustainability, and abundance. By blending zoning principles, companion planting, and natural water flow, you’ve laid the foundation for a thriving, low-maintenance green space that benefits everyone. 🌱
Now’s your chance to turn ideas into action! Start small—sketch a rough layout, gather a team of eager volunteers, or research local soil conditions. Every seed planted (literally or figuratively) grows into something beautiful. What will your garden grow next?