Tools
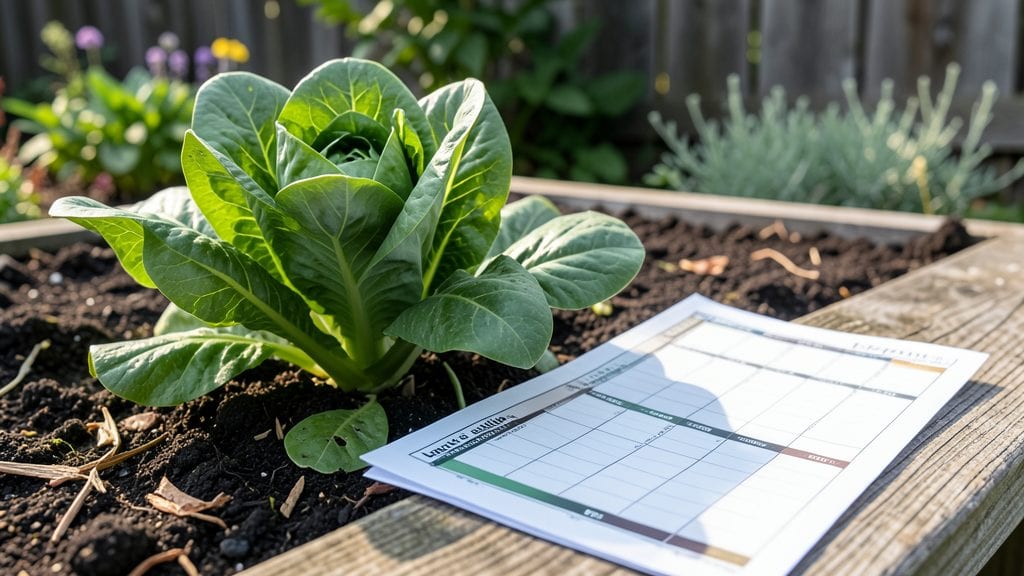
A gardening planner template turns chaos into a predictable, productive season. I remember my first year without one—planting too much at once, forgetting to rotate crops, and ending up with half the harvest I expected.
That’s when I realized a good planner isn’t just about tracking; it’s about designing a garden that works for you—your space, your climate, and your goals.
The best templates blend seasonal calendars with space planners, so you can map out what to plant when and where. You’ll start by blocking out your garden layout—sunny spots for tomatoes, shady corners for lettuce—and then layer in planting dates, harvest times, and even notes on companion plants.
It takes about 30 minutes to set up, but it saves hours of guesswork later.
By the end, you’ll have a system that maximizes every square foot, cuts back on pests naturally through rotation, and keeps your garden looking intentional—not just full.
The payoff? A harvest that stretches from spring greens to fall squash, with fewer surprises and more confidence. Ready to design your perfect growing year?
Whether you’re working with a 4x8-foot raised bed or a full backyard, these templates adapt. The key is starting now—before the seeds even hit the soil—so you’re not playing catch-up in June. Let’s get organized!
📚 In This Guide
- What you need
- Instructions
- Tips and common mistakes
- Wrapping up and next steps
What you need
- ● Notebook or Planner: A blank or grid notebook (8.5” x 11” or A4 size) with at least 50-100 pages for flexibility.
- ● Printable Template: Download a free or paid gardening planner template (PDF or digital format) from trusted sources like Etsy, Pinterest, or gardening blogs.
- ● Pens/Pencils: 1-2 fine-tip markers (black or dark blue) for labeling.
- ● Colored pencils or highlighters (5-10 colors) for categorizing plants.
- ● 1 erasable pen (for corrections).
- ● Ruler: A 12” metal or plastic ruler for straight lines and measurements.
- ● Sticky Notes or Tabs: 10-15 tabs or sticky notes for marking sections (e.g., "Seeds," "Harvest Dates").
- ● Calendar or Date Stamp: A small date stamp or a printed monthly calendar for reference.
- ● Laminator & Pouches: To protect your planner pages from wear (great for outdoor use!).
- ● Hole Punch & Binders: If converting loose pages into a spiral or binder format.
- ● Washi Tape or Decorative Borders: For adding a personal touch to your planner.
- ● Digital Tools: Tablet + Stylus (for digital planners).
- ● Printing access (inkjet or laser printer).
- ● Plant Reference Books or Apps: For quick lookup of growing seasons, spacing, and care tips.
- ● Basic knowledge of your USDA Hardiness Zone (find yours here).
- ● List of plants you want to grow (vegetables, herbs, flowers) and their ideal planting/harvest times.
- ● Access to a printer or digital device (if using printable templates).
Instructions for designing a functional gardening planner template
Here's how to create a planner that keeps your garden organized year-round without overwhelming you.
Define Your Planning Scope and Layout Structure
Begin by determining the core components your planner needs. Most effective templates include seasonal planting calendars, crop rotation maps, and harvest tracking logs. I recommend starting with a 12-month overview that divides the year into four seasons, then expand into detailed monthly pages. Use a grid system with columns for planting dates, varieties, and expected yields—this ensures consistency while allowing customization.
For physical planners, allocate one spread per month (two facing pages) to balance detail with portability. Digital versions can use collapsible sections for each season. Label each section clearly: "Spring Planting," "Summer Maintenance," or "Fall Harvest." This visual hierarchy prevents confusion when you're flipping through pages mid-season.
Integrate Seasonal Planting Zones and Climate Data
Map your USDA hardiness zone and last frost dates directly onto the planner. I find it most effective to include a mini climate chart on the first page, with space to note microclimates (like urban heat islands or sheltered garden beds). Add columns for sun exposure hours and soil temperature preferences—this helps you match crops to conditions without second-guessing.
Include a reverse planting calendar that shows what to sow X weeks before harvest for your location. For example, if you harvest tomatoes in August, note that seeds should go in 10-12 weeks prior in your zone. This prevents last-minute planting panic and ensures you're always ahead of the season.
Build Tracking Systems for Plant Health and Productivity
Design a crop progress tracker with columns for germination dates, transplanting, flowering, and harvest. I use a color-coded system: green for healthy plants, yellow for watchful care, and red for urgent action. Add a notes section for each entry to jot down observations like "needs more phosphorus" or "susceptible to aphids."
Include a harvest log with space for yield estimates, actual production, and storage notes. This helps you refine future planting quantities. For example, if your 2023 planner shows you harvested only 60% of your expected cucumbers, you'll know to adjust next year's seed count or add trellising for better space utilization.
Incorporate Maintenance Reminders and Task Scheduling
Create a weekly chore checklist tied to seasonal needs. For spring, this might include soil testing, pruning, and mulching dates. Summer could focus on watering schedules, pest monitoring, and succession planting reminders. Use recurring task markers (like asterisks) for annual events like compost turning or tool sharpening.
Add a flexible to-do list for one-time tasks, such as building raised beds or installing drip irrigation. I like to include a priority column with symbols (⚠️ for urgent, ⏳ for time-sensitive) to help you tackle high-impact work first. This keeps your garden running smoothly without feeling like a chore.
Add Space for Reflection and Annual Review
Include a year-end review section where you can compare your actual harvests to goals, note which crops thrived or failed, and record lessons learned. I dedicate a full page to this because it's where the real garden wisdom comes from. Add space for photos of standout plants or sketches of layout changes—visual notes often reveal patterns you'd miss in text.
Design a next-year planning worksheet with prompts like "What worked?" and "What would I try differently?" This ensures you're not starting from scratch each season. Include a seed inventory checklist to track what you saved, what you'll reorder, and what you'll experiment with. This saves money and reduces waste.
Tips & tricks for perfect gardening planner layouts
A well-structured gardening planner can transform your seasonal organization from chaotic to effortless. Here are the key strategies I've refined after years of testing different layouts.
Visual Hierarchy Matters: In Step 1, when creating your seasonal sections, prioritize visual contrast between months. Use bold headers for each season and consider color-coding by season—spring in soft greens, summer in warm yellows, and so on. This creates instant recognition when you flip through pages mid-season. I also recommend reserving the first two spreads for high-level overviews (like your 12-month calendar) before diving into detailed monthly pages. This prevents information overload when you're scanning for quick references.
Climate Data Integration: For Step 2, don't just list your USDA hardiness zone—create a visual reference that shows frost dates alongside your planting calendar. I've found that gardeners often forget to account for microclimates, so include a small diagram showing how your garden's layout affects temperature variations. For example, mark areas that get afternoon sun versus morning shade. This spatial awareness prevents common mistakes like planting heat-sensitive crops in hot microclimates.
Tracking System Flexibility: When designing your crop progress tracker in Step 3, build in room for unexpected events. Include columns for "unplanned events" where you can note things like unexpected pests or weather disruptions. I've seen gardeners abandon planners when they can't account for surprises—this system prevents that frustration. Also, consider adding a "lessons learned" column next to each harvest log entry. This creates a living document that improves each year.
Digital vs. Physical Adaptations: If creating a digital version, include interactive elements like checkboxes for completed tasks and dropdown menus for crop varieties. For physical planners, use perforated pages so you can easily remove monthly sections when the season ends. I've found that gardeners who can physically discard outdated pages feel more motivated to maintain their planners throughout the year.
Pro Tips for Gardening Planner Template
- A well-structured gardening planner can transform your seasonal organization from chaotic to effortless.
- Visual Hierarchy Matters: In Step 1, when creating your seasonal sections, prioritize visual contrast between months.
- Climate Data Integration: For Step 2, don't just list your USDA hardiness zone—create a visual reference that shows frost dates alongside your planting calendar.
Frequently asked questions
Got questions about using a gardening planner template?
You’re not alone! Here are answers to the most common ones to help you plan like a pro.
When is the best time to start using a gardening planner?
Start planning now—even in winter! Use your template to map out seasonal tasks, like ordering seeds or scheduling soil prep. For spring/summer gardens, begin 8–12 weeks before your last frost date to align planting with weather and sunlight. Pro tip: Mark key dates (e.g., first frost, harvest times) on your calendar for quick reference.
Can I use a free template, or do I need to buy one?
Absolutely free options work great! Many printable templates (like those from Garden Planner Apps or Etsy) are customizable for free. Paid templates often include advanced features (e.g., crop rotation tools or weather integration), but beginners can thrive with a simple spreadsheet or notebook layout. Start free, then upgrade if you need more bells and whistles!
How do I adjust my planner for small spaces (e.g., balconies or containers)?
Scale down your template! Use a grid system to map container sizes (e.g., 1 square = 1 gallon pot). Focus on vertical gardening (trellises, hanging planters) and compact crops like lettuce, herbs, or cherry tomatoes. Label each container in your planner with plant names and care notes. Apps like Gardenate offer space-specific planners for urban gardeners.
What if my plants don’t grow as planned? How do I troubleshoot?
Your planner is a living document—update it as you go! If crops fail, note potential issues (e.g., "not enough sunlight," "overwatered") in the "lessons learned" section. Adjust next year’s layout by swapping low-performing plants or relocating beds. Keep a "plant journal" alongside your planner for real-time adjustments.
Do I need to print my planner, or can I use a digital version?
Both work! Digital planners (Google Sheets, Notion, or apps like Gardenize) let you update on the go and sync across devices. Printed versions are great for visual garden layouts or hanging in your shed. Try a hybrid approach: Use digital for tracking and print a seasonal checklist for hands-on reference.
How do I account for climate zones or microclimates in my planner?
Start by identifying your USDA Hardiness Zone and note microclimates (e.g., sunny vs. shady spots). Adjust planting dates and crop choices accordingly—cool-season veggies (kale, peas) thrive in Zone 5 but may bolt in Zone 9. Use your template’s "notes" section to log local weather patterns (e.g., "rainy June delays planting").
Wrapping up and next steps
Ready to transform your gardening dreams into a thriving reality?
A gardening planner template is your secret weapon—helping you stay organized, track progress, and savor year-round harvests with ease! 🌱 Whether you're a seasoned green thumb or just starting, this tool simplifies planning, reduces stress, and keeps your garden on track.
Your next step? Download your favorite template today and dive in! Start small, experiment, and watch your garden flourish—one season at a time. Happy planting! 🌿