
Tools
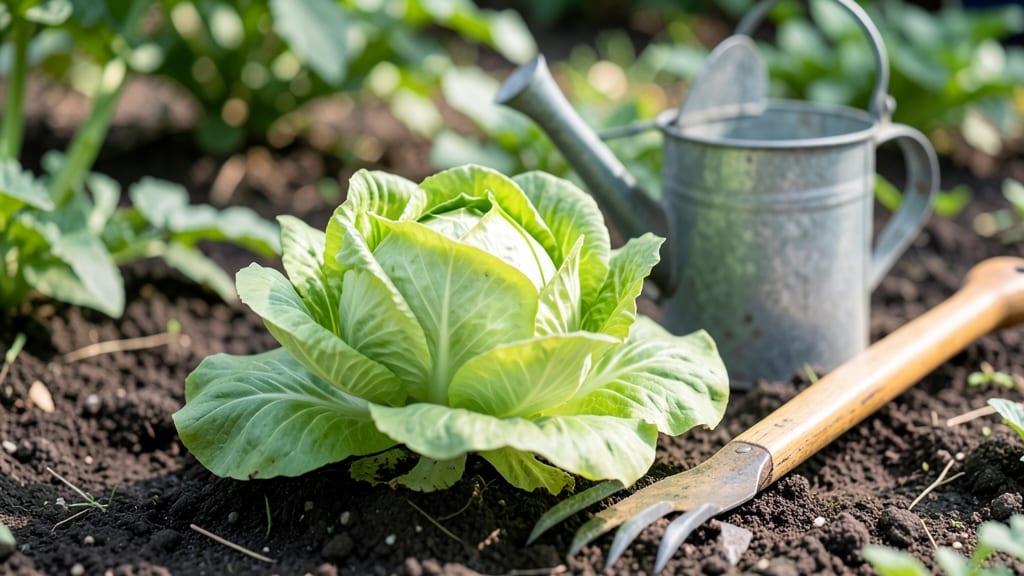
This guide to gardening begins with one simple truth: thriving plants start with the right foundation—soil, sunlight, water, tools, and timing—and I’m sharing exactly how beginners master it in five steps. ✨ how to skip the trial-and-error.
The key isn’t fancy equipment; it’s understanding what your plants truly need to grow strong from day one.
You’ll start with a no-fail soil mix that drains well but holds moisture, then match plants to their sunlight needs—whether that’s a sunny windowsill or a shady corner.
Watering becomes intuitive once you learn the two-finger test, and I’ll show you which five essential tools every beginner needs (spoiler: most cost under $20). The best part? These basics work for containers, raised beds, or in-ground plots, so you can adapt them to your space.
By the end, you’ll know exactly when to plant, how often to water, and which weeds to pull—without guessing. Imagine snapping fresh herbs in June, harvesting crisp tomatoes by August, and watching your garden grow without the overwhelm.
The secret isn’t luck; it’s a system that works for anyone willing to start small and build confidence.
Whether you’re growing flowers, veggies, or herbs, this guide cuts through the confusion so you can focus on the joy of watching your plants thrive. Let’s get those roots growing!
📚 In This Guide
- What you need
- Instructions
- Tips and common mistakes
- Wrapping up and next steps
What you need
- ● Seeds or seedlings: Choose 5–10 varieties (e.g., tomatoes, basil, marigolds, lettuce) based on your climate and space.
- ● Potting soil: 1–2 bags (sterilized, well-draining mix like Miracle-Gro or FoxFarm).
- ● Containers or garden bed: Containers: 5–10 pots (5–10 gallons each) with drainage holes.
- ● Garden bed: 4’x8’ plot (or a raised bed kit) with at least 6–12” of loose, fertile soil.
- ● Watering can or hose: 1–2 gallons capacity with a gentle spray nozzle.
- ● Fertilizer: Balanced 10-10-10 or organic options like compost or worm castings.
- ● Gloves: 1 pair (nitrile or leather for durability).
- ● Hand trowel: 1 (stainless steel, 6–8” long for precision planting).
- ● Pruners: 1 pair (bypass pruners for clean cuts).
- ● Garden fork: 1 (for aerating soil or transplanting).
- ● Rake: 1 (hand rake for leveling soil or leaf cleanup).
- ● Measuring tape: 1 (16’ for spacing plants accurately).
- ● Mulch: Straw or wood chips (2–3 bags) to retain moisture.
- ● Trellis or stakes: 3–5 (for climbing plants like cucumbers or beans).
- ● pH test kit: 1 (to check soil acidity/alkalinity).
- ● Knee pad or stool: 1 (for comfort during long sessions).
- ● Plant markers: 10–20 (to label seedlings).
- ● Solar-powered lights: 2–4 (for evening ambiance or safety).
Instructions: building your first gardening foundation
Here’s how to set up a gardening system that works for any plant, any season.
🌱 Step 1: Assess Your Space and Sunlight
Start by mapping your garden area—note where sunlight hits and for how long. Most vegetables and flowers need at least 6 hours of direct sun daily, while shade-loving plants like hostas or ferns thrive with 4 hours or less. I like to use a simple method: mark the ground with stakes at different spots and observe shadows at midday for 2-3 days. This helps identify full sun, partial shade, or full shade zones accurately.
If your space lacks natural light, consider grow lights for seedlings or container gardens. Position them 2-4 inches above plants and keep them on for 14-16 hours daily to mimic summer sunlight. Without this, seedlings stretch weakly toward the light, a sign they’re not getting enough energy to grow strong.
🪴 Step 2: Prepare Soil for Plant Health
Test your soil’s pH and texture before planting—most garden centers offer cheap test kits. Aim for a neutral pH (6.0-7.0) for vegetables and slightly acidic (5.5-6.5) for blueberries or azaleas. If your soil is heavy clay or sandy, amend it with 2-3 inches of compost and 1 inch of organic matter like leaf mold or well-rotted manure. Mix this in 6-8 inches deep to improve drainage and nutrient retention.
For containers, use high-quality potting mix (never garden soil) because it drains better and prevents root rot. I always add a slow-release fertilizer to the mix—this ensures plants get steady nutrients without frequent feeding. The goal is soil that’s crumbly, moist but not soggy, and rich enough to support strong root growth from day one.
☀️ Step 3: Plan Your Plant Layout
Group plants with similar water and sunlight needs together to simplify care. Tall plants like sunflowers or tomatoes go in the back or north side of beds, while shorter herbs or lettuce fill the front. I sketch a rough map first—this prevents overcrowding and makes it easier to rotate crops next season. Leave 12-18 inches between plants for airflow, which reduces disease risk.
If you’re new, start with easy, fast-growing plants like bush beans, radishes, or marigolds. These give quick rewards and teach you timing, spacing, and basic care without frustration. Avoid fussy plants like peppers or artichokes until you’ve mastered the basics—trust me, your first season will go smoother with confidence-building wins.
💧 Step 4: Set Up a Watering System
Water deeply once or twice a week (depending on heat) rather than daily shallow watering. This encourages roots to grow deeper, making plants more drought-resistant. I use drip irrigation or soaker hoses for beds and a watering can with a rose attachment for containers—both deliver moisture directly to the soil without wetting leaves, which prevents fungal diseases.
Check soil moisture by sticking your finger 1-2 inches deep—if it feels dry, it’s time to water. Early morning is the best time to water because it reduces evaporation and gives plants a full day to absorb moisture. Avoid overhead sprinklers after dark; damp leaves overnight invite mildew and rot.
✂️ Step 5: Establish a Maintenance Routine
Weed regularly—once a week—because weeds compete for nutrients and water. I pull them when they’re small; larger weeds disturb roots and stress plants. Mulch with 2-3 inches of organic material (like straw or shredded leaves) to suppress weeds and retain moisture. Replenish mulch every 2-3 months or after heavy rain.
Fertilize every 4-6 weeks during the growing season with a balanced organic fertilizer (like 10-10-10). Look for dark green leaves and steady growth as signs your plants are thriving. Yellowing leaves? That’s usually a nitrogen deficiency or overwatering. Brown edges? Often a sign of underwatering or too much salt in the soil—flush the soil with water to correct it.
Tips & tricks for perfect gardening foundations
Here's what I've learned after years of trial and error—these tricks will help you avoid common pitfalls and create a thriving garden that actually works.
Sunlight Mapping: When marking your garden with stakes in Step 1, use a small flag or brightly colored ribbon on each stake to clearly identify sun exposure zones. I also recommend taking photos at different times of day—morning sun behaves differently than afternoon sun, and this visual record becomes your garden's blueprint. This simple step prevents costly mistakes when selecting plants for specific spots.
Soil Testing Shortcut: Don't wait until planting day to test your soil! Most garden centers offer same-day pH testing for just a few dollars. If you're amending heavy clay soil in Step 2, add 1/2 cup of gypsum to each planting hole to improve drainage without altering pH. For sandy soil, mix in 1/4 cup of bentonite clay per square foot to help retain moisture—both are game-changers for problematic soils.
Plant Layout Hack: In Step 3, create a simple sketch on graph paper where each square represents 12 inches. This visual tool helps you visualize spacing before digging. I always draw my garden layout to scale first—it's amazing how much more organized your planting becomes when you can see the big picture before making holes in the ground.
Watering System Maintenance: For Step 4, set up a simple maintenance schedule: check your drip irrigation system every 2 weeks during growing season to clear clogs, and replace filters monthly. I also recommend installing a rain gauge nearby—this helps you track exactly how much water your plants are getting from nature versus your irrigation system, preventing both underwatering and overwatering.
Pro Tips for Guide To Gardening
- Here's what I've learned after years of trial and error—these tricks will help you avoid common pitfalls and create a thriving garden that actually works.
- Sunlight Mapping: When marking your garden with stakes in Step 1, use a small flag or brightly colored ribbon on each stake to clearly identify sun exposure zones.
- Soil Testing Shortcut: Don't wait until planting day to test your soil!
Frequently asked questions
Got questions? You’re not alone! Gardening can feel overwhelming at first, but these answers will help you grow with confidence. Whether you're troubleshooting, planning, or just curious, we’ve got you covered.
What’s the best time of year to start a garden?
The ideal time depends on your climate and plants. In most regions, spring (after the last frost) is perfect for cool-season crops like lettuce and peas. For warm-season plants (tomatoes, peppers), wait until soil temps hit 60°F+. Fall is great for second plantings—just check your local frost dates!
How much sunlight do my plants really need?
Most veggies and flowers thrive with 6–8 hours of direct sunlight daily. Leafy greens (like spinach) tolerate partial shade (4–6 hours), while sun-lovers (tomatoes, zucchini) demand full sun. Observe your yard: South-facing spots get the most light—use this to your advantage!
What do I do if pests attack my garden?
Start with prevention: Healthy soil = strong plants. For mild infestations, try neem oil or handpick pests (like tomato hornworms). For stubborn critters (aphids, squash bugs), introduce beneficial insects (ladybugs, lacewings) or use row covers. Never use chemicals unless absolutely necessary!
Can I garden on a budget? What’s the cheapest way to start?
Skip expensive starter plants—grow from seeds (a $1 pack yields 20+ plants!). Use household items as containers (yogurt cups, old boots) and compost kitchen scraps. Visit local buy-nothing groups or community gardens for free plants and tools.
How do I know when to water my garden?
Water deeply 1–2 times per week (more in extreme heat). Check soil moisture: Stick your finger 1–2 inches down—if it’s dry, water! Early morning (6–10 AM) is best to reduce evaporation and fungal diseases. Drip irrigation or soaker hoses conserve water and keep roots happy.
What should I do with my garden in winter?
Don’t let your green thumb go dormant! Cover beds with mulch (3–4 inches) to protect roots. Plant winter crops (kale, carrots, garlic) if your climate allows. Use the off-season to plan next year’s layout, sharpen tools, and start seeds indoors for early spring planting!
Wrapping up and next steps
Gardening is a rewarding journey that blends creativity, patience, and a touch of science—no green thumb required! 🌱 Whether you’re nurturing herbs on a windowsill or dreaming of a full vegetable patch, the key is to start small, stay consistent, and embrace the learning process.
Remember, every expert gardener began exactly where you are now.
Ready to dig in? Take the next step:
- Pick one plant from your list and gather your supplies—your first harvest is closer than you think!
- Join a local gardening group or follow beginner-friendly channels for tips and inspiration.
- Celebrate the small wins—even a single leaf sprouting is a victory worth savoring!