Tools
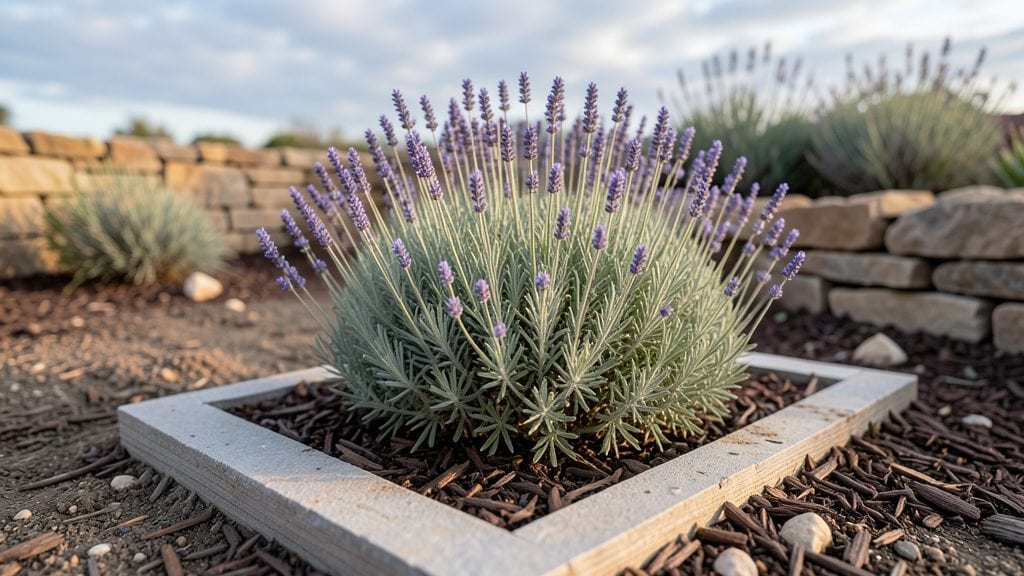
A hay garden bed transforms bare soil into a lush, weed-free oasis that works harder than mulch ever could. ✨ I built mine last spring after struggling with invasive weeds and dry patches—now it’s a thriving vertical layer that doubles as privacy and a mini ecosystem.
The secret lies in its ability to retain moisture, suppress weeds naturally, and break down into rich compost over time.
You’ll need just three things: straw or hay (straw is cleaner but hay breaks down faster), a sturdy frame or raised bed, and plants that love mulch-heavy conditions. The setup takes under an hour, and once layered, it requires almost no maintenance beyond occasional watering.
Perfect for cottage gardens, permaculture setups, or even vegetable beds where you want to cut down on weeding.
By summer’s end, you’ll have a dense, green wall that stays vibrant through droughts and crowds out weeds without chemicals. The hay decomposes into nutrient-rich soil, so you’re not just adding greenery—you’re building long-term fertility. Plus, it’s a game-changer for small spaces where traditional mulch would spread everywhere.
Works in any climate, from arid backyards to humid climates, and adapts to both formal and wild garden styles. The key is choosing the right hay and layering it properly—here’s how to get it right the first time.
📚 In This Guide
- What you need
- Instructions
- Tips and common mistakes
- Wrapping up and next steps
What you need
- ● Hay or straw: 2–4 bales (depending on bed size; opt for dry, weed-free hay for best results).
- ● Landscape fabric: 1 roll (3–4 ft wide) to block weeds and retain moisture.
- ● Garden twine or zip ties: 10–20 pieces to secure layers.
- ● Potting soil or compost: 1–2 bags (2–3 cubic feet) for planting.
- ● Vertical frame: Option 1: Pre-built trellis, pallet, or wire mesh (e.g., 4x8 ft grid).
- ● Option 2: DIY frame using wooden stakes or PVC pipes (2–4 ft tall).
- ● Plants: Choose fast-growing, vining plants like: Clematis, ivy, or morning glories (perennials).
- ● Cucumbers, beans, or peas (edible options!).
- ● Basic tools: Scissors or pruners (for cutting fabric/twine).
- ● Gloves (to protect hands from hay and soil).
- ● Mulch: Shredded bark or straw to retain moisture.
- ● Drip irrigation kit: For low-maintenance watering.
- ● Decorative elements: Solar lights, pebbles, or painted stakes for a polished look.
- ● Slow-release fertilizer: Mix into soil for extra plant vigor.
Step-by-step instructions for building a hay garden bed
Here’s how to create a sturdy, layered hay bed that adds greenery and privacy while keeping maintenance simple.
🪴 Step 1: Select and Prepare the Base Location
Choose a flat, stable spot with good drainage—hay beds need to stay dry to prevent rot. Clear away weeds, rocks, or debris, then mark a 4-foot by 8-foot area with stakes and string. This size works perfectly for 4 plants while maximizing vertical growth.
I like to lay down a 1-inch layer of landscape fabric first to block weeds from creeping up through the hay. Secure it with landscape staples at the edges. This step is non-negotiable—skipping it means fighting weeds for months.
🌱 Step 2: Layer the Hay Foundation
Spread a 4-inch layer of straw or hay evenly across the marked area. Avoid fresh-cut hay—it molds quickly. Instead, use aged straw (like that used for animal bedding) for stability. Flatten it with a rake or board to create a smooth, even base.
Moisten the hay lightly with a hose—just enough to dampen it, not soak it. This helps it settle and prevents shifting later. Press down firmly with your feet or a board to compact the layer. You’ll want it firm enough to support plants but still breathable for roots.
☀️ Step 3: Add Soil and Plant Supports
Mix 2 cubic feet of potting soil with 1 cubic foot of compost to create nutrient-rich planting pockets. Spread a 2-inch layer of this blend over the compacted hay. This layer ensures roots have access to moisture and nutrients while allowing excess water to drain through the hay below.
Install 4 bamboo stakes or trellis frames at the corners of your bed. These will support climbing plants like morning glories or clematis. Space them 3 feet apart to create a sturdy frame. If you’re planting shrubs instead, skip the stakes and focus on spacing plants 2-3 feet apart.
🌿 Step 4: Plant and Mulch for Long-Term Growth
Dig holes in the soil layer just deep enough to accommodate your plants’ root balls. Place each plant gently, then fill the hole with soil, pressing lightly to remove air pockets. Water deeply right after planting to help roots settle into the hay-soil mix.
Top the bed with a 1-inch layer of mulch to retain moisture and suppress weeds. Use shredded bark or straw—avoid thick layers, as they can smother new growth. Check the soil moisture weekly; hay beds dry out faster than traditional gardens, so water when the top 1 inch feels dry.
⏰ Step 5: Maintain and Refresh Over Time
Hay beds break down over time, so plan to refresh the hay layer every 1-2 years. Start by removing the top 2 inches of decomposed hay and replacing it with fresh straw. Add a 1-inch layer of compost to replenish nutrients.
Prune plants regularly to encourage bushier growth and prevent overcrowding. If you notice the hay compacting too much, fluff it gently with a rake. This keeps the bed aerated and prevents waterlogging. With this system, your hay garden bed will stay lush and functional for years.
Tips & tricks for perfect hay garden bed
A few strategic moves will help your hay garden bed thrive for years—here's what I've learned the hard way.
Location is Everything: The 4-foot by 8-foot size works perfectly for privacy, but avoid spots where water pools after rain. I always check drainage by digging a small test hole—if water doesn't drain within 15 minutes, move your location. This prevents rot that can kill your plants from the bottom up.
Hay Selection Matters: Don't grab just any hay! Look for aged straw (like horse bedding) rather than fresh-cut hay—it's more stable and won't mold as quickly. I've ruined two beds using fresh hay that turned to mush within weeks. The 4-inch layer should feel firm but still allow water to drain through.
Soil Mixing Secret: When combining your 2 cubic feet of potting soil with 1 cubic foot of compost, mix them thoroughly but don't overwork the soil. This creates pockets for roots while maintaining good drainage through the hay layers below. I like to use my hands to gently fold them together rather than a trowel.
Plant Support Strategy: For climbing plants, those 4 bamboo stakes at 3-foot spacing create the perfect trellis. If you're using shrubs instead, space them 2-3 feet apart but add a 1-inch layer of mulch around each plant to prevent competition for nutrients. I've found that adding a few extra stakes in the center helps prevent sagging over time.
Pro Tips for Hay Garden Bed
- A few strategic moves will help your hay garden bed thrive for years—here's what I've learned the hard way.
- Location is Everything: The 4-foot by 8-foot size works perfectly for privacy, but avoid spots where water pools after rain.
- Hay Selection Matters: Don't grab just any hay!
Frequently asked questions
Got questions about creating or maintaining a hay garden bed? You’re not alone! Here are some of the most common queries—and their straightforward answers—to help you build the perfect vertical oasis.
What’s the best time of year to install a hay garden bed?
A hay garden bed can be installed year-round, but spring or early fall is ideal. Warmer soil in spring helps roots establish faster, while fall planting gives plants time to settle before winter. Avoid extreme heat or frost—aim for 50–70°F soil temps for best results.
How long does it take for a hay garden bed to mature?
Patience pays off! With consistent care, you’ll see noticeable growth in 4–8 weeks, but full maturity (dense foliage or blooms) takes 3–6 months. Fast-growing plants like sunflowers or cosmos may show results sooner, while slower climbers (e.g., hops or wisteria) take longer. Watering and fertilizer boost speed!
Do hay garden beds need special watering?
Yes—hay beds dry out faster than ground-level gardens due to exposure. Water deeply 2–3 times per week (more in hot climates) and check moisture by sticking your finger 1–2 inches into the soil. Drip irrigation works best to avoid runoff and keep roots hydrated.
Can I use hay garden beds for vegetables or just flowers?
While hay beds are primarily decorative (think vines, flowers, or shrubs), you can grow shallow-rooted veggies like lettuce, radishes, or herbs in the top layer. Avoid heavy feeders (e.g., tomatoes or squash)—they’ll outgrow the space and deplete nutrients quickly. Stick to lightweight, fast-growing plants!
How do I keep pests out of my hay garden bed?
Prevention is key! Use row covers or neem oil for early signs of pests. Encourage beneficial insects (like ladybugs) by planting companion flowers (e.g., marigolds or basil). Avoid overwatering—soggy hay attracts slugs. If pests strike, handpick or use organic sprays like insecticidal soap.
What do I do if my hay garden bed collapses or sags?
Sagging happens when hay breaks down or plants get too heavy. Reinforce the structure by adding more hay or straw to the base, then securing it with landscape fabric or burlap. For severe sagging, rebuild the bed in shorter layers (12–18 inches each) with sturdier materials like cedar slats for support.
Wrapping up and next steps
Creating a hay garden bed is a fantastic way to add lush greenery, natural privacy, and year-round beauty to your space—without the hassle of traditional gardening! 🌿 Whether you're a seasoned gardener or just starting out, this vertical approach maximizes your outdoor potential while keeping maintenance simple.
The key is layering materials thoughtfully and letting nature do the rest.
Ready to transform your garden? Start small—pick a sunny spot, gather your supplies, and dive in! Your future green oasis is just a few layers away. 🌱