Propagation
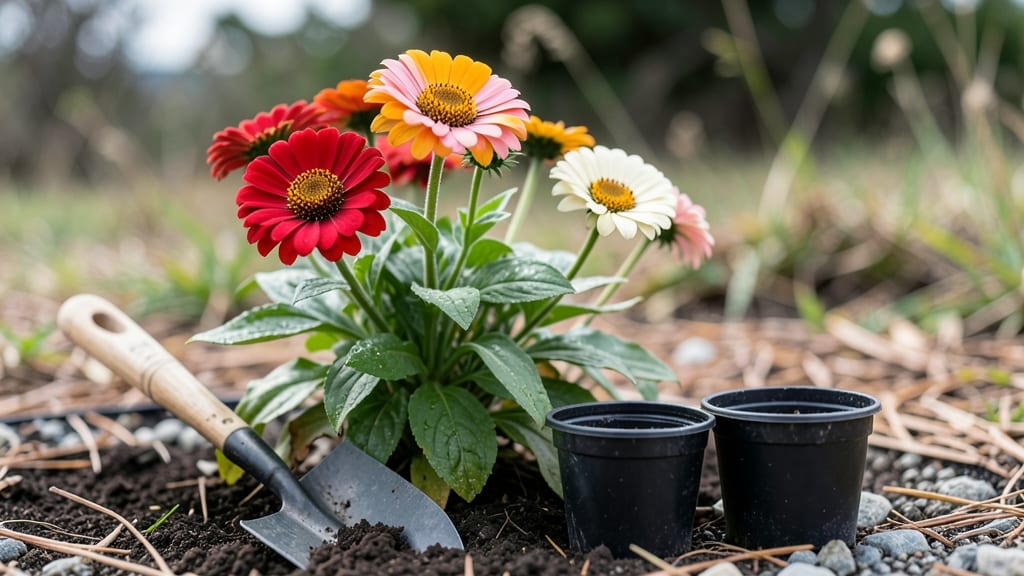
Making your own potting mix from garden soil saves money and gives plants the perfect lightweight home. 🌱 I started doing this after realizing store-bought mixes were costing me $15 a bag for what I could make in 30 minutes with materials I already had.
The key is balancing garden soil with organic matter and amendments to create a fluffy, fertile medium that drains well but holds moisture.
You’ll need garden soil, compost, perlite or vermiculite, and coconut coir or peat moss—all mixed in a 40-30-20-10 ratio. A sterilization step (baking soil at 200°F for 30 minutes) kills weeds, pests, and diseases that can ruin seedlings.
This mix works for everything from seed starting to repotting houseplants, and it’s far more forgiving than heavy garden soil alone.
The results are plants that thrive instead of struggle—seedlings that pop up reliably, container veggies that grow bushier, and houseplants that stay happy for months without replanting. My fussy ferns now double their growth rate, and I’ve cut my gardening budget by 60% by making my own blend.
Here’s exactly how to do it right the first time.
This method works for any climate or growing space, whether you’re filling 4-inch seed trays or 5-gallon pots. The only real rule is to adjust ratios based on your soil’s natural texture—sandy soil needs more compost, while clay-heavy soil benefits from extra perlite.
Let’s get your mix ready for planting season!
📚 In This Guide
- What you need
- Instructions
- Tips and common mistakes
- Wrapping up and next steps
What you need
- ● Garden soil: 5-10 gallons (depending on your project size). Choose well-draining, loamy soil free of weeds or debris.
- ● Compost: 2-3 gallons. Well-aged compost adds organic matter and nutrients. Avoid fresh manure—it can burn plants!
- ● Perlite or vermiculite: 1-2 cups. These lightweight additives improve aeration and drainage.
- ● Peat moss or coconut coir: 2-3 gallons. Enhances moisture retention and structure.
- ● Slow-release fertilizer: 1 cup. Look for a balanced formula (e.g., 10-10-10) to feed your plants gradually.
- ● Garden gloves: Protect your hands from dirt and sharp objects.
- ● Wheelbarrow or large bucket: For mixing ingredients efficiently.
- ● Garden fork or shovel: To loosen and collect soil.
- ○ Sieve or mesh screen: Optional but helpful for removing rocks and clumps (¼-inch mesh works well).
- ● Spray bottle with water: To moisten dry ingredients before mixing.
- ○ Disinfectant (optional): Hydrogen peroxide (3%) or boiling water to sterilize containers if repurposing them.
- ● Test your soil: A simple pH test kit (aim for 6.0–7.0, ideal for most plants). Adjust with lime or sulfur if needed.
- ● Work in a clean area: Lay down a tarp or old sheet to contain dust and debris.
- ● Safety first: Wear a mask if your soil has high dust or mold. Ventilate the workspace!
Step-by-Step instructions for creating custom potting mix
Transform your garden soil into a nutrient-rich, sterile blend perfect for container plants.
🌱 Step 1: Gather and Sterilize Garden Soil
Start by collecting 4 gallons of garden soil from a clean, weed-free area. Avoid soil with visible pests or disease. Spread it on a baking sheet and place it in an oven preheated to 200°F for 30 minutes to sterilize. This kills pathogens and weeds while preserving organic matter.
Let the soil cool completely before handling. I like to stir it gently with a clean trowel while it cools—this helps break up any remaining clumps. Sterilization is critical: unsterilized soil often harbors fungus that will rot container plant roots within weeks.
🌿 Step 2: Add Organic Matter and Amendments
In a large wheelbarrow or clean container, mix the sterilized soil with 2 gallons of compost and 1 gallon of coconut coir. The compost provides nutrients, while coconut coir improves moisture retention and aeration. I use a garden fork to blend everything thoroughly, breaking up any remaining clods.
For extra drainage, stir in 1 gallon of perlite. This prevents compaction and ensures roots get plenty of oxygen. The texture should feel light and fluffy—like crumbled cake crumbs—when you squeeze a handful. If it feels dense, add another ½ gallon of perlite.
💧 Step 3: Adjust Moisture and Test Consistency
Gradually add 1 gallon of water while mixing until the blend reaches a damp-but-not-soggy consistency. It should hold together when pressed but not drip water. I test by forming a loose ball—if it crumbles when lightly squeezed, it’s perfect. If it stays intact, add ½ cup more perlite to improve aeration.
Let the mix sit for 1 hour to settle. This allows any excess moisture to distribute evenly. Avoid compacting it further—container plants need loose, airy soil to thrive. The final blend should resemble a rich, dark potting mix with visible perlite flecks.
☀️ Step 4: Store and Use Immediately
Transfer the finished mix to clean containers or store it in airtight bags for up to 3 months. Label each batch with the date to track freshness. I keep a small portion in a sealed bucket under my workbench for quick access—this prevents moisture loss and contamination.
Use your custom mix within 2 weeks for best results. The sterilization process depletes some nutrients over time, so fresh batches yield stronger seedlings. This blend works for everything from herbs to seedlings—just avoid heavy feeders like tomatoes, which may need extra fertilizer after planting.
Tips & tricks for perfect custom potting mix
A few simple techniques will help you create the ideal soil blend for container gardening every time.
Sterilization Secret: The 30-minute sterilization at 200°F is non-negotiable for container plants. I've seen garden soil harbor fungus that ruins seedlings within days, so don't skip this step! If you're short on oven space, spread soil on baking sheets and sterilize in batches. For larger quantities, consider using a microwave-safe container—just stir every 5 minutes to prevent hot spots.
Texture Test: After adding perlite in Step 2, squeeze a handful of your mix—it should feel like crumbled cake crumbs, not wet sand. If it's too dense, add another ½ gallon of perlite. This light, airy texture is crucial for preventing root rot in container plants. I always double-check this before moving to Step 3.
Make-Ahead Strategy: You can prep everything up to the moisture adjustment (Step 3) and store the dry mix in airtight containers for up to 3 months. When ready to use, just add the 1 gallon of water and let it settle for the required 1 hour. This is perfect for gardeners who want to prepare ahead during off-seasons.
Customization Tip: Optional: For heavier feeders like tomatoes, add 1 cup of worm castings to the 2 gallons of compost in Step 2. This gives your plants an extra nutrient boost without altering the perfect texture. Just remember to adjust the moisture slightly—worm castings hold more water than regular compost.
Pro Tips for Make Potting Mix From Garden Soil
- A few simple techniques will help you create the ideal soil blend for container gardening every time.
- Sterilization Secret: The 30-minute sterilization at 200°F is non-negotiable for container plants.
- Texture Test: After adding perlite in Step 2, squeeze a handful of your mix—it should feel like crumbled cake crumbs, not wet sand.
Frequently asked questions
Got questions about turning garden soil into the perfect potting mix? You’re not alone! Here are some common concerns—and their straightforward solutions—to help you DIY like a pro.
Can I use garden soil straight from the yard for potting mix?
Not ideal! Raw garden soil is often too dense, may contain pests, or lack the nutrients and aeration plants need in containers. Always sterilize and amend it first—think of it like upgrading from a dirt road to a highway for your plants’ roots!
How long does it take to sterilize garden soil for potting mix?
Sterilization depends on your method:
- Oven: 30–60 minutes at 200°F (93°C) to kill pathogens.
- Microwave: 1–2 minutes per quart (but stir between sessions!).
- Sun-baking: 4–6 weeks in black plastic under direct sunlight.
What’s the best ratio of garden soil to amendments for potting mix?
A balanced blend typically uses:
- 50% garden soil (sterilized)
- 25% perlite or vermiculite (for drainage)
- 25% compost or peat moss (for nutrients and moisture retention)
My potting mix still has weeds or bugs after sterilization. What now?
Don’t panic! Sift the mix through a ¼-inch mesh screen to remove debris, then add a 1-inch layer of coarse sand or gravel to the bottom of pots to deter pests. For extra insurance, mix in 1 part composted bark per 5 parts soil—it naturally repels many garden critters.
Is homemade potting mix cheaper than store-bought?
A 5-gallon bag of store-bought mix costs $3–$5, while DIY costs pennies per batch (just soil + amendments). Plus, you control quality—no mystery ingredients or additives. Win-win for your wallet and plants!
Wrapping up and next steps
Transforming your garden soil into nutrient-rich potting mix is a rewarding way to give your plants the perfect growing environment! By sterilizing, blending, and enriching it with organic matter, you’ve created a custom, cost-effective solution that supports strong roots and vibrant growth. 🌱
Now that you’re ready to mix, why not take the next step? Try propagating your favorite plants in your new blend or experiment with different amendments to find the ideal recipe for your green thumb. Happy gardening!