
Tools
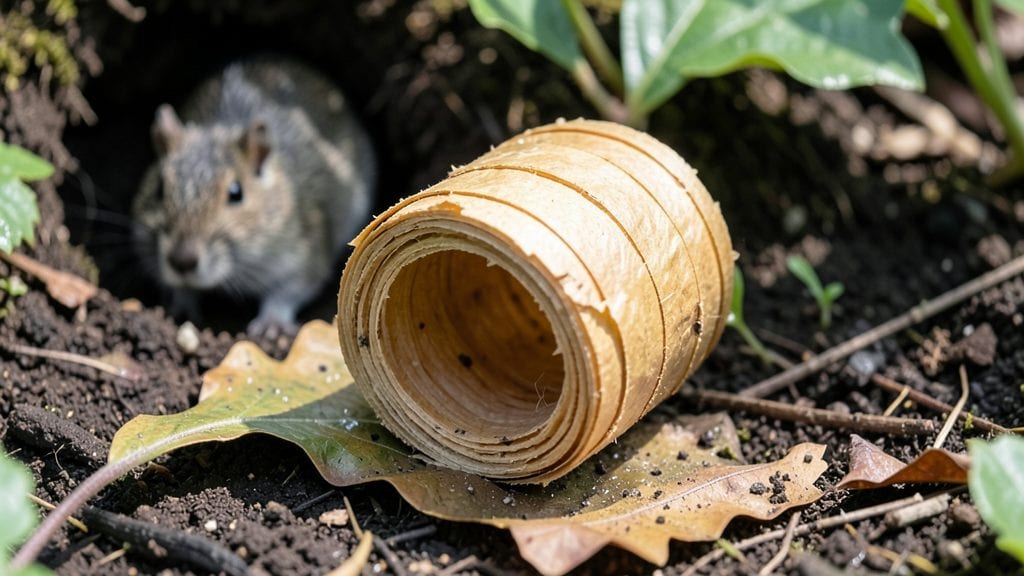
An insect house garden isn’t just a quirky garden feature—it’s a lifeline for pollinators while keeping pests in check. 🌿 I built mine last spring after watching bees struggle to find shelter, and now my yard hums with activity instead of silence.
The best part? It blends seamlessly into any garden design, whether you’ve got a wildflower meadow or a tidy herb spiral.
You’ll need just a few supplies: untreated wood, bamboo stakes, or even repurposed flower pots, plus some native plants that attract beneficial insects like ladybugs and lacewings. The setup takes under an hour, and the payoff is immediate—fewer aphids, more flowers, and a thriving ecosystem that feels alive.
My tomato plants, for example, now produce twice as many fruits because the predatory wasps moved in.
Design-wise, place your insect house near flowering plants so pollinators can easily find food and shelter. A mix of sunny and shaded spots works best, and adding a small water source nearby keeps them hydrated.
Over time, your garden won’t just look lush—it’ll function like a tiny, buzzing ecosystem where every creature has a role.
Works for urban balconies, rural fields, or anything in between. Once you see how quickly these tiny habitats transform your garden, you’ll wonder why you didn’t add one sooner. Let’s get yours set up!
📚 In This Guide
- What you need
- Instructions
- Tips and common mistakes
- Wrapping up and next steps
What you need
- ● Wooden planks or blocks: Unfinished cedar, pine, or bamboo (2–4 pieces, 6–12" long, 1–2" thick)
- ● Drill & bits: 3/16"–1/4" for holes (varies by insect type)
- ○ Non-toxic wood glue or sawdust: For filling gaps (optional but recommended)
- ● Natural fiber rope or twine: For securing parts (1–2 yards)
- ○ Waterproof sealant (optional): Non-toxic, like beeswax or linseed oil
- ● Mud or sand: For mason bee nests (1–2 cups)
- ● Dried leaves or straw: For solitary bee nesting (small handful)
- ● Small pebbles or bark chips: For drainage (1/2 cup)
- ● Paint (non-toxic): For decorating (avoid bright colors)
- ● Sunny spot with partial shade (6+ hours of sunlight)
- ● Basic DIY skills (or a helper!)
- ● Patience—some insects take time to move in 🐝
Step-by-Step instructions for building your insect house garden
Creating a thriving insect habitat is simpler than you think—just follow these clear steps.
🪴 Step 1: Choose and Prepare Your Sheltered Location
Pick a spot that gets morning sun and afternoon shade—this mimics natural conditions insects prefer. I like to place mine near flowering plants so pollinators have easy access. Avoid windy areas where delicate structures might get damaged. A small wooden frame or pre-made insect house works best, but you can even use a hollowed-out log or repurposed terracotta pot.
If your chosen spot has uneven ground, level it slightly with a trowel. The base should be dry and slightly elevated—this prevents water pooling that can rot wood or deter insects. I always check for existing ant trails or spider webs nearby; these are good signs your location will attract beneficial insects naturally.
🌿 Step 2: Assemble or Modify Your Insect House Structure
For a basic setup, use a small wooden box (about 6x6x4 inches) with a sloped roof to shed rain. Drill ¼-inch holes along the sides at varying heights—some insects like bees prefer lower entries, while others need higher access points. I like to add bamboo canes or hollow stems inside for nesting spaces, as they mimic natural cavities.
If using a pre-made insect house, follow the manufacturer's assembly instructions carefully. For DIY versions, reinforce corners with wood glue and small nails. Leave one side removable so you can clean or inspect the interior later. This is especially important if you notice signs of mold or pests—you'll want to address it before beneficial insects move in.
💧 Step 3: Add Natural Nesting Materials
Fill the interior with dried plant stems, pine cones, or untreated wood shavings—these provide perfect nesting spots for solitary bees and wasps. Avoid treated wood or chemically processed materials, as they can harm insects. I collect stems from native plants like goldenrod or milkweed in late summer, when they're dry but still sturdy.
Add a small water source nearby, like a shallow dish filled with pebbles and water. Insects need hydration, but they won’t drown in the pebbles. Place it in partial shade to prevent evaporation. This simple addition can double the number of visitors to your insect house, especially during dry spells.
☀️ Step 4: Position and Monitor Your Habitat
Install your insect house in its chosen spot, securing it firmly so wind won’t tip it over. Face the entrance toward the south or east for optimal sun exposure. Watch for the first visitors—you’ll likely see solitary bees or ladybugs within 2-3 weeks, especially if flowering plants are nearby. I keep a small notebook nearby to track which insects appear first.
Check the house once a month for signs of activity. If you see mud daubers or mason bees, that’s a great sign—these are excellent pest controllers. If the structure seems abandoned after a season, give it a gentle cleaning with a soft brush and fresh nesting materials. Avoid using soap or chemicals, as even small residues can repel insects.
⏰ Step 5: Maintain Year-Round with Seasonal Care
In spring, add fresh nesting materials and check for overwintering insects. Some species, like bumblebees, will emerge in early spring—providing fresh stems gives them a head start. In summer, ensure the water dish is always topped up, as heat can cause it to dry out quickly. I like to add a few dried flowers to the water dish to give insects extra nectar.
By fall, most insects will have left or gone dormant. Leave the house in place—many species will return to the same spot next year. If you notice spider webs or ant trails invading, gently remove them without disturbing the structure. A light spray of water usually does the trick. This small effort ensures your insect house remains a welcoming habitat for years to come.
Tips & tricks for perfect insect house garden
Building an insect habitat that actually thrives takes more than just assembly—it's about creating the right conditions. Here are the key insights I've learned from watching my own insect houses become buzzing hubs of activity.
Location is Everything: The morning sun and afternoon shade combo in Step 1 isn't just ideal—it's crucial. I've noticed that houses facing east get the perfect balance: warm enough for early morning activity but not scorched by afternoon sun. If your yard only has full sun options, position the house near taller plants or trees that provide natural shade during peak afternoon heat. This simple adjustment can mean the difference between an active habitat and one that gets abandoned after a season.
Hole Size Matters: When drilling those ¼-inch holes in Step 2, precision pays off. I've found that slightly tapering the holes (wider at the entrance, narrower inside) helps prevent debris buildup while still accommodating different insect sizes. For a quick test, hold up a credit card next to your drill bit—it should be just slightly larger than the card's thickness. This small detail keeps your habitat functional for years without needing repairs.
Natural Materials Make All the Difference: The nesting materials in Step 3 should feel like a five-star hotel to insects. I collect goldenrod stems specifically because their hollow centers are perfect for mason bees, while pine cones provide cozy nooks for ladybugs. Pro tip: Store your collected materials in a paper bag (not plastic) in a dry place until you're ready to use them—this preserves their natural structure and prevents moisture damage that could attract mold.
Seasonal Timing is Critical: That monthly check in Step 4 isn't just about maintenance—it's about understanding insect behavior. I've learned that spring is the best time to add fresh nesting materials because that's when many solitary bees emerge from winter. In summer, I top up the water dish every 2-3 days during heatwaves, which has dramatically increased my visits from beneficial wasps. These small seasonal adjustments turn your habitat from a static structure into a dynamic ecosystem.
Pro Tips for Insect House Garden
- Building an insect habitat that actually thrives takes more than just assembly—it's about creating the right conditions.
- Location is Everything: The morning sun and afternoon shade combo in Step 1 isn't just ideal—it's crucial.
- Hole Size Matters: When drilling those ¼-inch holes in Step 2, precision pays off.
Frequently asked questions
What’s the best time of year to set up an insect house garden?
Plant and install your insect house garden in early spring (March–April) when temperatures rise above 50°F (10°C). This gives beneficial insects time to establish before summer heat peaks. Avoid late fall setups—many pollinators won’t survive winter in new habitats.
Can I use an insect house garden in small spaces like balconies?
Opt for compact designs like wall-mounted boxes or hanging planters. Choose native plants suited for small pots (e.g., lavender, thyme, or borage) and place the insect house near them. Even a windowsill can host solitary bees with a tiny bamboo tube bundle.
What do I do if I see pests (like spiders or earwigs) in the garden?
Most "pests" in an insect house garden are harmless or beneficial. Spiders control other insects, and earwigs eat decaying plant matter. If you’re uncomfortable, gently relocate them to nearby greenery. Avoid pesticides—they harm pollinators too! Focus on diversity to balance the ecosystem naturally.
Are there alternatives if I don’t want to use a store-bought insect house?
DIY options are easy! Use:
- Bamboo stakes: Split and bundle for solitary bees.
- Drill holes in untreated wood blocks (¼–⅜" diameter) for mason bees.
- Empty coconut shells or clay pots with drainage holes for ladybugs.
Will an insect house garden survive winter?
Most insect houses are seasonal, but you can extend their life:
- Leave empty houses in place—many insects overwinter in them.
- Add insulation (like straw or leaves) around the base in cold climates.
- Clean and store occupied houses indoors if you notice damage (e.g., wood rot).
Wrapping up and next steps
Creating an insect house garden is a simple yet powerful way to support pollinators, control pests naturally, and foster a thriving ecosystem right in your backyard. 🌿 Whether you're a seasoned gardener or just starting out, this humane habitat offers eco-friendly benefits that go beyond aesthetics—it’s a win for your garden and the planet!
Ready to take the next step? Start small with a single insect house, observe what thrives, and expand as you gain confidence. Your garden (and the bees, butterflies, and beneficial bugs) will thank you!