
Tools
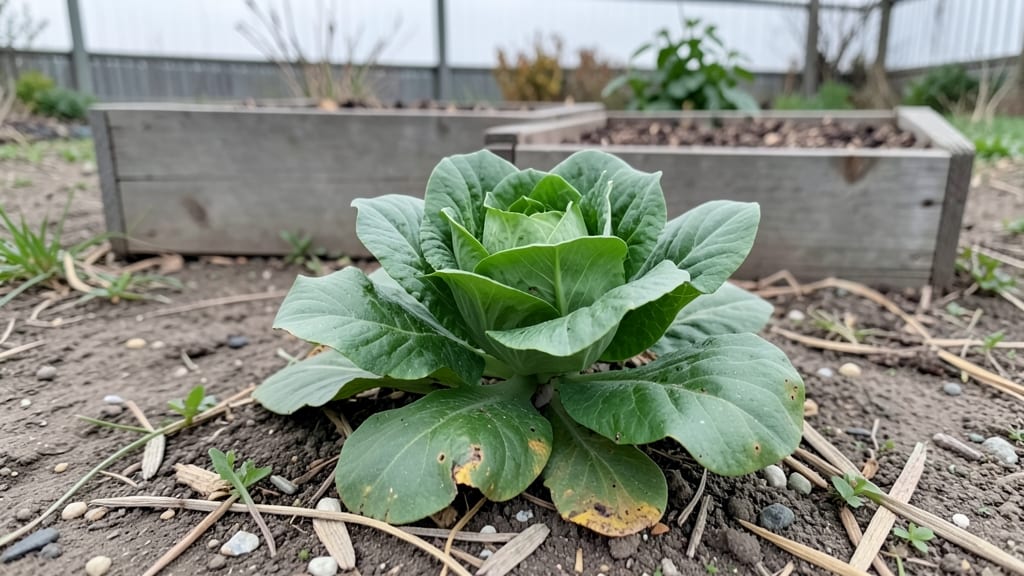
Transforming a tiny backyard into a little backyard garden starts with thinking upward and inward—where every inch counts and every plant earns its space. 🌱 I turned my 6x8-foot concrete slab into a thriving oasis by stacking planters, hanging baskets, and sneaking edibles into ornamental designs.
The key isn’t just saving space; it’s making that space work harder than you ever thought possible.
You’ll need a mix of vertical structures—like trellises, wall planters, and tiered shelves—to free up ground space for seating or pathways. Choose low-maintenance plants that pack a punch, such as dwarf fruit trees, trailing herbs, and compact vegetables like bush beans or lettuce.
The best part? You can grow food and beauty without sacrificing one for the other.
Imagine snipping fresh basil while admiring vibrant blooms, or harvesting cherry tomatoes from a wall-mounted planter. This isn’t just gardening—it’s creating a functional, lush retreat where every plant contributes to the view and the dinner table. The payoff? A backyard that feels twice its size, even when it’s not.
Works for any small space, from urban courtyards to suburban backyards. Let’s get growing—without the guesswork.
📚 In This Guide
- What you need
- Instructions
- Tips and common mistakes
- Wrapping up and next steps
What you need
- ● Containers or Raised Beds: 3–5 medium-sized pots (10–12" deep) or a small raised bed (2'x4' minimum). Use lightweight materials like fabric grow bags, plastic, or wood.
- ● Potting Soil: 1–2 bags of high-quality, well-draining potting mix (avoid garden soil—it compacts!). Look for blends labeled for containers or veggies.
- ● Compost or Fertilizer: 1–2 cups of organic compost or a slow-release granular fertilizer (like 10-10-10) to boost nutrients.
- ○ Vertical Garden Supplies (Optional but Fun!): Wall-mounted pockets or trellises (for climbing plants like beans or cucumbers).
- ● Hanging planters (for herbs or strawberries).
- ● DIY pallet gardens (if you’re crafty!).
- ● Basic Tools: 1 small trowel or hand shovel.
- ● 1 pair of pruning shears.
- ● 1 watering can with a narrow spout (or a hose with a gentle spray nozzle).
- ● Sunlight Access: At least 4–6 hours of direct sunlight daily (south-facing spots are ideal in the Northern Hemisphere).
- ● Water Source: Easy access to water (a hose or watering can you can reach without straining).
- ● Drainage Solutions: Ensure containers have drainage holes (or add a layer of pebbles at the bottom).
- ○ Optional Upgrades: Mulch (straw or shredded leaves) to retain moisture.
- ● Self-watering planters for busy gardeners.
- ● Decorative stones or pebbles for aesthetics.
Instructions: designing your little backyard garden
Here's how to transform even a tiny space into a thriving, layered edible oasis.
🪴 Step 1: Define Your Vertical Framework
Start by assessing your space's vertical potential. I like to use a combination of trellises, wall-mounted planters, and tiered racks to create distinct layers. Install sturdy wooden trellises along fences or walls for climbing plants like pole beans or cucumbers—these will grow upward, freeing up ground space for shorter crops. For walls, attach fabric pockets or modular planters at varying heights to accommodate herbs and shallow-rooted greens.
Measure your wall or fence height first. Most vertical gardens work best with at least 4-6 feet of vertical space to create meaningful layers. If your space is limited to 3 feet, focus on two tiers: a lower level for leafy greens and a mid-height level for trailing plants like nasturtiums. Avoid overcrowding—each plant needs 6-12 inches of horizontal space at its mature width to thrive.
🌱 Step 2: Layer Plants by Height and Sunlight Needs
Divide your plants into three vertical zones: top, middle, and bottom. The top layer should house sun-loving climbers like morning glories or squash vines, which need 6-8 hours of direct sunlight daily. Middle layers work well for medium-height plants such as bush beans, peppers, or compact tomato varieties—these typically require 4-6 hours of sun and benefit from the partial shade cast by taller plants above.
Save the bottom layer for shade-tolerant or low-growing crops like lettuce, radishes, or strawberries. These plants often prefer 3-4 hours of sun and will thrive in the dappled light created by the layers above. Group plants with similar water needs together—this makes irrigation efficient and prevents over- or under-watering. For example, herbs like basil and thyme should never share space with moisture-loving crops like spinach.
☀️ Step 3: Optimize Sunlight Exposure
Observe your space's sunlight patterns throughout the day. Most backyard gardens receive morning sun on the east side and afternoon sun on the west side, with the north side often shaded for most of the day. Position your tallest plants on the south-facing side of your garden to avoid shading shorter plants prematurely. If your space is north-facing, prioritize sun-loving plants in the lowest layers where they can still catch reflected light from nearby structures.
Use reflective surfaces like light-colored walls or mirrors to bounce extra sunlight into shaded areas. I've found that placing a small mirror at a 45-degree angle behind a north-facing planter can increase light exposure by up to 20%, making it viable for sun-loving herbs. Rotate containers quarter-turn weekly to ensure even growth—you'll notice plants leaning toward the light within days, and this simple adjustment keeps them upright and healthy.
💧 Step 4: Implement a Watering System
Vertical gardens dry out faster than ground-level plots, so drip irrigation or self-watering planters are essential. Install a soaker hose along the base of your vertical structure and run it parallel to the ground. This ensures water reaches the bottom layer first, then gradually moves upward through capillary action. For wall-mounted planters, use individual drip emitters spaced 12-18 inches apart to deliver water directly to the root zone without wetting leaves.
Water deeply every other day during the growing season, but check the top inch of soil before watering—if it's dry, it's time. Overwatering is the fastest way to kill a vertical garden, as excess moisture can cause root rot in confined spaces. Mulch the top layer of soil with 1-2 inches of straw to retain moisture and regulate temperature. This simple step reduces watering frequency by 30-40% while keeping roots cool in hot climates.
✂️ Step 5: Maintain and Harvest Strategically
Prune regularly to encourage bushier growth and prevent overcrowding. Pinch back the tips of herbs like basil and mint when they reach 6 inches tall—this triggers branching and more abundant foliage. For climbing plants, tie new growth to the trellis every 2-3 days to keep them supported and prevent tangling. Harvest leaves from the outer edges of plants first to promote continued growth toward the center.
Rotate crops annually to prevent soil depletion and pest buildup. For example, if you grew tomatoes in a vertical planter one year, swap them for peppers or eggplants the next—these plants have different nutrient needs and won't attract the same pests. Keep a small notebook to track what you planted where and when, along with notes on growth patterns. This record becomes invaluable for refining your garden's layout each season.
Tips & tricks for perfect vertical garden design
Creating a functional vertical garden takes more than just hanging planters—these are the game-changing details that'll make your tiny space truly thrive.
Plant Selection Strategy: In Step 2, when layering plants by sunlight needs, I always prioritize fast-growing companions like nasturtiums in the bottom layer—they'll fill space quickly while providing shade for slower-growing greens. For the top layer, choose vining plants that can climb 8-10 feet tall (like cucumbers or pole beans) to maximize vertical growth, even if your trellis is only 6 feet high. The key is selecting varieties that naturally complement each other's growth patterns rather than competing for space.
Structural Reinforcement: Before installing your vertical framework in Step 1, reinforce all mounting points—especially if you're using fabric pockets or lightweight modular planters. I use L-brackets with heavy-duty screws> (not just nails) for wall-mounted systems, and always check for weight-bearing capacity> of your fence or wall. For freestanding trellises, bury the base posts 12 inches deep> and stake them for extra stability, particularly in windy conditions. This prevents your entire garden from toppling during summer storms.
Soil Depth Considerations: The 6-12 inches of horizontal space> mentioned in Step 1 should translate to at least 6-8 inches of soil depth> in each layer. Shallow planters (under 6 inches) will work for herbs and microgreens, but root vegetables like radishes need deeper pockets. For maximum flexibility, use fabric grow bags> that can be stacked at varying depths—this lets you customize soil depth per plant type while maintaining a uniform vertical appearance.
Pest Prevention Tactics: In Step 5, when rotating crops annually, I also rotate plant families> to break pest cycles. For example, after growing nightshades (tomatoes, peppers) in a planter, I'll move to brassicas (kale, broccoli) the next year. Additionally, interplant repellent herbs> like basil or marigolds throughout your vertical layers—their strong scents deter common pests while adding culinary value. For aphid-prone plants, position them in the top layer> where they'll receive more airflow and sunlight, which naturally reduces infestations.
Pro Tips for Little Backyard Garden
- Creating a functional vertical garden takes more than just hanging planters—these are the game-changing details that'll make your tiny space truly thrive.
- For the top layer, choose vining plants that can climb 8-10 feet tall (like cucumbers or pole beans) to maximize vertical growth, even if your trellis is only 6 feet high.
- Structural Reinforcement: Before installing your vertical framework in Step 1, reinforce all mounting points—especially if you're using fabric pockets or lightweight modular planters.
Frequently asked questions
Got questions about creating a little backyard garden? You’re not alone! Here are some of the most common concerns—and their simple solutions—to help you get started with confidence.
What are the best plants for a small backyard garden?
Choose compact, high-yield, or vertical-friendly plants like cherry tomatoes, dwarf peppers, leafy greens (kale, spinach), herbs (basil, thyme), and strawberries. For vertical space, try pole beans, cucumbers, or even edible flowers like nasturtiums. Pro tip: Opt for determinate varieties (like bush beans) to save space!
When is the best time to start a small garden?
Start 6–8 weeks before your last frost date for cool-season crops (like lettuce or peas) or after the last frost for warm-season plants (tomatoes, peppers). In mild climates, you can grow year-round with seasonal rotation. Check your USDA Plant Hardiness Zone for local timing!
How can I garden on a budget?
Skip expensive setups! Use repurposed containers (old buckets, pallets, or even boots), seed swaps instead of buying plants, and compost kitchen scraps. Start small with fast-growing crops (radishes, microgreens) to test success before investing more.
What should I do if pests invade my tiny garden?
Prevent pests with physical barriers (row covers, netting), companion planting (marigolds deter pests), or natural sprays (neem oil). For stubborn bugs, handpick them or introduce beneficial insects like ladybugs. Pro tip: Healthy soil = resilient plants!
Can I garden in a backyard with no direct sunlight?
Yes! Use reflective surfaces (mirrors, white walls) to redirect light, choose shade-tolerant plants (Swiss chard, arugula, or ferns), or grow indoor herbs near a sunny window. If possible, rotate containers to follow the sun’s path.
Wrapping up and next steps
A little backyard garden doesn’t have to mean small rewards—with vertical layers, smart planning, and a dash of creativity, you can transform even the tiniest space into a thriving, edible paradise! 🌱 Whether you’re growing herbs, veggies, or flowers, the key is to work with what you’ve got and embrace the joy of nurturing life in limited square footage.
Ready to take the next step? Start small—plant a single vertical planter or dedicate a corner to a micro-garden. Then, let your green thumb grow! Share your progress, experiment with new layouts, and watch your backyard bloom with both beauty and bounty.