
Tools
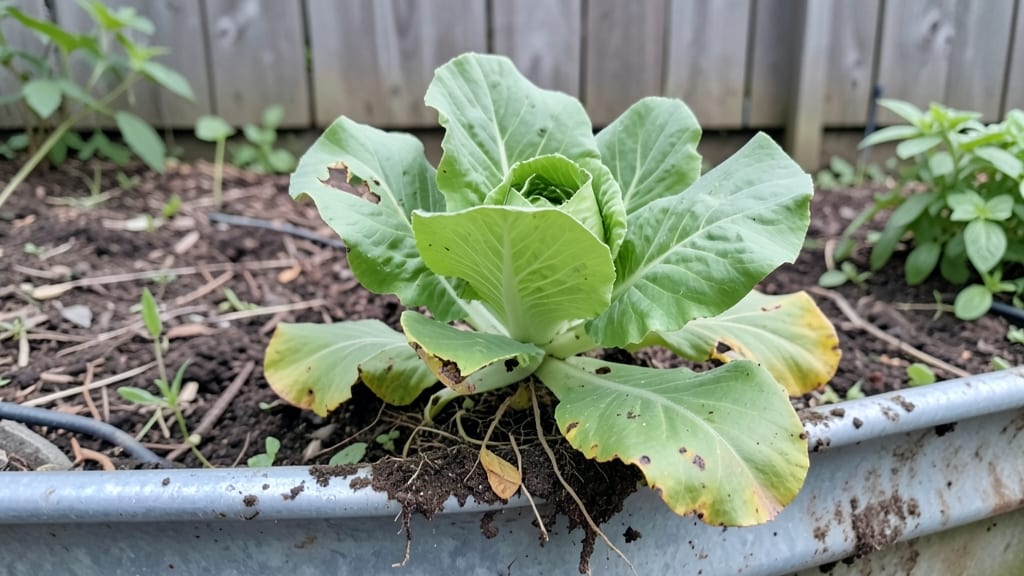
Rain gutter gardening turned my cramped balcony into a lush vertical herb garden. 🌿 I was skeptical at first—how could something so simple hold real plants?—but after repurposing an old gutter, I grew basil, thyme, and snapdragons that outlasted anything in my pots.
You only need a few supplies: a clean gutter (or two), some potting soil, and your favorite small plants. The setup takes less than 30 minutes, and you can mount it to a wall, fence, or even hang it like a planter.
Best of all, it’s perfect for herbs, flowers, and shallow-rooted veggies like lettuce.
By summer’s end, you’ll have a thriving vertical display that saves space and adds color. The drainage works better than most containers, and the plants stay within easy reach for harvesting. Plus, it’s a conversation starter—neighbors will ask how you did it.
Works for apartments, small yards, or urban patios. Just avoid heavy plants like tomatoes or peppers—they’ll outgrow the space. Let’s get those gutters growing!
📚 In This Guide
- What you need
- Instructions
- Tips and common mistakes
- Wrapping up and next steps
What you need
- ● Rain gutter system: 1–2 pre-drilled vinyl or aluminum gutters (5–6 inches wide, 10–12 feet long)
- ● 4–6 end caps (to seal the ends)
- ○ 4–6 downspout connectors (optional, for drainage)
- ● Growing medium: 3–5 gallons of lightweight potting mix (avoid garden soil—it’s too heavy!)
- ● Coir fiber or peat moss (1–2 cups, for moisture retention)
- ● Drainage: 1 roll landscape fabric (to line the gutter and prevent clogging)
- ● Small plastic mesh or hardware cloth (cut to fit drainage holes, if needed)
- ● Plants: 6–12 small herb/flower seedlings (e.g., basil, thyme, petunias, or nasturtiums)
- ○ Slow-release fertilizer (optional, 1–2 pellets per plant)
- ● Hardware & Fasteners: 4–6 gutter brackets or straps (stainless steel or heavy-duty plastic)
- ● Screws/nails (if mounting to a wall or fascia)
- ● Self-watering reservoir (DIY with a repurposed bottle or buy a pre-made kit)
- ● Decorative paint or stain (to match your home’s exterior)
- ● Drip irrigation kit (for hands-off watering)
- ● Plant labels (chalkboard or biodegradable tags)
Step-by-Step instructions for rain gutter gardening
Here's how to transform old gutters into a thriving vertical garden—perfect for small spaces.
🪴 Step 1: Clean and Prepare the Gutters
Start by thoroughly cleaning the gutters with warm, soapy water to remove any dirt, debris, or old sealant. I like to use a stiff brush or sponge to scrub the inside edges where roots will grow. Rinse them well and let them dry completely in the sun for at least 24 hours—this prevents mold and ensures a clean start.
Check for any cracks or holes along the sides or bottom. If you find any, seal them with waterproof caulk designed for outdoor use. This keeps your soil and plants in place while preventing leaks. Once dry, flip the gutters upside down so the drainage holes face upward—this is where your plants will grow.
🌱 Step 2: Add Drainage and Potting Mix
Line the bottom of each gutter with a layer of 1 inch of small gravel or pebbles. This creates a drainage layer that prevents waterlogging, which can rot roots. I use river rocks because they’re lightweight and stay in place, but any coarse gravel works.
Next, fill the gutters about 3/4 full with a lightweight potting mix. Avoid garden soil—it’s too heavy and compacts easily. Instead, use a mix designed for containers or seed starting. Press the soil down lightly with your hands to settle it, but don’t pack it too tightly. You want it loose enough for roots to spread easily.
☀️ Step 3: Plant Your Herbs and Flowers
Dig small holes in the soil, about 1 inch deep and 2-3 inches apart, depending on the plant size. Gently place seedlings or seeds into the holes, then cover them lightly with soil. For herbs like basil or parsley, I plant them 1 inch apart—they grow quickly and need space. For flowers like petunias or marigolds, space them 3-4 inches apart.
Water the soil gently but thoroughly until it’s evenly moist. You’ll know it’s right when water drips out the drainage holes at the bottom. Avoid overwatering at this stage—just keep the soil damp until you see new growth. This ensures roots establish without sitting in soggy conditions.
💧 Step 4: Mount and Water the Gutters
Secure the gutters to a sturdy wall or fence using L-brackets or heavy-duty screws. Make sure they’re level so water drains evenly. I like to mount them on a slight angle (5-10 degrees) to help water flow naturally toward the drainage holes. This prevents pooling and keeps roots healthy.
Water your gutter garden every 2-3 days, checking the soil moisture by sticking your finger about 1 inch deep. If it feels dry, it’s time to water. For the first week, keep an eye out for wilting—new plants in gutters dry out faster than in-ground gardens. Once established, most herbs and flowers will only need watering when the soil feels dry to the touch.
✂️ Step 5: Maintain and Harvest
Fertilize your gutter garden every 4-6 weeks with a balanced, water-soluble fertilizer diluted to half strength. This keeps your plants growing strong without overloading the soil. I also like to trim any dead or yellowing leaves regularly—this encourages new growth and keeps the garden looking tidy.
Harvest herbs when they’re young and tender for the best flavor. For flowers, deadhead spent blooms to encourage more flowers. With gutters, you’ll notice faster growth because the plants get more sunlight and air circulation. Just keep an eye on the soil—if it starts to dry out too quickly, consider adding a thin layer of mulch to retain moisture.
Tips & tricks for perfect rain gutter gardens
Here's what I've learned after turning my own gutters into lush vertical gardens—these tricks make all the difference.
Drying Time Matters: That 24-hour drying period in Step 1 isn't just about cleanliness—it's about preventing mold that can smother your plants before they even start. I've found that placing gutters in direct sunlight during this time speeds up evaporation and kills any lingering bacteria. If you're short on time, use a fan to circulate air around them, but don't skip this step entirely—mold can appear within hours in damp conditions.
The Angle Advantage: When mounting your gutters at that 5-10 degree angle in Step 4, think of it as creating a natural water flow system. Too flat? Water pools and roots rot. Too steep? Soil slides out. I use a small level and a 3-inch block of wood under one end to create that perfect tilt. This subtle angle also helps water drain completely through the holes, preventing soggy soil that suffocates roots.
Soil Selection Secret: Not all potting mixes work equally well in gutters. I look for mixes labeled "container" or "seed starting" that contain perlite or vermiculite—they stay loose and allow roots to spread easily. For extra insurance against compaction, I mix in about 10% coconut coir to the potting mix. This helps maintain aeration as the soil settles over time, which is especially important in gutters where space is limited and roots compete for room.
Watering Wisdom: The 2-3 day watering schedule in Step 4 can vary dramatically based on your climate. In hot, dry weather, you might need to water daily for the first week, while cooler climates may only require watering every 4-5 days. I've found that checking soil moisture with my finger at the 1-inch depth mentioned is more reliable than following a strict schedule. If the soil feels dry at that depth, it's time to water—if it's still damp, wait another day. This simple check prevents both underwatering and overwatering.
Pro Tips for Rain Gutter Gardening
- Here's what I've learned after turning my own gutters into lush vertical gardens—these tricks make all the difference.
- Drying Time Matters: That 24-hour drying period in Step 1 isn't just about cleanliness—it's about preventing mold that can smother your plants before they even start.
- The Angle Advantage: When mounting your gutters at that 5-10 degree angle in Step 4, think of it as creating a natural water flow system.
Frequently asked questions
Got questions about turning your rain gutters into a lush vertical garden? Here are some of the most common ones—and their answers—to help you get started with confidence!
What plants work best for rain gutter gardening?
Stick to lightweight, shallow-rooted plants like herbs (basil, thyme, parsley), flowers (petunias, marigolds, nasturtiums), or veggies (lettuce, radishes, strawberries). Avoid heavy plants like tomatoes or large succulents—they’ll overwhelm the system and cause sagging.
How often should I water my rain gutter garden?
Check moisture daily during hot weather—gutters dry out fast! Water gently in the morning or evening to avoid evaporation. A spray bottle or drip irrigation works best. Pro tip: Fill the gutter with 1–2 inches of water and let it drain slowly for deep hydration.
Can I reuse old gutters for this project?
Clean them thoroughly to remove debris, rust, or algae. Sand rough edges and seal with a non-toxic sealant if needed. Just ensure they’re structurally sound—no leaks or warping. Repurposing gutters is eco-friendly and budget-friendly!
How do I protect my gutter garden in winter?
Drain and store gutters if temps drop below freezing. For milder climates, wrap them in burlap or move plants indoors. Add mulch to retain warmth. Never leave waterlogged gutters—they’ll crack under ice expansion. Plan ahead to extend your growing season!
What should I do if my plants look wilted or diseased?
First, check for overwatering (yellow leaves) or underwatering (crispy edges). Isolate affected plants and prune damaged foliage. Boost airflow by spacing plants evenly. For pests, use neem oil or insecticidal soap. Prevention tip: Sterilize tools between uses!
Wrapping up and next steps
Rain gutter gardening is a game-changer for small spaces—turning overlooked vertical real estate into a thriving garden! Whether you’re growing fragrant herbs, vibrant flowers, or both, this creative method saves space, boosts productivity, and adds a touch of green to any balcony or wall. 🌿
Ready to greenify your space? Start small—pick one or two plants, gather your gutters, and let your creativity flow! With minimal effort, you’ll enjoy fresh harvests and stunning blooms in no time. Happy gardening! 🌱
- Next step: Sketch your gutter layout and choose your first plants!