Tools
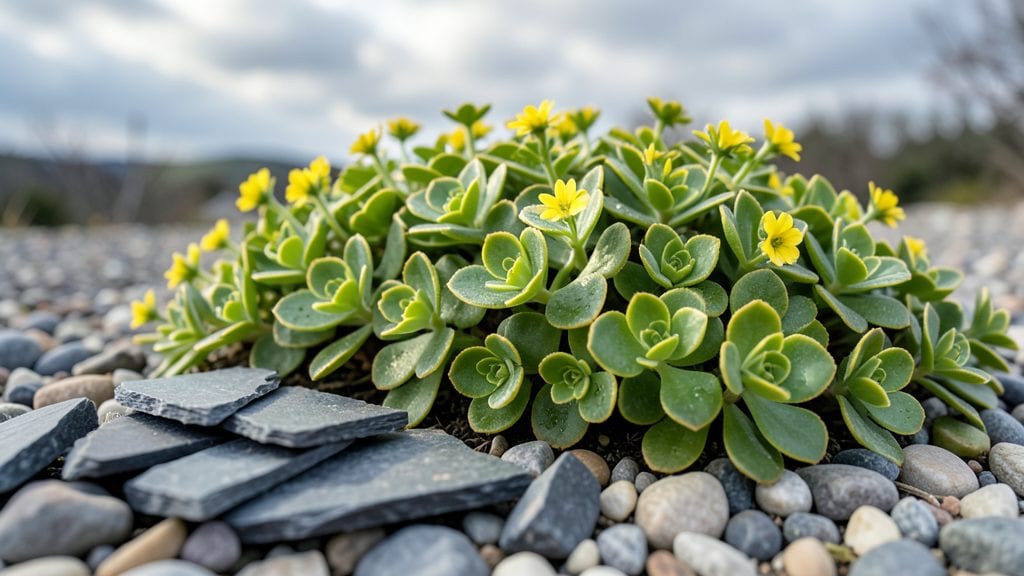
A chipped slate garden pathway transforms bare ground into a timeless, weather-resistant walkway that never needs replacing. I’ve used it in my own yard, and the way it catches morning light while staying cool underfoot is pure magic—no more muddy boots after rain or weeds popping up between cracks.
The key is working with slate’s natural texture, not fighting it. Slate’s layered, irregular shape creates a surface that’s both functional and striking, whether you’re stepping through a cottage garden or a modern Zen space.
You’ll need just three things: chipped slate (buy bags from landscape suppliers or salvage it from old roofs), a tamping tool (or a rubber mallet), and sharp sand (to lock everything in place).
The process takes about 2 hours per 10-foot section, and the result lasts decades—no cracking, no shifting, and no chemical treatments. Pair it with gravel edges for a rustic look or smooth stones for a more refined border. My favorite combo?
Slate paths with creeping thyme between the slabs—it stays green all winter and smells like a forest after a spring rain.
What you end up with is a pathway that ages like fine wine, developing a soft patina over time while staying firm underfoot.
The slate’s natural variations mean no two gardens look alike, and the color palette runs from deep grays to muted blues that blend seamlessly with any planting scheme. Maintenance? Just sweep away leaves twice a year and top up the sand every few seasons.
It’s the kind of project that makes neighbors stop and ask, “How’d you do that?”—and the answer is simpler than it looks.
Works for everything from small herb spirals to long garden borders, and adapts to any style—formal, wild, or everything in between. The best part? You can start small with a single path or go all out with a full garden layout.
Once you try it, you’ll wonder why you didn’t do this years ago.
📚 In This Guide
- What you need
- Instructions
- Tips and common mistakes
- Wrapping up and next steps
What you need
- ● Chipped slate pavers – 10–20 sq. ft. per square yard of pathway (depending on pattern; opt for 1–2 inch-thick pieces for durability).
- ● Crushed granite or slate base – 1–2 inches deep (for drainage and stability).
- ● Landscape fabric – 1 roll (10 ft. x 50 ft.) to prevent weed growth.
- ● Sand (poly-sand or masonry sand) – 1–2 bags (50 lb. each) for leveling and setting.
- ● Gravel (1/2 inch crushed stone) – 2–3 bags (50 lb. each) for the base layer.
- ● Edging material – Metal, plastic, or rubber edging strips (12–18 inches tall) to define the path.
- ● Shovel and rake – For digging and leveling the base.
- ● Wheelbarrow – To haul materials efficiently.
- ● Rubber mallet – For tapping pavers into place.
- ● Level (2–4 ft.) – Ensures your path stays perfectly even.
- ● Tape measure and string line – To mark out your pathway layout.
- ● Safety gear – Gloves, knee pads, and safety goggles (chipped slate can be sharp!).
- ● Adhesive (outdoor construction adhesive) – For extra stability in high-traffic areas.
- ● Vibrating plate compactor – If you’re covering a large area (rentable!).
- ● Stain or sealant – To enhance color and weatherproof your slate.
- ● Decorative border stones – For a polished, finished look.
Step-by-Step instructions for creating a chipped slate garden pathway
Here's how to craft a durable, visually stunning pathway that stands up to seasons and foot traffic.
Measure and Mark Your Pathway Layout
Start by sketching your desired pathway on paper, then transfer it to the garden using spray paint or stakes and string. A 4-foot wide path is ideal for two people to walk side by side comfortably. Measure the length of your path and mark it with wooden stakes every 2 feet to guide your installation.
Use a string line stretched between stakes to create straight edges. For curves, bend the string gently to follow your design. Press the string lightly into the soil at each stake to keep it in place. This ensures your pathway will have clean, even lines once the slate is laid.
Prepare the Base for Stability
Dig out the marked area to a depth of 4 inches, removing grass, weeds, and loose soil. Use a shovel to create a level trench, then compact the soil firmly with a hand tamper or rented plate compactor. A solid base prevents the slate from shifting over time.
Spread a 2-inch layer of crushed gravel evenly across the trench, then tamp it down again. This drainage layer keeps water from pooling beneath the slate, which could cause it to shift or crack. Smooth the surface with a rake, ensuring it’s level from side to side and front to back.
Lay Down the Chipped Slate
Begin laying the chipped slate along your marked path, starting at one end and working toward the other. Place the slate pieces with their flat sides up and arrange them in a staggered pattern, similar to brickwork, to create visual interest. Leave a ¼-inch gap between each piece for flexibility and drainage.
Tap each slate lightly with a rubber mallet to settle it into place. Adjust as needed to maintain even spacing and alignment. If a piece feels unstable, add a small amount of sand beneath it to level it out. Avoid walking on the slate until the entire path is laid to prevent shifting.
Secure the Slate with Sand and Final Touches
Sweep a thin layer of coarse sand over the entire pathway, then use a broom to work it into the gaps between the slate pieces. This locks the slate in place and prevents weeds from growing through. For extra stability, lightly mist the sand with water to help it settle.
Inspect the pathway for any high or low spots, adjusting the slate or adding sand as needed. Once satisfied, sweep away any excess sand. Finish by trimming any grass or weeds along the edges with a string trimmer or hand shears to create a clean, polished look.
Tips & tricks for perfect chipped slate garden pathways
Creating a stunning chipped slate pathway takes careful planning—here are the details that make all the difference in durability and appearance.
Precision in Layout: In Step 1, take your time marking the 4-foot width and 2-foot intervals with wooden stakes. I always double-check measurements with a tape measure before pressing stakes into the ground—this prevents crooked paths later. For curves, use a flexible measuring tape instead of string to maintain smooth lines. The key is ensuring your string line stays taut but not stretched too tight, which can warp your design.
Base Preparation is Non-Negotiable: When you dig down 4 inches in Step 2, don't rush the compaction process. Renting a plate compactor makes this easier, but if you're using a hand tamper, work in small sections to ensure even firmness. The crushed gravel layer should be completely level—use a 2-foot leveling board to check both front-to-back and side-to-side. Uneven bases lead to uneven slate placement, which creates tripping hazards and weak spots.
Slate Placement Technique: In Step 3, the staggered pattern isn't just for looks—it distributes weight more evenly across the path. When placing slate, hold each piece at a slight angle before tapping it down with the rubber mallet. This helps the sand settle properly in the ¼-inch gaps. I've learned the hard way that skipping this angle results in uneven settling and gaps that fill with weeds. For extra stability on slopes, consider adding a thin layer of landscape fabric beneath the gravel before laying slate.
Final Sanding Secrets: The coarse sand in Step 4 serves two purposes: it locks the slate in place and prevents weed growth. Instead of just sweeping sand over the surface, I recommend using a push broom to work it into the gaps thoroughly. Then, lightly misting with water helps the sand settle more completely. For pathways that receive heavy foot traffic, consider adding a second thin layer of sand after 6 months to maintain stability.
Pro Tips for Chipped Slate Garden
- Creating a stunning chipped slate pathway takes careful planning—here are the details that make all the difference in durability and appearance.
- Precision in Layout: In Step 1, take your time marking the 4-foot width and 2-foot intervals with wooden stakes.
- Base Preparation is Non-Negotiable: When you dig down 4 inches in Step 2, don't rush the compaction process.
Frequently asked questions
Got questions about creating or maintaining a chipped slate garden pathway?
Here are some of the most common concerns—plus straightforward answers to help you plan with confidence.
How do I choose the right slate thickness for a garden pathway?
For pathways, opt for 1/4-inch to 3/8-inch thick slate—thinner pieces (like 1/8-inch) work for borders or accents, while thicker slabs (over 1/2-inch) handle heavy foot traffic better. Chipped slate adds texture, but ensure the base layer is compacted gravel or sand to prevent shifting.
Can I install a chipped slate pathway myself, or should I hire a pro?
DIY is totally doable! Start with a level base, lay down a weed barrier fabric, then arrange slate pieces in a staggered pattern. Use a rubber mallet to tap them into place. For complex designs (like curves or steep slopes), consider hiring a pro to avoid uneven settling.
Will chipped slate freeze, crack, or fade in winter?
Slate is naturally frost-resistant and won’t crack from freezing—its rugged texture actually hides wear better than smooth stones. However, moss or algae may grow in damp climates. Prevent this by rinsing paths with water and vinegar (1:3 ratio) once a year or applying a natural stone sealer.
How do I fix loose or sinking slate pieces over time?
If slate shifts, lift the edges and repack the gravel base underneath. For stubborn gaps, sweep in polished sand and tamp it down. Avoid heavy machinery—hand tools (like a tamper or plate compactor) work best. Pro tip: Check drainage first; poor runoff can cause long-term settling.
Is chipped slate more expensive than other garden path materials?
Cost comparison:
Material
Avg. Cost/Sq. Ft.
Durability
Chipped Slate
$3–$8
(20+ years)
Gravel
$1–$4
(5–10 years)
Brick/Paver
$5–$15
(15+ years)
Slate’s low maintenance and timeless look often justify the upfront cost—plus, chipped edges reduce material waste!
Wrapping up and next steps
A chipped slate garden pathway isn’t just a design choice—it’s a timeless investment in beauty and durability. With its rustic charm and low-maintenance appeal, this natural material transforms any outdoor space into a serene retreat that stands the test of seasons.
Whether you’re a DIY enthusiast or a homeowner dreaming of curb appeal, now’s the perfect time to bring this elegant solution to life!
Ready to take the next step? Sketch your design, gather your tools, and start laying the foundation for a garden path that will wow for years to come. 🌿✨