
Landscaping
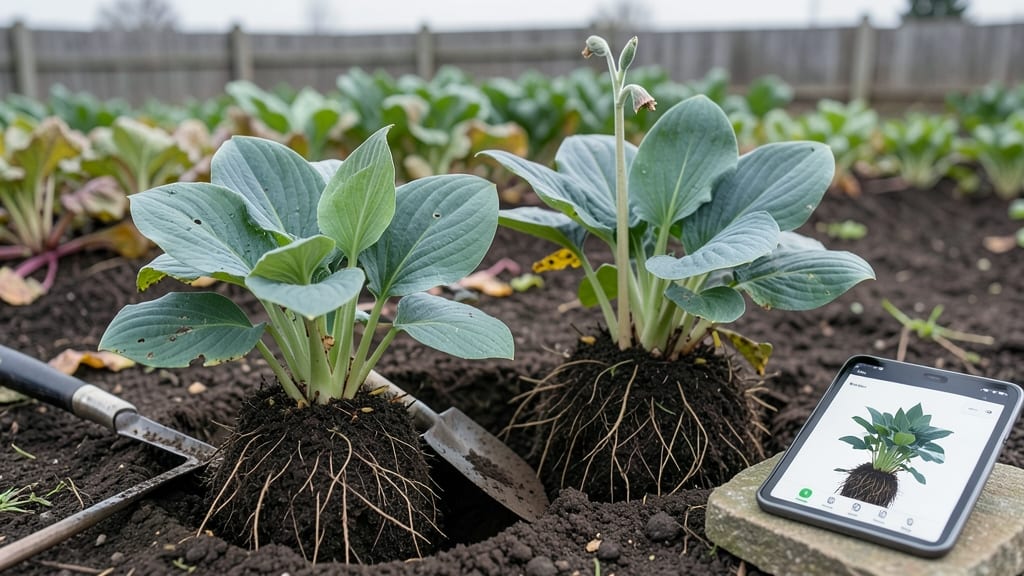
Designing a garden online lets you visualize stunning layouts before breaking ground—no guesswork, just precision. I’ve used AI-powered tools to transform cramped patios into lush retreats and sprawling backyards into structured masterpieces, all from my laptop.
The magic happens when you input your space dimensions, sunlight patterns, and design preferences—then watch as the software suggests plant placements, pathways, and focal points tailored to your vision.
You don’t need a degree in horticulture to get started. Most platforms offer drag-and-drop interfaces where you can swap out plants, adjust colors, and tweak layouts until everything feels just right.
For example, a modern minimalist design might feature sleek lines and geometric planters, while a cottage garden bursts with overflowing perennials and whimsical curves. The best part? You can test themes like edible landscapes, pollinator-friendly zones, or seasonal color shifts without committing to a single purchase.
What you’ll end up with is a customized, printable plan that accounts for growth habits, mature sizes, and even microclimates in your yard. Imagine stepping into a space where every plant thrives in its perfect spot—no more overcrowding, no more wasted sunlight.
These tools even help you estimate costs and material needs, so you can budget like a pro. The result? A garden that feels intentional from day one.
Whether you’re working with a 50-square-foot balcony or a half-acre lot, online design adapts to your scale. Urban dwellers can optimize vertical space with trellises and hanging baskets, while rural gardeners might focus on large-scale hardscaping and meadow-style plantings.
The key is starting with a clear vision—then letting technology refine it into something truly special.
📚 In This Guide
- What you need
- Instructions
- Tips and common mistakes
- Wrapping up and next steps
What you need
- ● Digital Device: Laptop, tablet, or smartphone with internet access (for AI design platforms like SketchUp, Canva, or specialized garden apps).
- ○ Design Software (Optional but Helpful): Free: Canva, Google SketchUp Free, or SmartDraw.
- ● Premium: Landscape Design Software (e.g., Pro Landscape, Garden Planner 5D).
- ● Measurement Tools: Measuring tape (25–100 ft, depending on garden size).
- ○ Laser measure (optional for precision).
- ● Sketching Supplies (For Hand Drafts): Graph paper or grid notebook.
- ● Pencils (HB for sketching, 2H for light guidelines).
- ● Ruler (12–24 inches).
- ● Eraser and sharpener.
- ● Camera: Smartphone or digital camera (for uploading photos of your space to AI tools).
- ● Space Assessment: Measure your garden’s dimensions (length × width).
- ● Note sunlight exposure (e.g., "6 hours of sun in the south corner").
- ● Identify soil type (clay, sandy, loamy) or pH if available.
- ● Reference Materials: Photos of your garden (from all angles).
- ● List of existing plants, hardscapes (patio, deck), or structures (fences, sheds).
- ● Budget & Style Preferences: Define a budget range (e.g., "$500–$2,000 for plants and materials").
- ● Choose a style (e.g., modern, cottage, xeriscape, tropical).
- ● AI Platform Access: Sign up for free trials of AI tools like HortiQ, Garden Planner AI, or Midjourney (for concept art).
- ● 🔥 Use a mix of free and paid tools: Start with free AI sketches, then upgrade for advanced features.
- ● 🌡️ Check local climate zones: Input your USDA zone (e.g., Zone 7) into AI tools for plant suggestions.
- ● ✨ Save templates: Bookmark AI-generated layouts for future edits or inspiration!
Step-by-Step instructions for creating an AI-powered garden layout
Transform your outdoor space with precision using adaptive design tools that analyze your unique environment.
Gather Essential Site Data for Accurate AI Analysis
Begin by measuring your garden’s dimensions with a tape measure or laser distance tool. Note the exact square footage and any existing structures like patios, trees, or fences. Use a compass app to determine sunlight exposure patterns—track which areas receive full sun, partial shade, or deep shade throughout the day. I recommend taking photos from multiple angles to capture topography and existing vegetation.
Next, assess soil quality by collecting small samples from different zones. A simple pH test kit will reveal acidity or alkalinity levels, while a moisture meter helps determine drainage efficiency. These details ensure the AI generates a layout tailored to your microclimate rather than generic suggestions. Document everything digitally for easy reference during the design phase.
Input Data into the AI Design Platform
Upload your site photos, measurements, and soil data into the AI garden design tool. Most platforms require you to outline your property boundaries first—use the digital drawing tools to create a scaled floor plan. Input your climate zone and average annual rainfall, as these directly influence plant selection and irrigation needs. I always double-check this information against local weather records to avoid discrepancies.
Select your design goals from the platform’s menu—whether it’s maximizing privacy, creating a pollinator-friendly habitat, or designing a low-maintenance space. The AI will then generate multiple layout options based on your inputs. Review each proposal carefully, focusing on how the design utilizes your space’s natural advantages while mitigating challenges like poor drainage or wind exposure.
Refine the AI-Generated Layout with Manual Adjustments
Start by evaluating the AI’s plant placements against your sunlight and soil data. Move species that require full sun into the designated hotspots, and relocate shade-tolerant varieties to cooler areas. Use the platform’s drag-and-drop feature to adjust pathways and hard landscaping elements like decks or retaining walls. I typically add 1-2 feet of buffer space around plants to account for future growth—this prevents overcrowding as the garden matures.
Test the design’s flow by virtually walking through it. Check sightlines from your home, seating areas, and frequently used paths. Adjust focal points like water features or garden art to create visual interest while maintaining functionality. Most AI tools include a 3D preview—rotate the view to simulate different times of day and seasons to ensure year-round appeal.
Generate Material and Plant Lists for Implementation
Once satisfied with the layout, use the platform’s export function to generate a detailed materials list. This should include quantities of mulch, soil amendments, hardscaping materials, and plants by variety. Cross-reference the plant list with local nurseries to verify availability and adjust if necessary. I always add 10-15% extra to the plant count to account for potential losses during transplanting.
For hardscaping elements, note exact measurements for pavers, lumber, or stone. Some AI tools integrate with supplier databases, allowing you to estimate costs and delivery schedules directly from the design interface. Save these lists as PDFs and share them with contractors or family members to streamline the implementation process. This step ensures you’re fully prepared before breaking ground.
Schedule and Execute the Installation Phase
Begin with site preparation by clearing debris and marking layout lines with spray paint or stakes. For large projects, hire a landscaper to handle heavy lifting like grading or installing irrigation systems. I recommend starting with hardscaping elements first—they provide structure before adding plants. Follow the AI-generated planting plan precisely, using the depth and spacing guidelines provided for each species.
After installation, take progress photos to compare against the digital design. Adjust any discrepancies immediately, as soil settling or material shortages can occur. Water newly planted areas deeply to encourage root establishment, and monitor the space for the first 2-4 weeks to address any issues like erosion or poor drainage. The AI layout serves as your blueprint, but real-world conditions may require minor tweaks during this critical period.
Tips & tricks for perfect AI-powered garden layouts
A few strategic adjustments can transform your AI-generated garden design from good to exceptional. These insights will help you leverage technology while maintaining the human touch that makes outdoor spaces truly special.
Data Accuracy is Non-Negotiable: In Step 1, when measuring your garden, I can't stress enough how critical precision is. Even a 2-foot discrepancy in measurements can throw off the entire AI-generated layout. Use a laser distance tool for large areas and verify measurements twice. For sunlight tracking, take photos every 2 hours throughout the day to capture how shadows shift—this level of detail ensures the AI places sun-loving plants in optimal locations.
Soil Testing Goes Beyond pH: While the instructions mention pH testing, I've found that soil texture analysis often reveals more critical information. Sandy soils drain too quickly, while clay holds too much moisture—both can derail your design. Use a simple jar test (fill a jar with soil and water, then observe settling patterns) to determine your soil's composition. This helps the AI recommend appropriate amendments and plant varieties that will thrive in your specific conditions.
Design for Seasonal Flow: When refining the layout in Step 3, use the 3D preview to simulate each season. Most AI tools allow you to adjust foliage colors and plant sizes—take advantage of this to ensure your design remains visually appealing year-round. I often add 3-4 evergreen shrubs as structural elements that provide winter interest, even if they weren't the AI's first suggestion. This creates visual continuity when deciduous plants lose their leaves.
Material Lists Should Include Contingencies: In Step 4, when generating your materials list, I recommend adding a 20% buffer for hardscaping materials like pavers and lumber. Field conditions often reveal discrepancies between the digital design and reality—uneven ground, unexpected obstacles, or material shortages can require last-minute adjustments. Having extra materials on hand prevents costly delays during installation.
Pro Tips for Garden Design Online
- A few strategic adjustments can transform your AI-generated garden design from good to exceptional.
- Data Accuracy is Non-Negotiable: In Step 1, when measuring your garden, I can't stress enough how critical precision is.
- Soil Testing Goes Beyond pH: While the instructions mention pH testing, I've found that soil texture analysis often reveals more critical information.
Frequently asked questions
Got questions about designing your dream garden online? You’re not alone! Here are some of the most common queries—and their answers—to help you get started with confidence.
How much does online garden design cost?
Costs vary widely depending on the platform. Basic AI tools (like SketchUp or SmartDraw) start at free to $20/month, while professional services (e.g., Houzz Pro or landscape designers) can range from $200 to $5,000+ for custom plans. Many apps offer free trials—test a few to find your budget fit!
How long does it take to design a garden online?
Quick sketches take 15–30 minutes with drag-and-drop tools, while detailed plans (with plant lists, elevations, and material specs) may take 2–8 hours. Pro tip: Break it into phases—start with a rough layout, then refine over days or weeks.
Can I design a garden online if I don’t have a scale drawing?
Most online tools let you upload photos of your space or use a grid overlay to measure dimensions. For example, PlantSnap or Garden Planner apps let you trace your yard digitally. No tech skills needed—just snap a pic and go!
How do I account for climate/weather in my online design?
Look for tools with climate-based plant databases, like Pro Landscaper or Better Homes & Gardens’ Garden Planner. They suggest drought-resistant, frost-hardy, or shade-tolerant plants for your ZIP code. Pro move: Check your local USDA Plant Hardiness Zone for accuracy.
What if my online design doesn’t look right in real life?
Mismatches happen! Start small: print a scaled layout and walk your yard with it, or use augmented reality (AR) tools like IKEA Place or Husqvarna’s Garden Planner to preview designs before committing. Adjust as you go!
Wrapping up and next steps
Designing your dream garden has never been easier—or more personalized! With AI-powered garden design online tools, you can transform any space into a thriving oasis, whether you’re a seasoned gardener or just starting out.
The key is to start small, experiment with virtual layouts, and let technology guide your creativity.
Ready to bring your vision to life? Take the first step today:
- 🌱 Sketch your space—measure and jot down ideas.
- 💻 Try an AI tool—like those mentioned above—to generate layouts.
- 🛠️ Refine and plant! Let your garden grow with confidence.